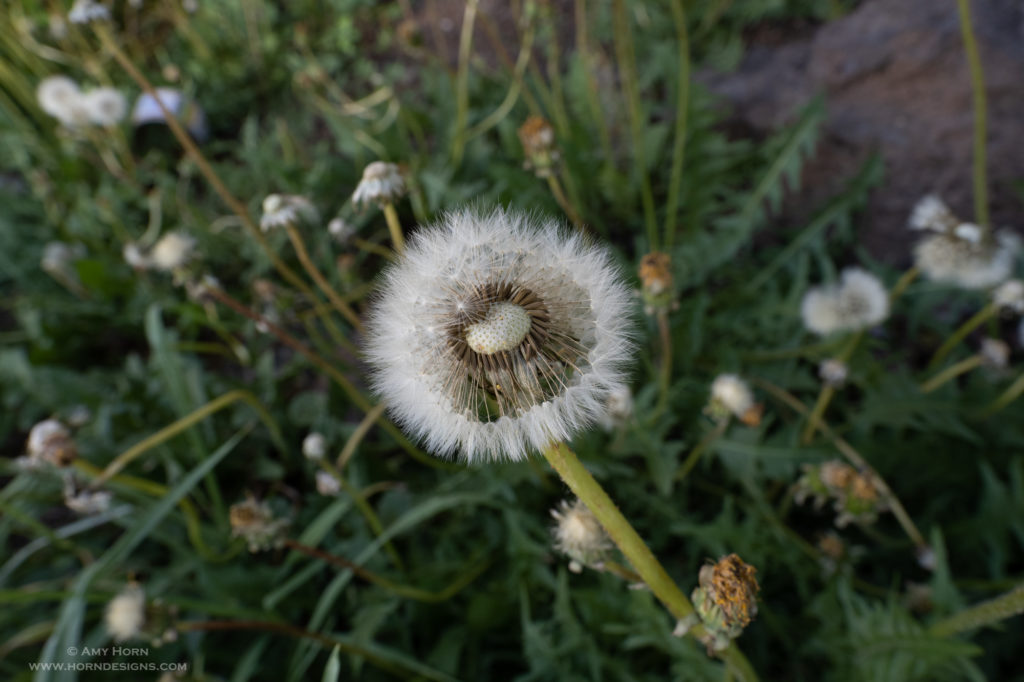
Every spring we remove those pesky dandelions from our yard. This year, before the weed & feed came out, I picked a dandelion to photograph.
As a child, I enjoyed blowing the dandelion seeds everywhere, not grasping why it upset my parents. As an adult, when I look at a dandelion, I imagine myself wandering through those tiny seed pods; maybe it comes from reading The Borrower’s or Dr. Suess’s, Horton Hears a Who. So, I spent a few days photographing dandelions from my yard and I thought I would share my process with you.
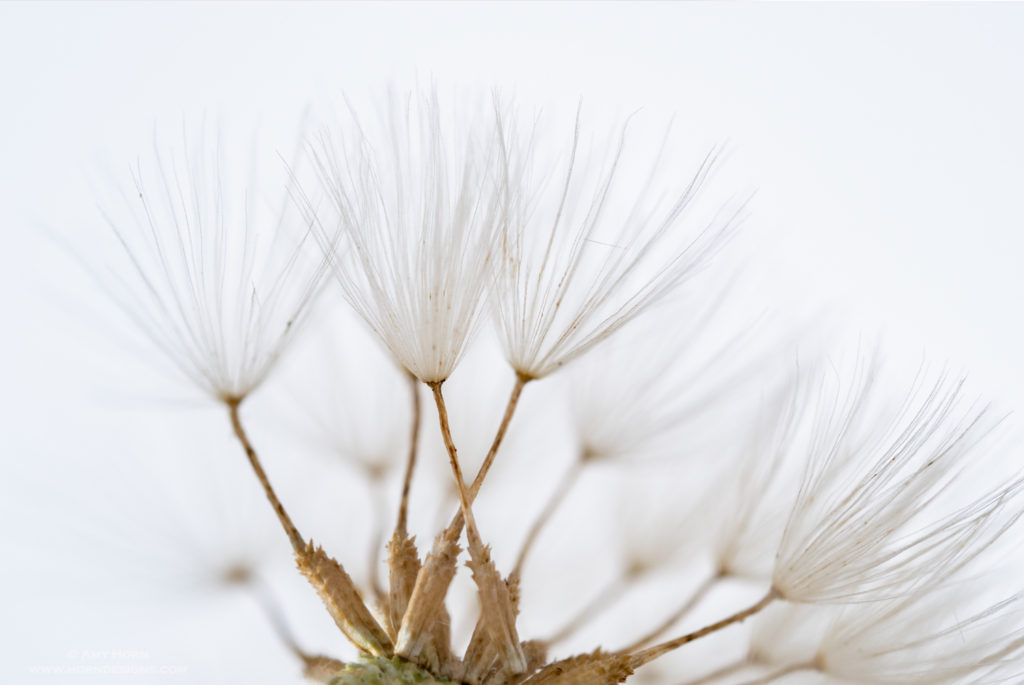
I started with a perfect, fluffy dandelion. But the image was busy and I struggled seeing into the seed pods, so I removed some of the seeds to gain a better vantage point. Using my macro lens, tripod and a Raynox DCR250 close up lens, I captured the above image at approximately 2.5x magnification. The off camera flash units were at 1/64 power with diffusion (copy paper). At this magnification, I chose to focus stack so that the closest seed pod would be in focus.
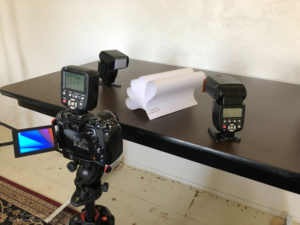
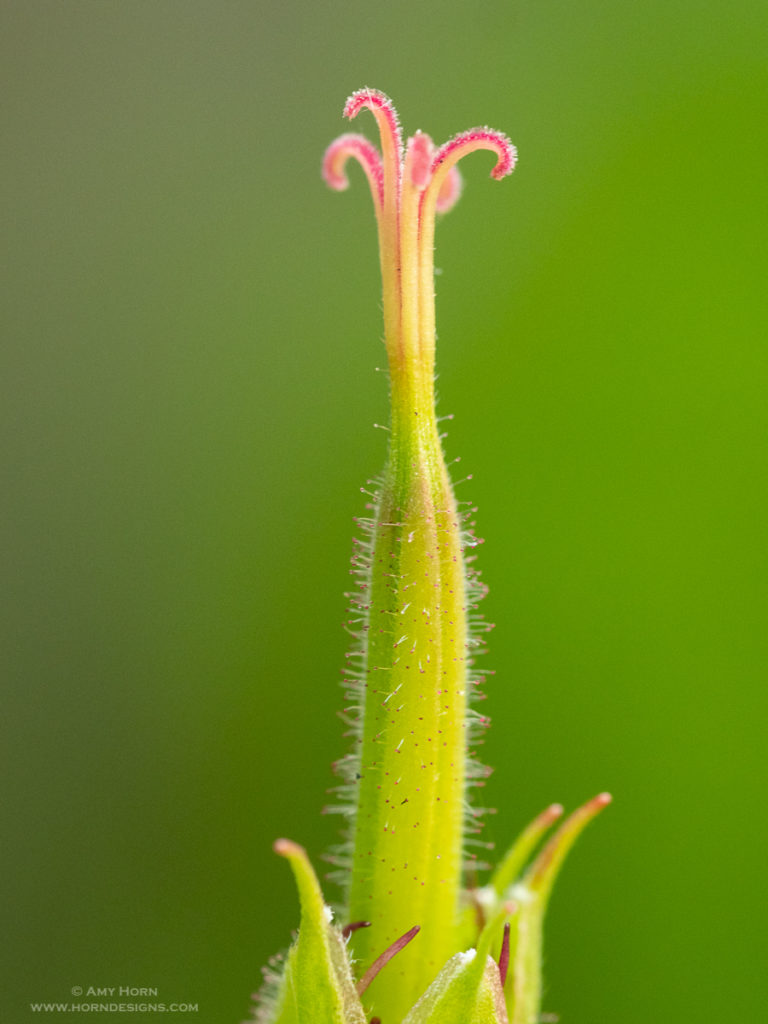
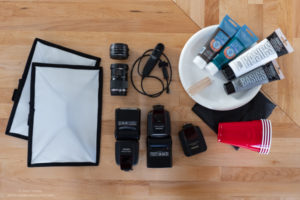
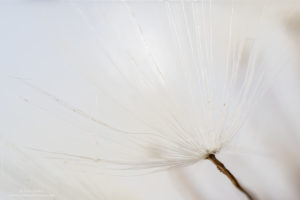
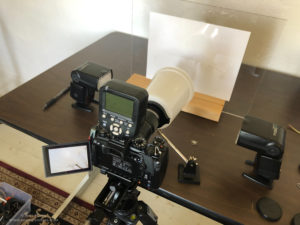
Next, I moved in closer keeping my exposure and flash settings the same. By adding extension tubes to the macro and Raynox lenses, I isolated an individual seed pod achieving almost 4x magnification. When using the Raynox, I use a plastic container on the end of my lens to diffuse the flashes. Anyone that has taken our Arizona Highways PhotoScapes Super Macro workshop (ahps.org) has used this diffusion technique. For these next images, I included my super macro setup and the single seed pod image.
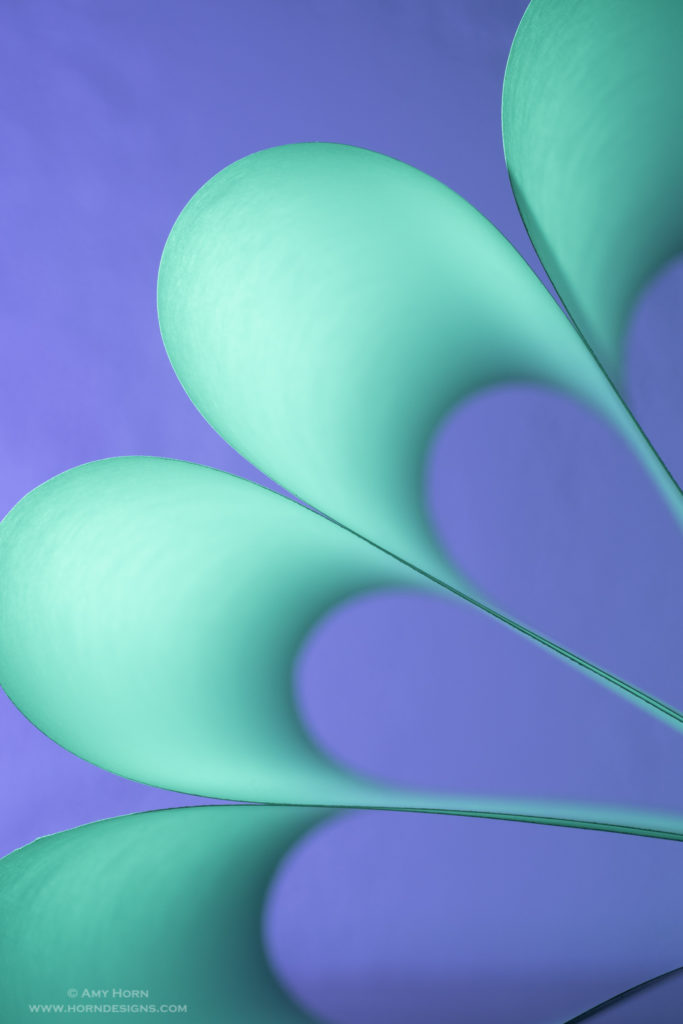
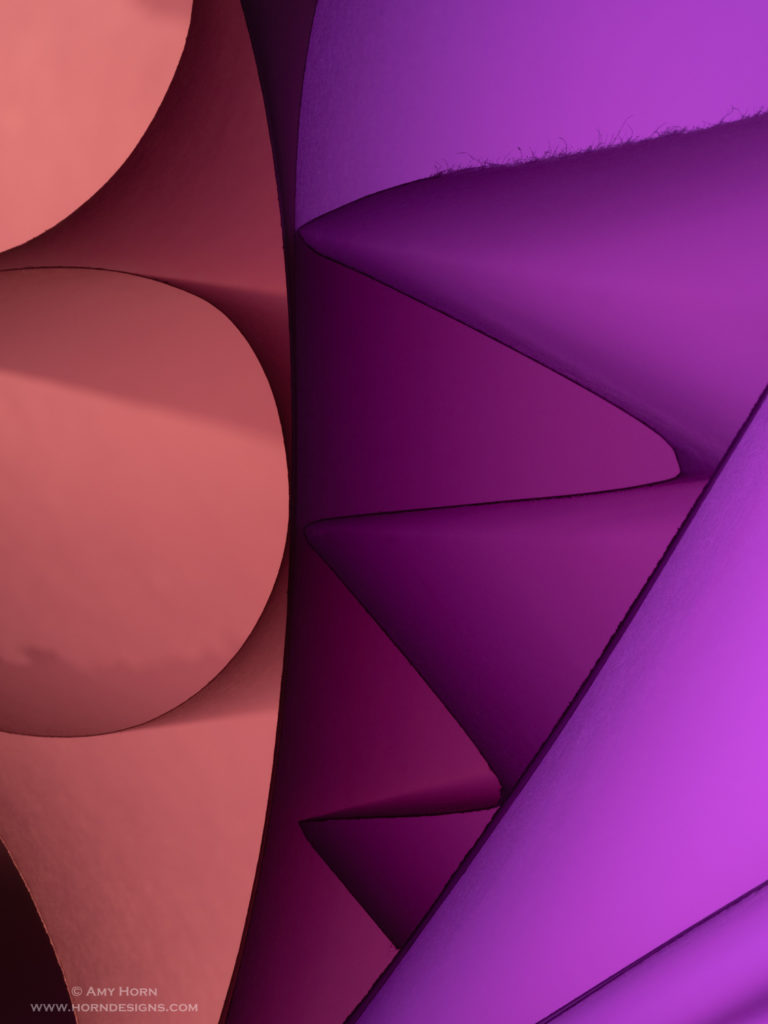
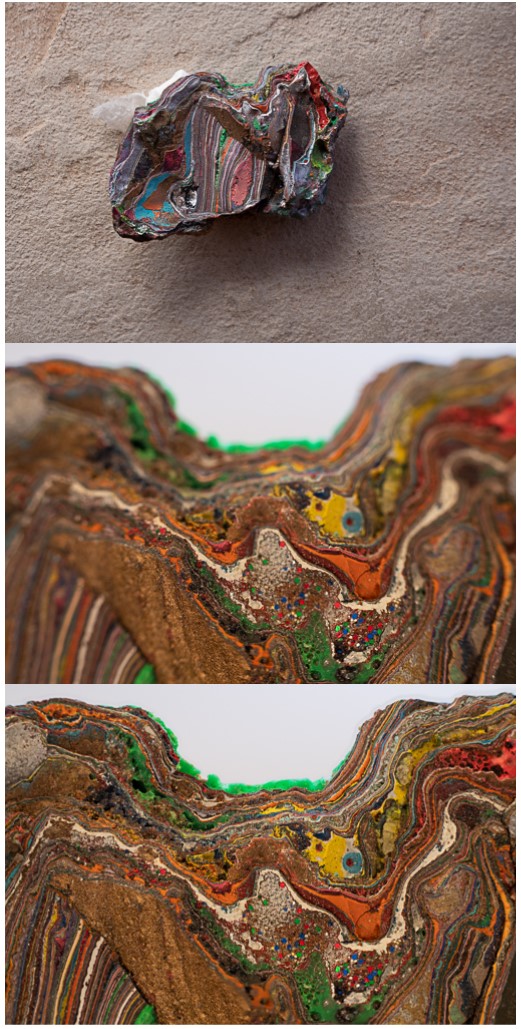
Then, I continued to play with the dandelion seeds, pulling some away to reveal less seed pods drawing me to different compositions. The colored paper background added variety and I chose to capture single images with varying depths of field.
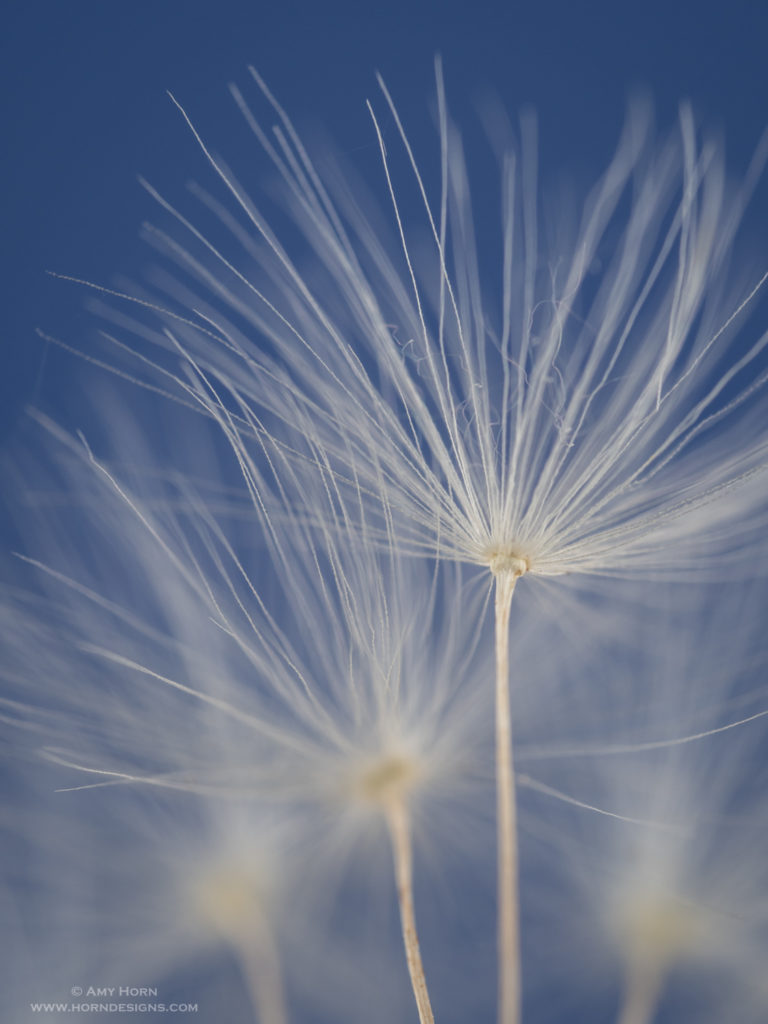
1/50 sec, f/8, ISO 200 
1/50 sec, f/5.6, ISO 200 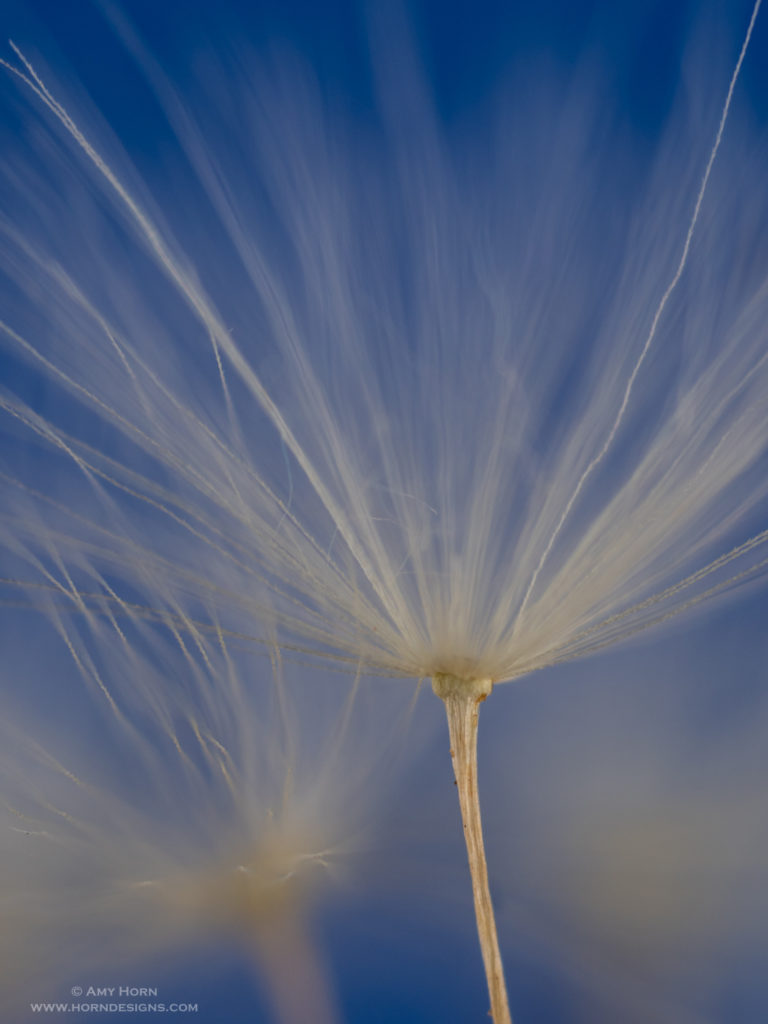
1/100 sec, f/4, ISO 200
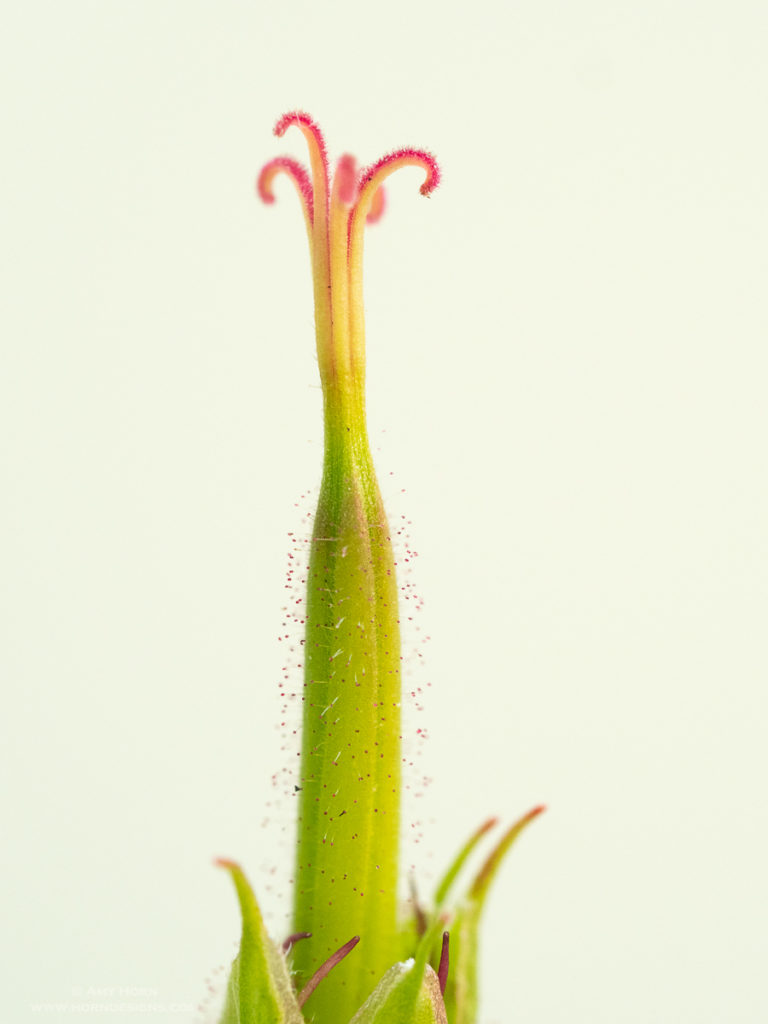
No Flash

While setting up the next shot, I added a continuous light to the background and loved the silhouetted dandelion. So, I turned off my flashes and captured silhouettes with and without extension tubes. Much to my surprise, I found a bug crawling around in the dandelion. It took a lot of twisting and positioning in front of my lens, but I finally captured the bug in the seeds. The final bug image expressed my original intent – as if I was that bug within the dandelion.
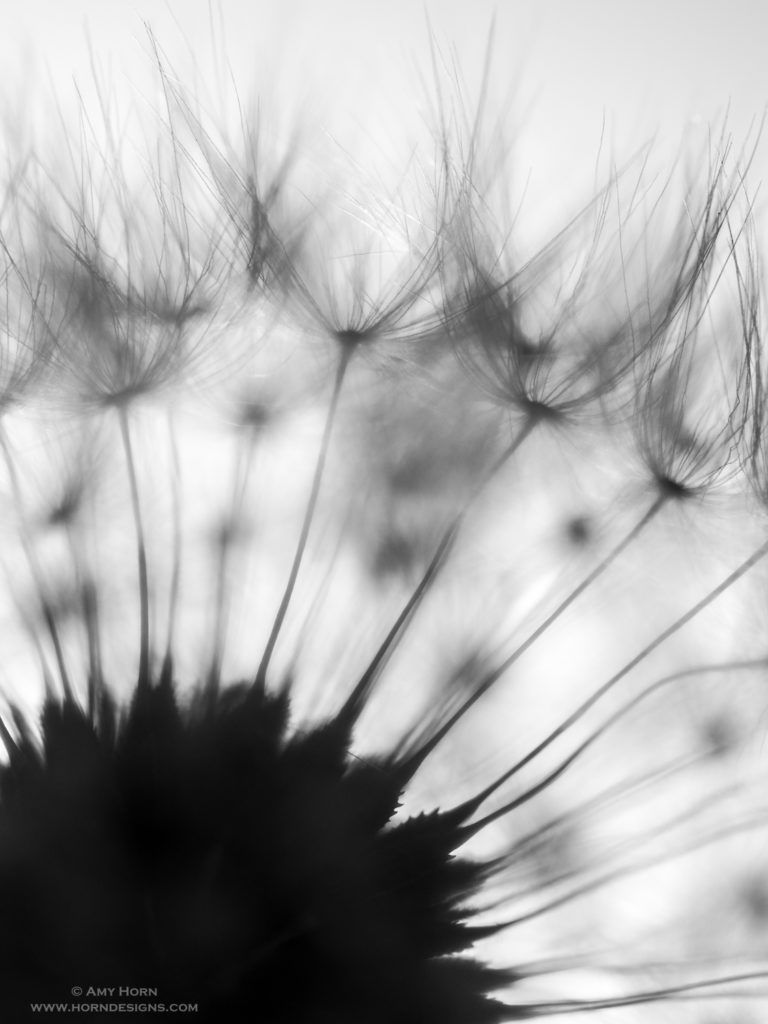
1/30 sec, f/3.2, ISO 200, backlit 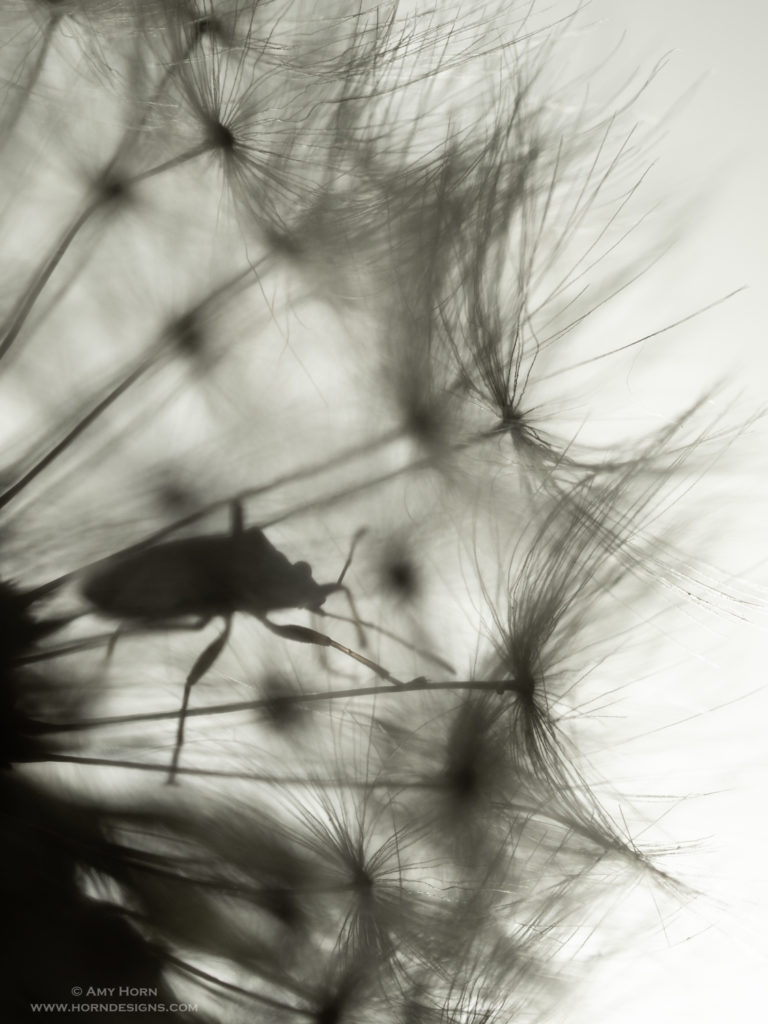
1/60 sec, f/4, ISO 200, backlit
So, if you are looking for a project, find something simple around your house and keep “working the subject” by changing settings, lighting, backgrounds, etc until you achieve what you want. These images were captured over the course of three days. When I take on new projects, I like to review, reflect, and then reshoot several times. Regardless, have fun and I hope you enjoyed reading about my process.