After our second annual trip to the Boundary Waters, I wanted to share how I kept my camera safe, dry and easy to access through canoeing and portaging. Boundary Waters Gear can be simple if you think through what you really need. If you aren’t familiar with the Boundary Waters, check out my previous post here.
On the Boundary Waters, we carry everything: food, tents, clothing, etc. Each day we packed up camp, paddled and portaged most of the day, then chose a new camp. During the week, we paddled and portaged about 50 miles. With this schedule, my gear needed to be light, accessible and water safe.
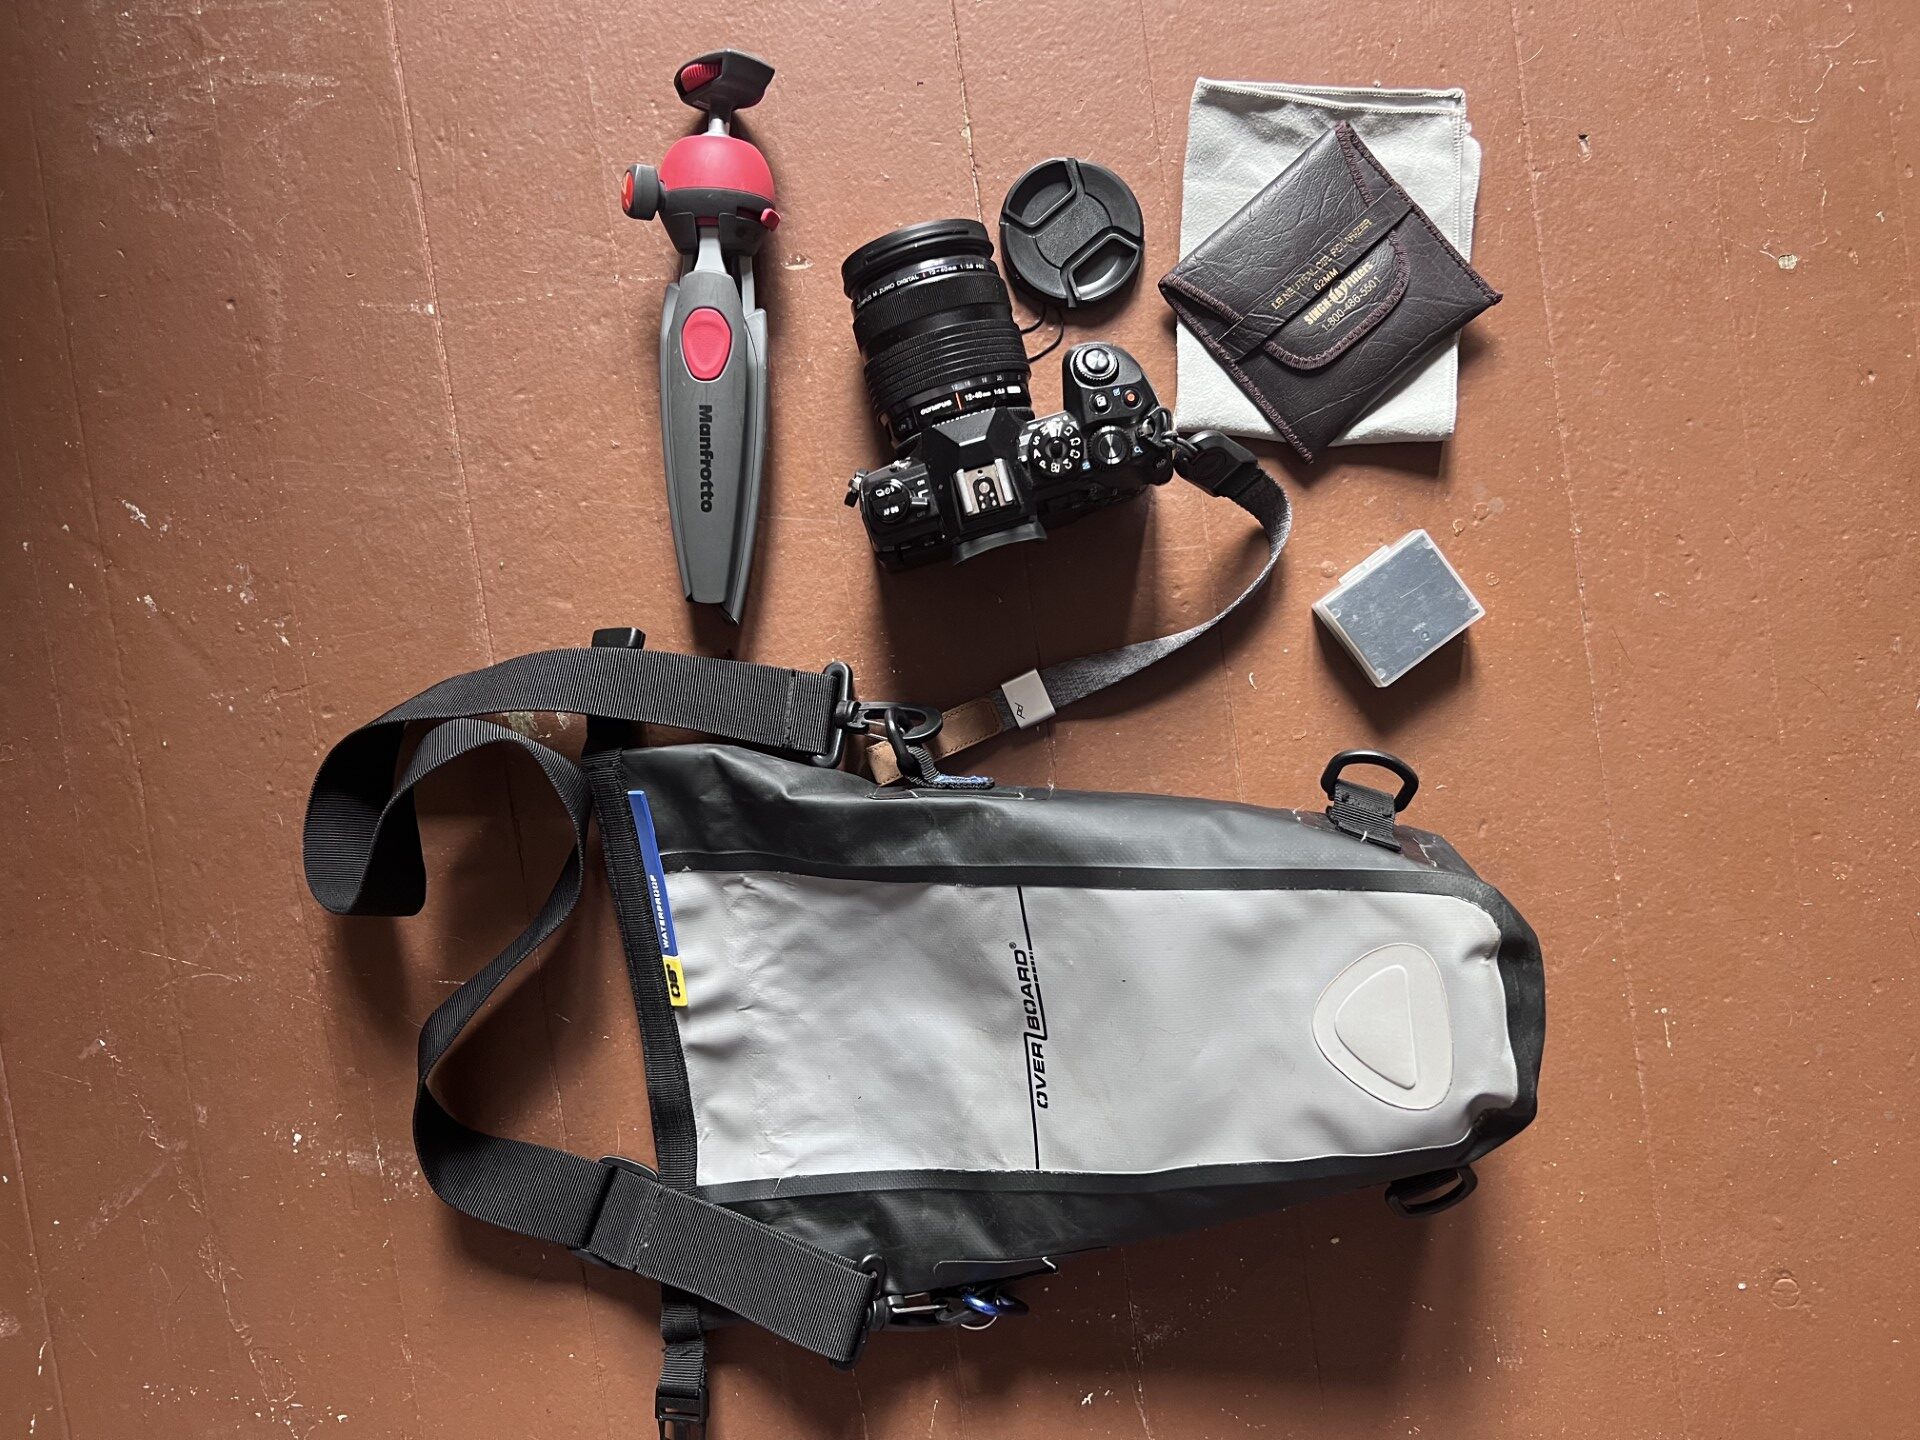
My camera was the Olympus OMD1MII with the 12-40 f/2.8 lens. I chose this lens because it was light and captures great close up (wide angle macro) images too. In addition, I purchased a lens cap leash – last year I dropped a lens cap and lost it in the water. A long lens would have been great for birding, but not worth the weight in my opinion.
Gear
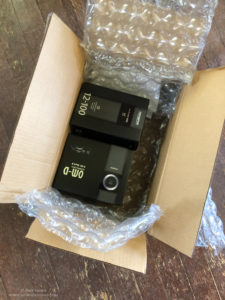
The Manfrotto mini tripod was perfect for sunrise and sunset shoots and a Singh-Ray Circular Polarizer completed the setup. Of course, I took an extra battery. All of this fit into my Overboard Camera Dry Bag (https://amzn.to/3qpLR5o). The shoulder strap on the dry bag made it easy to clip onto the boat or wear over my shoulder during portages. See the photo with my camera dry bag and the large 60 lb Duluth bag of gear and food? This was captured at the start of a portage. So, I could easily open the bag and grab photos whenever needed.
In places like the Boundary Waters, I don’t want the gear to take over from the fun of the trip, so I kept it simple. Below are a few more images captured on the trip.
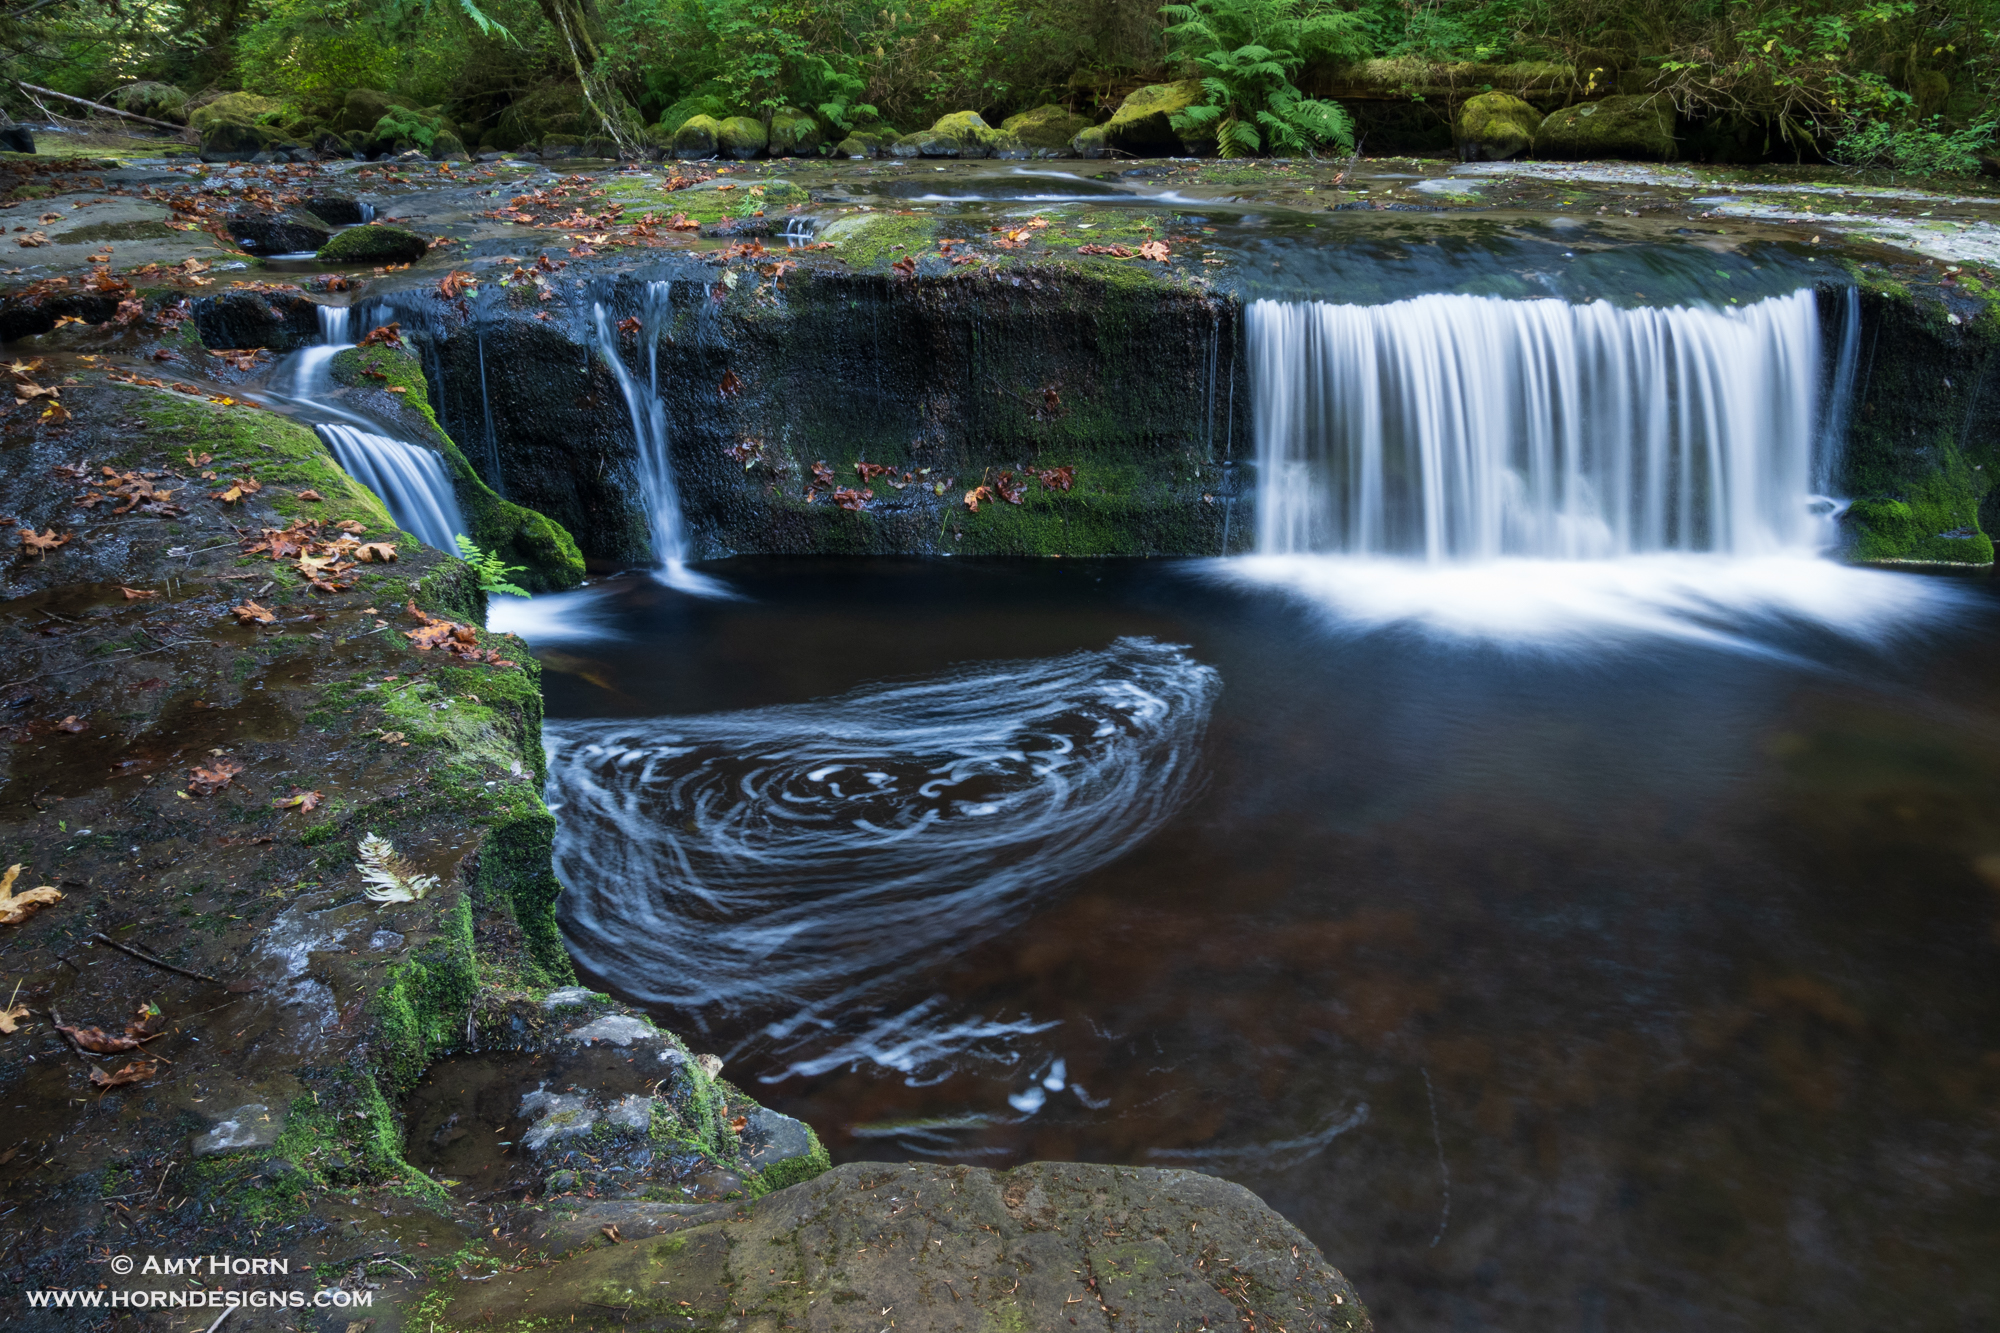
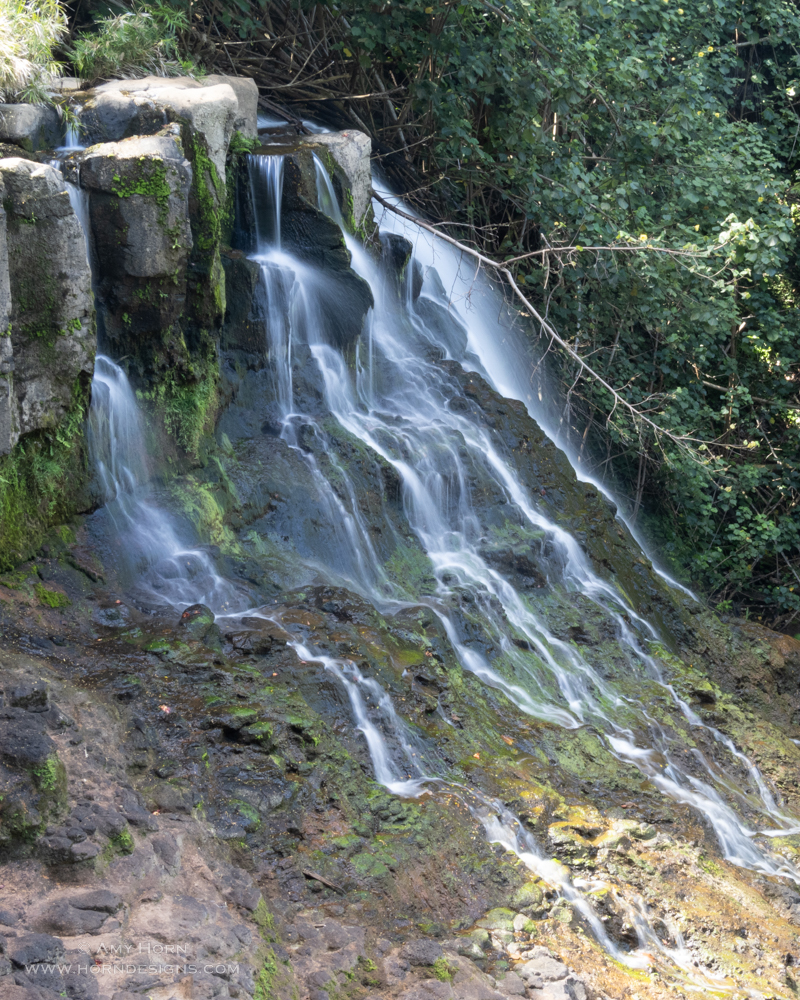
Olympus OMD1 Mark III, f/13, 6 sec, ISO 400, Singh-Ray Bryan Hansel Waterfall Filter
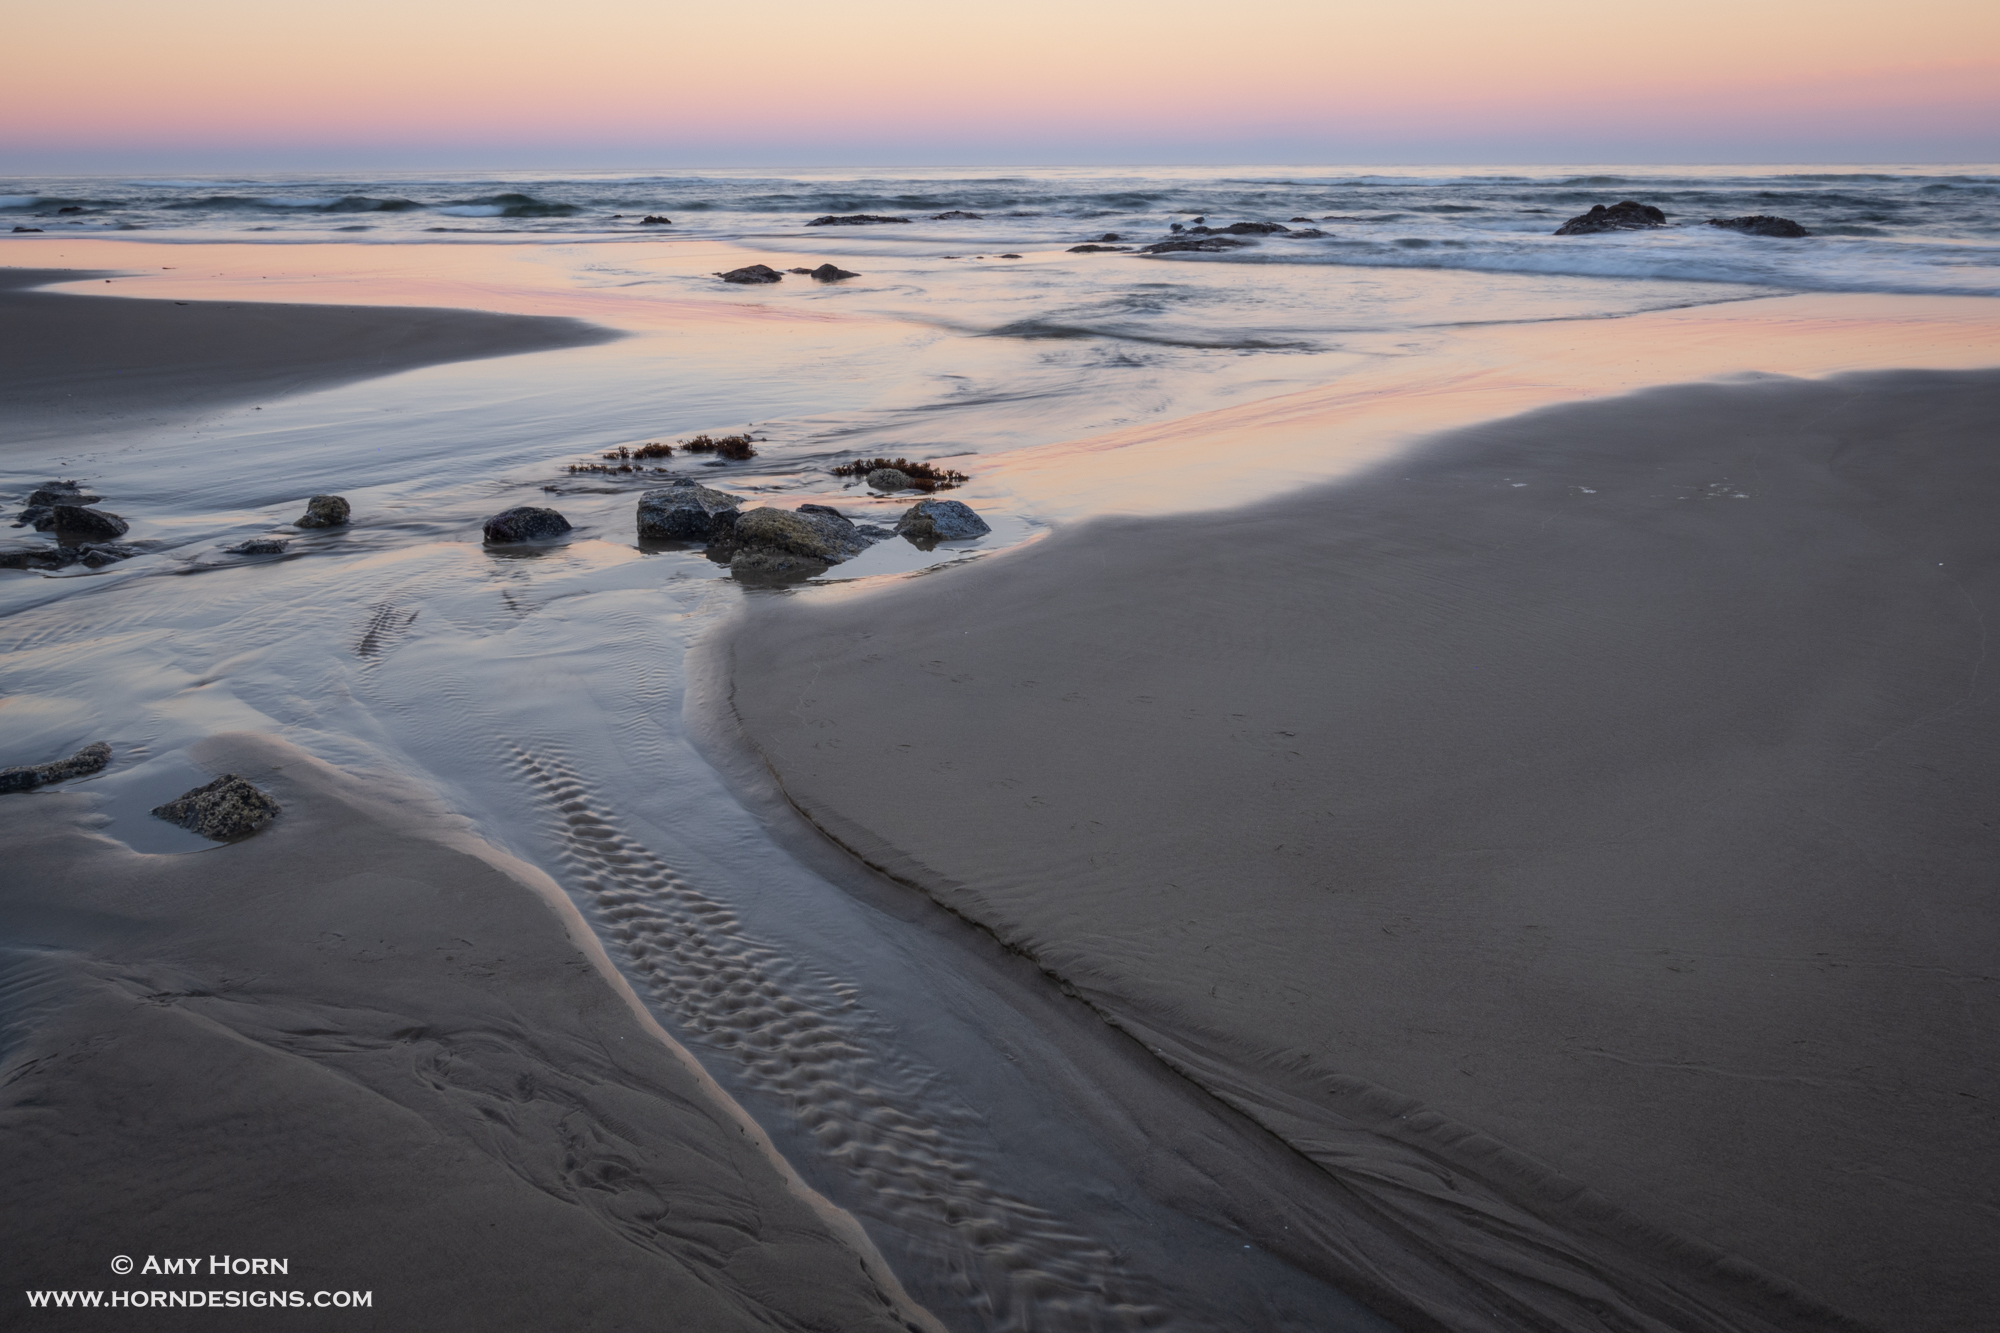
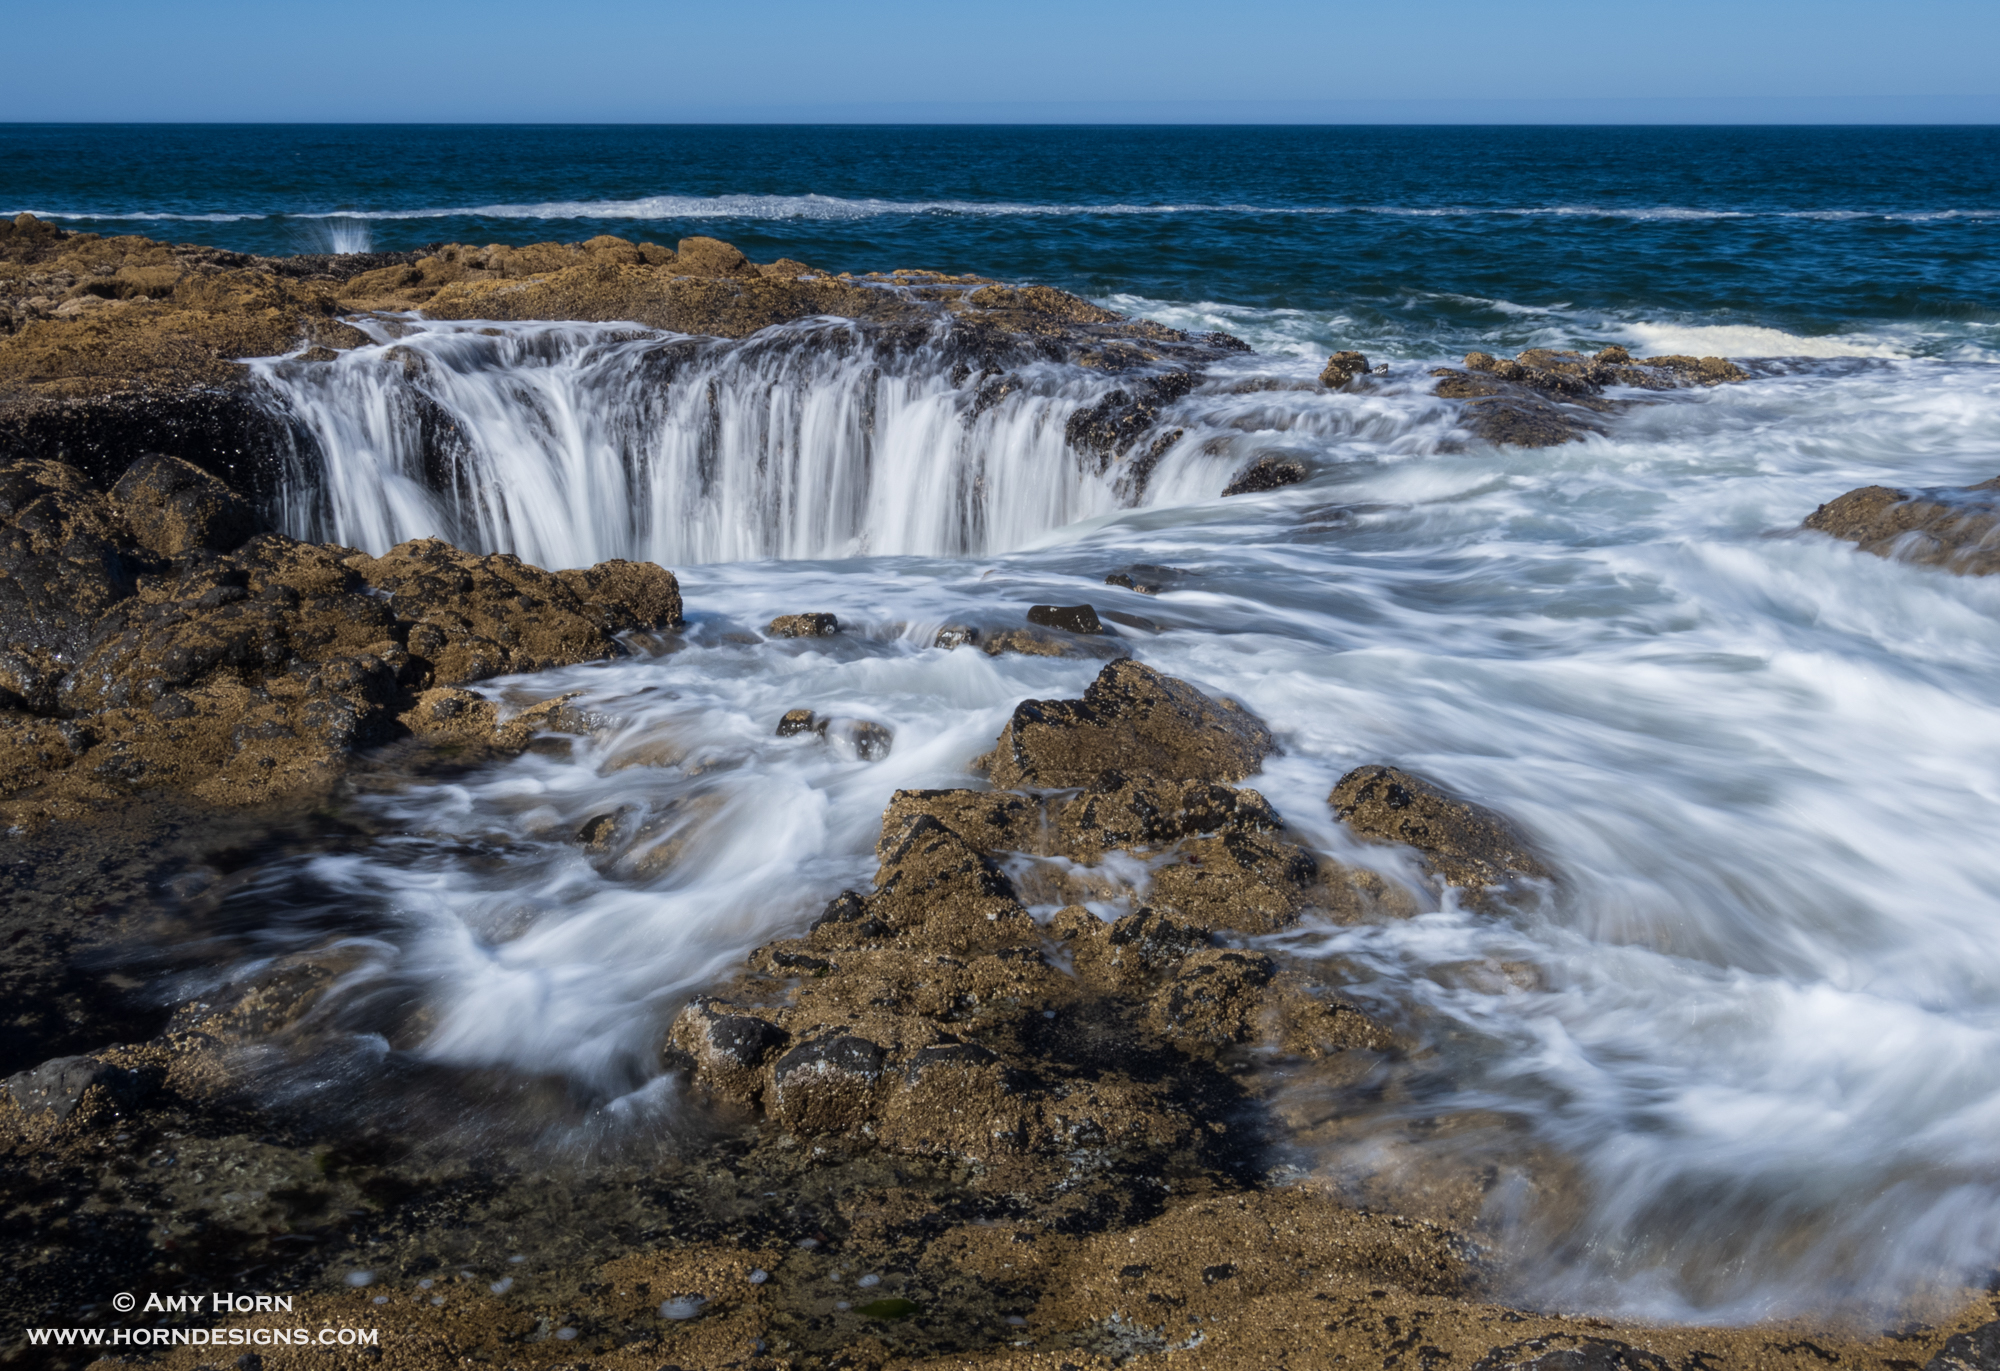
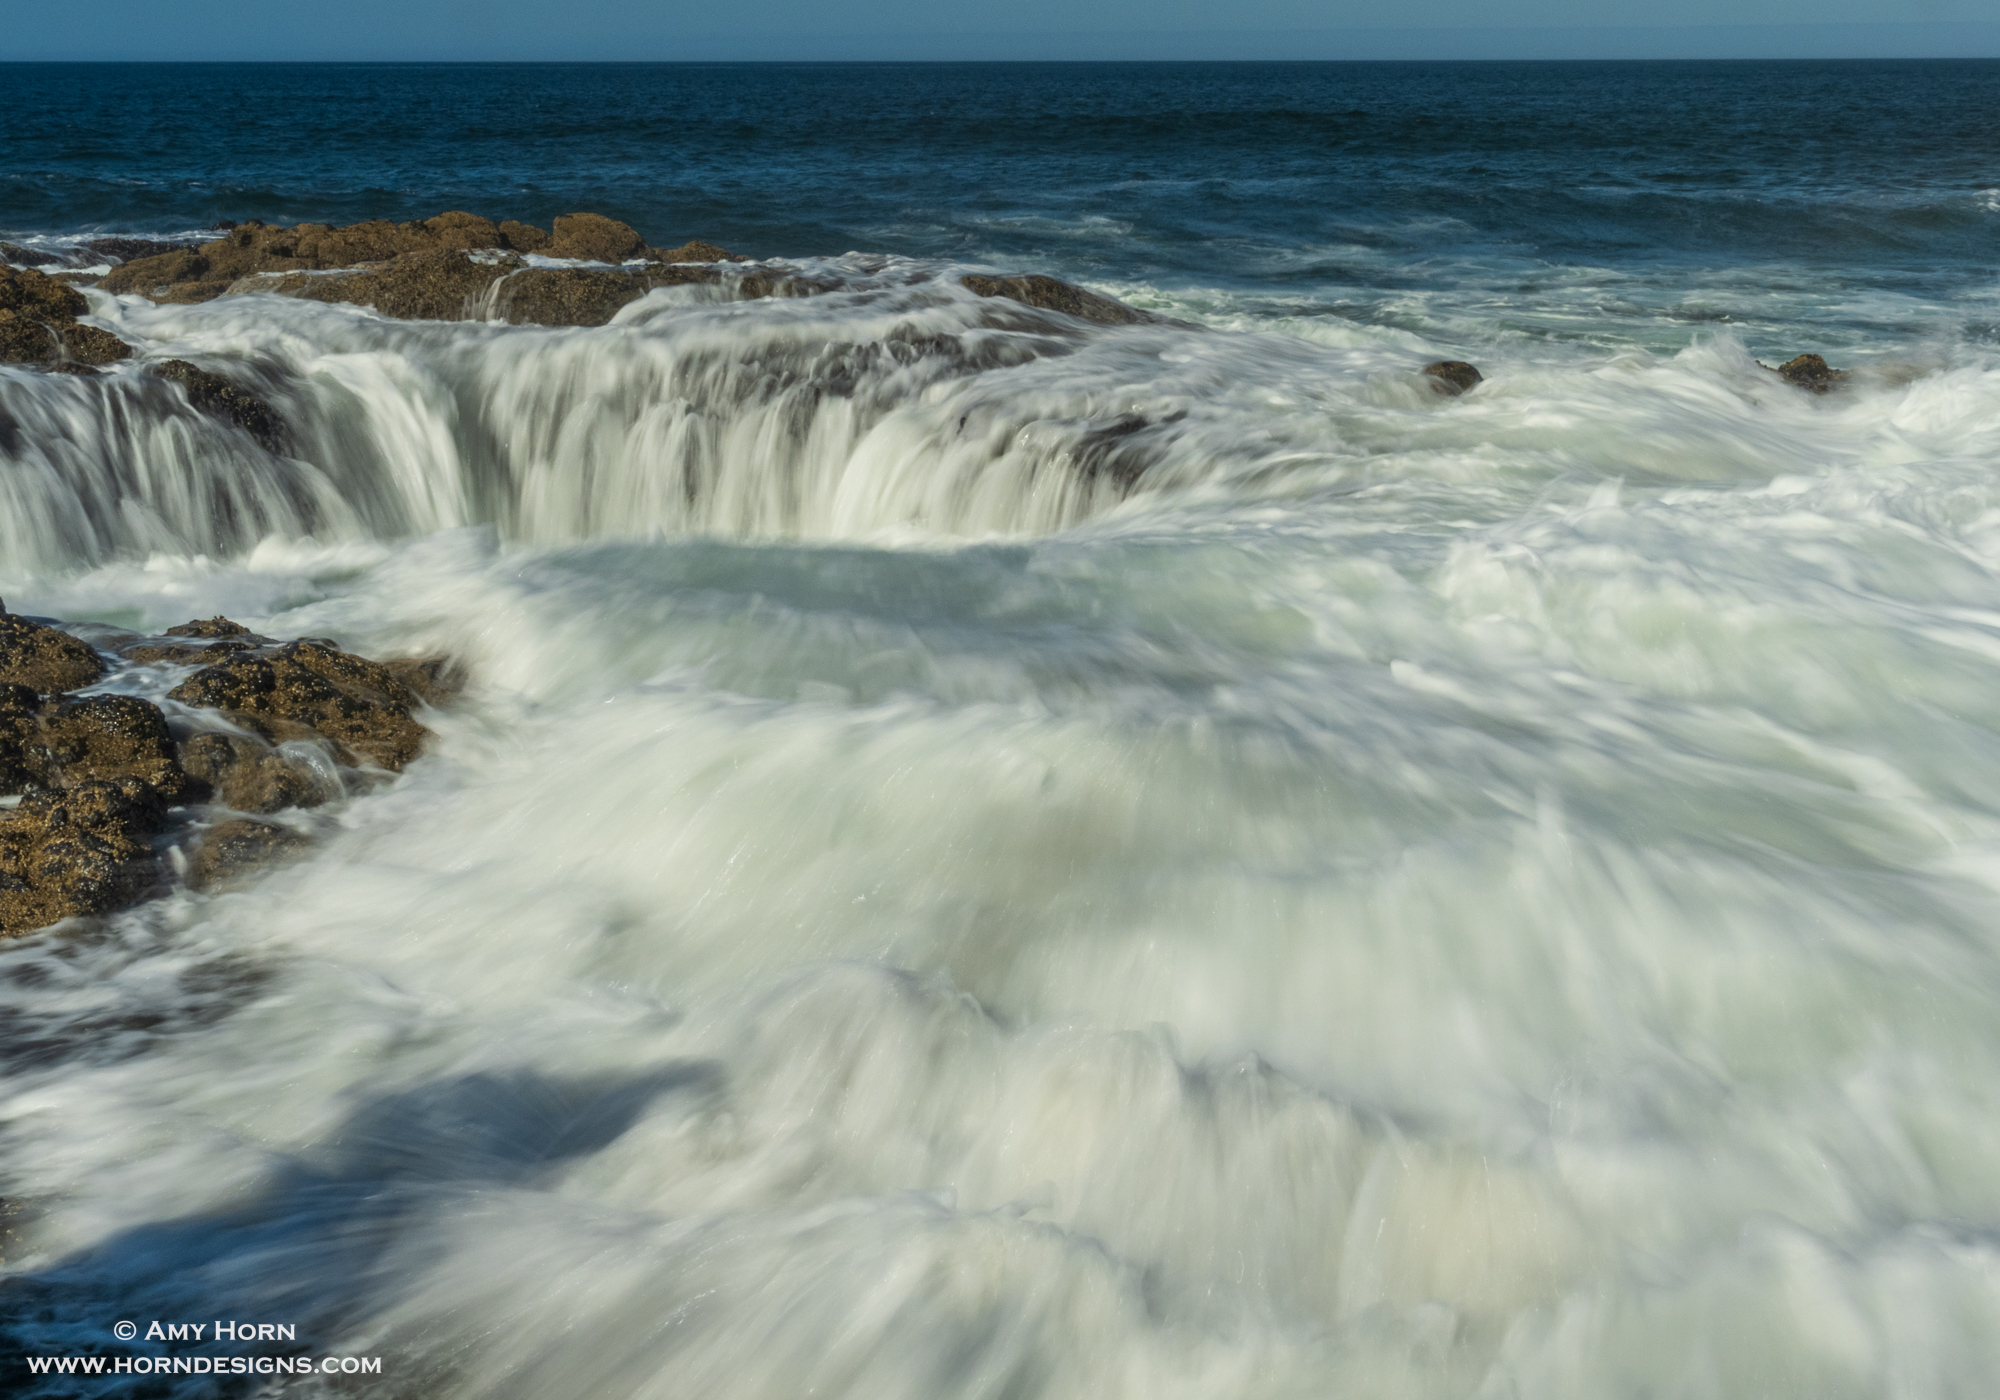
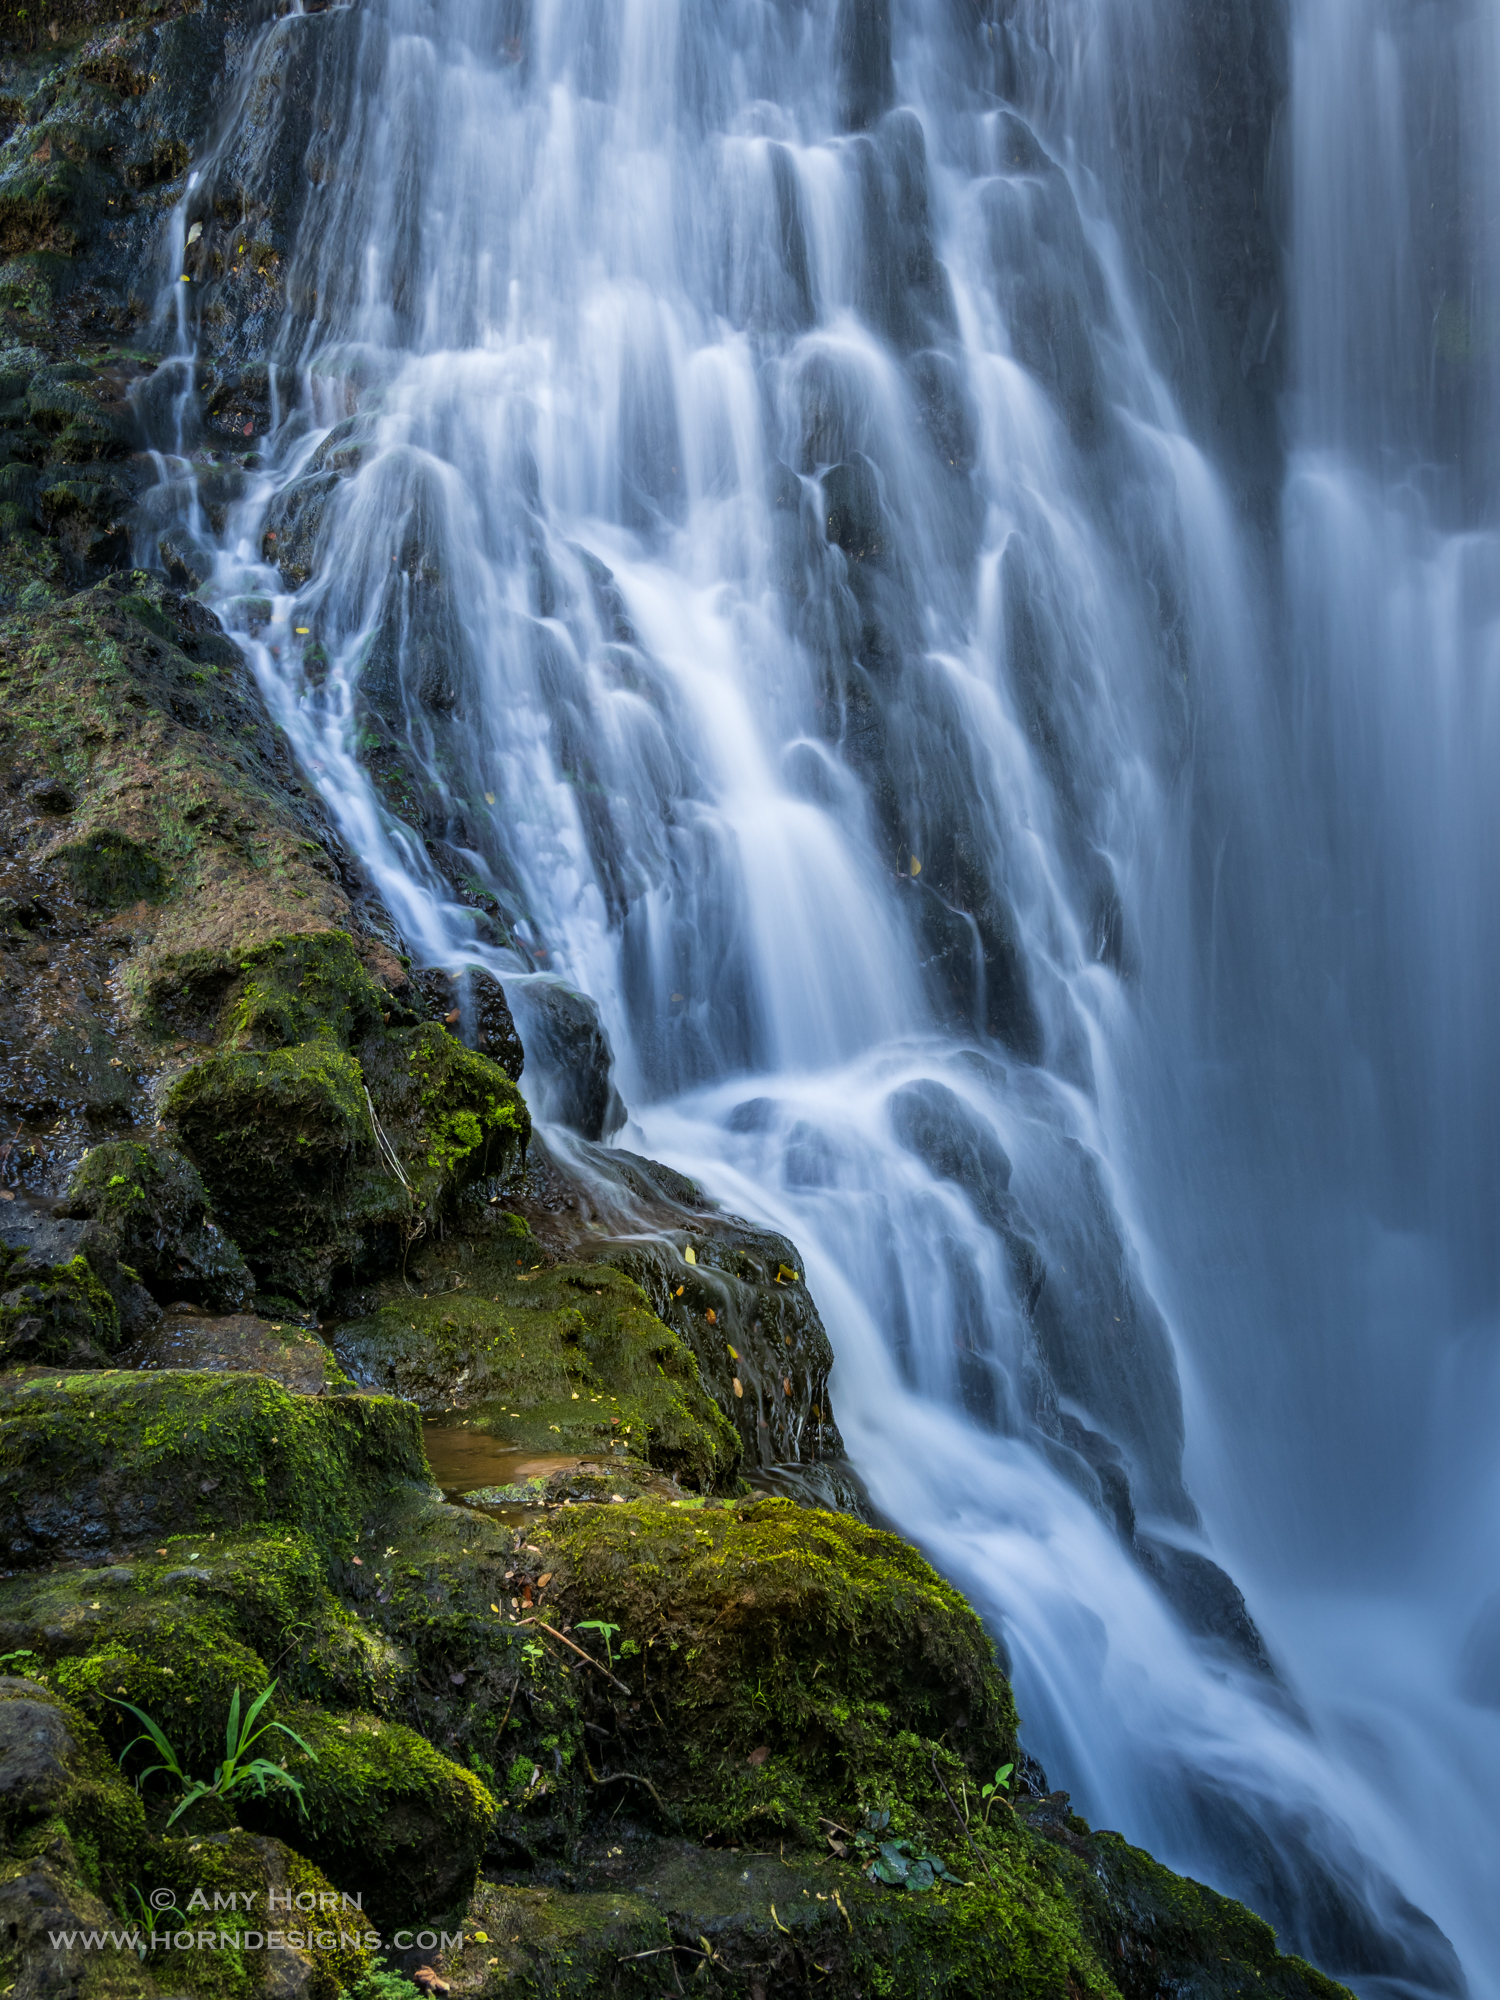
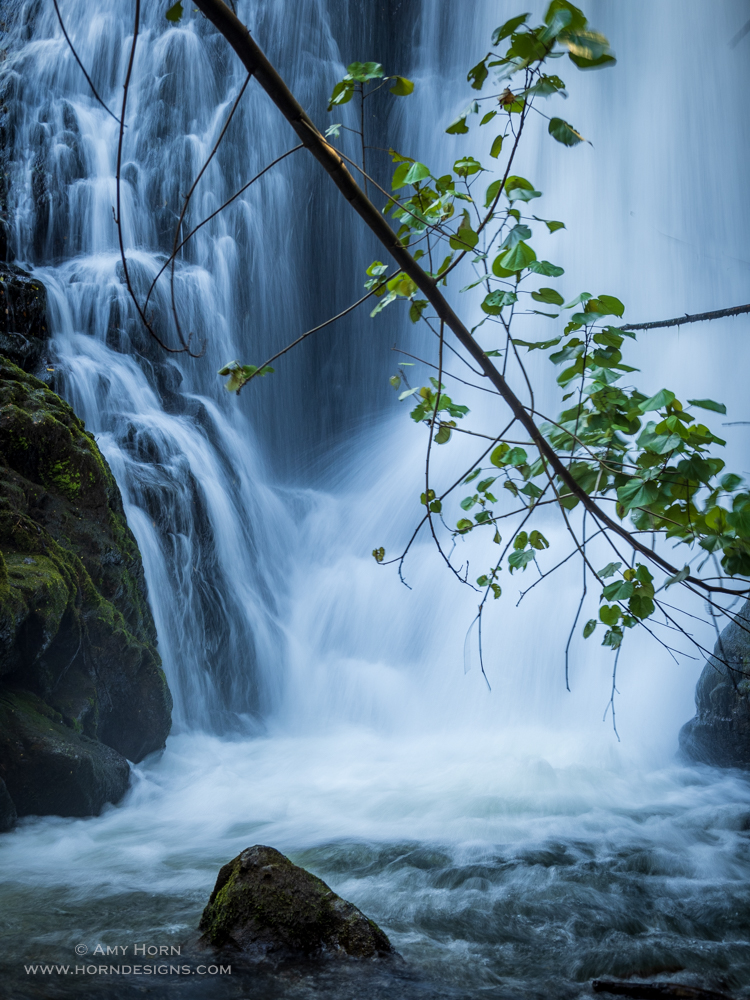
After a week of scouting along the Oregon Coast for my photo workshop in 2023. I’ve narrowed down my favorite images. With such diversity along the coast from waterfalls to crashing waves, it was not easy for me to choose. Not to mention the great macro opportunities and wildlife scenes. My favorite photo goes to…..(drumroll please) Sweet Creek Falls! With a close second to Ocean Beach sunrise.
Olympus OMD1 Mark III, f/16, .6 sec, ISO 100, Singh-Ray Bryan Hansel Waterfall Filter
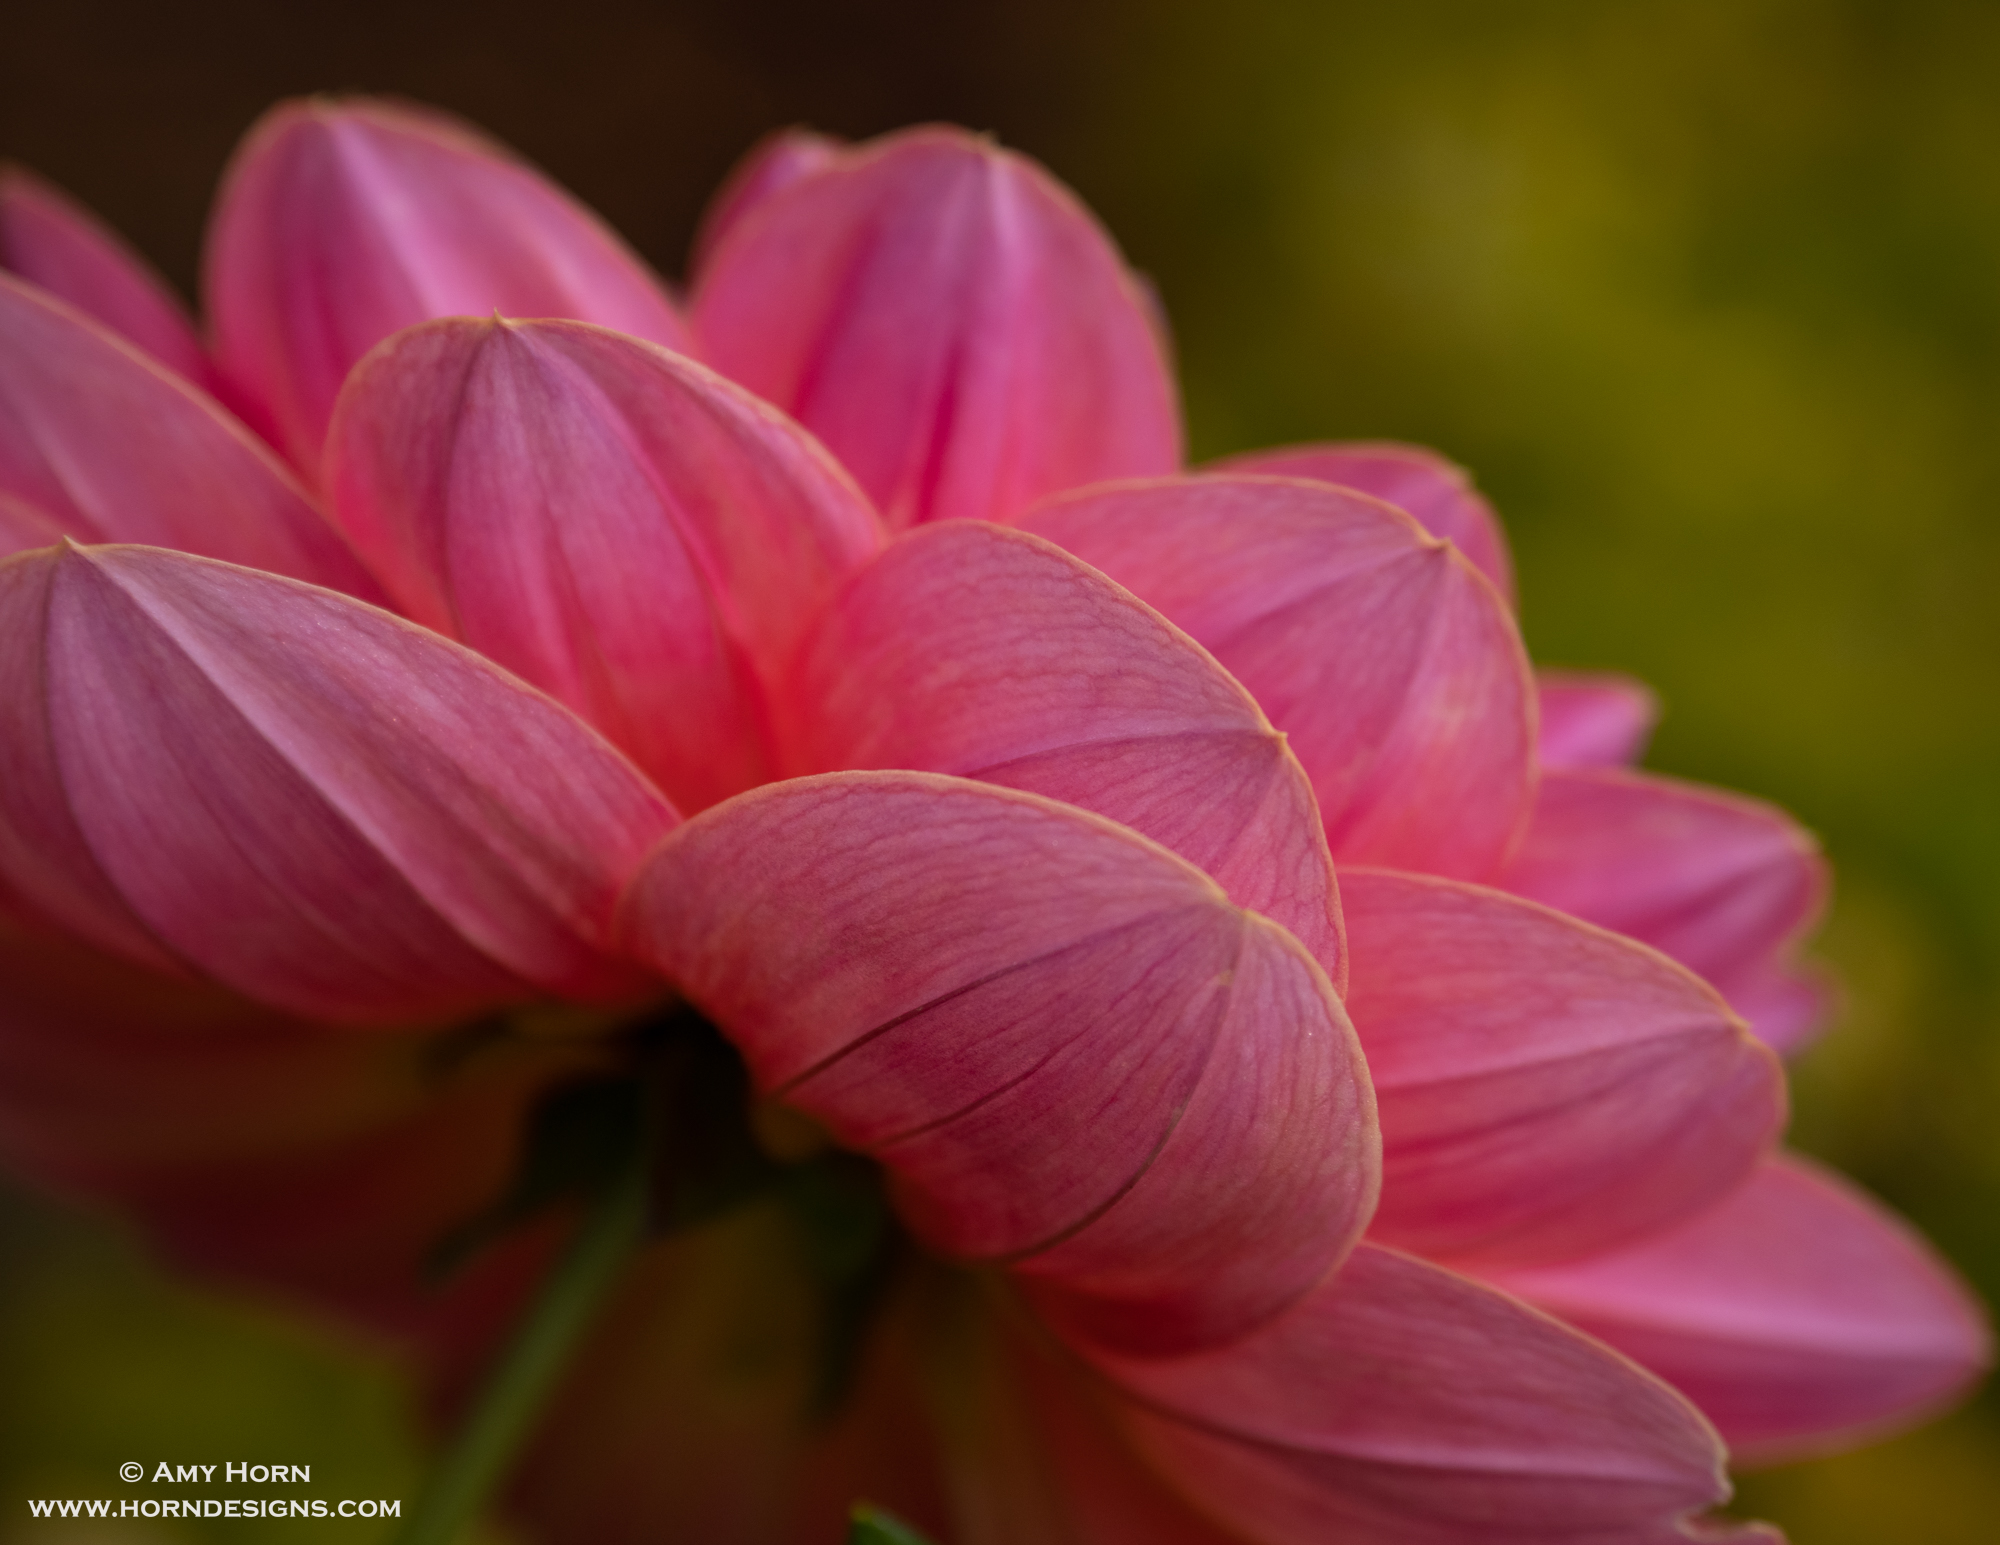
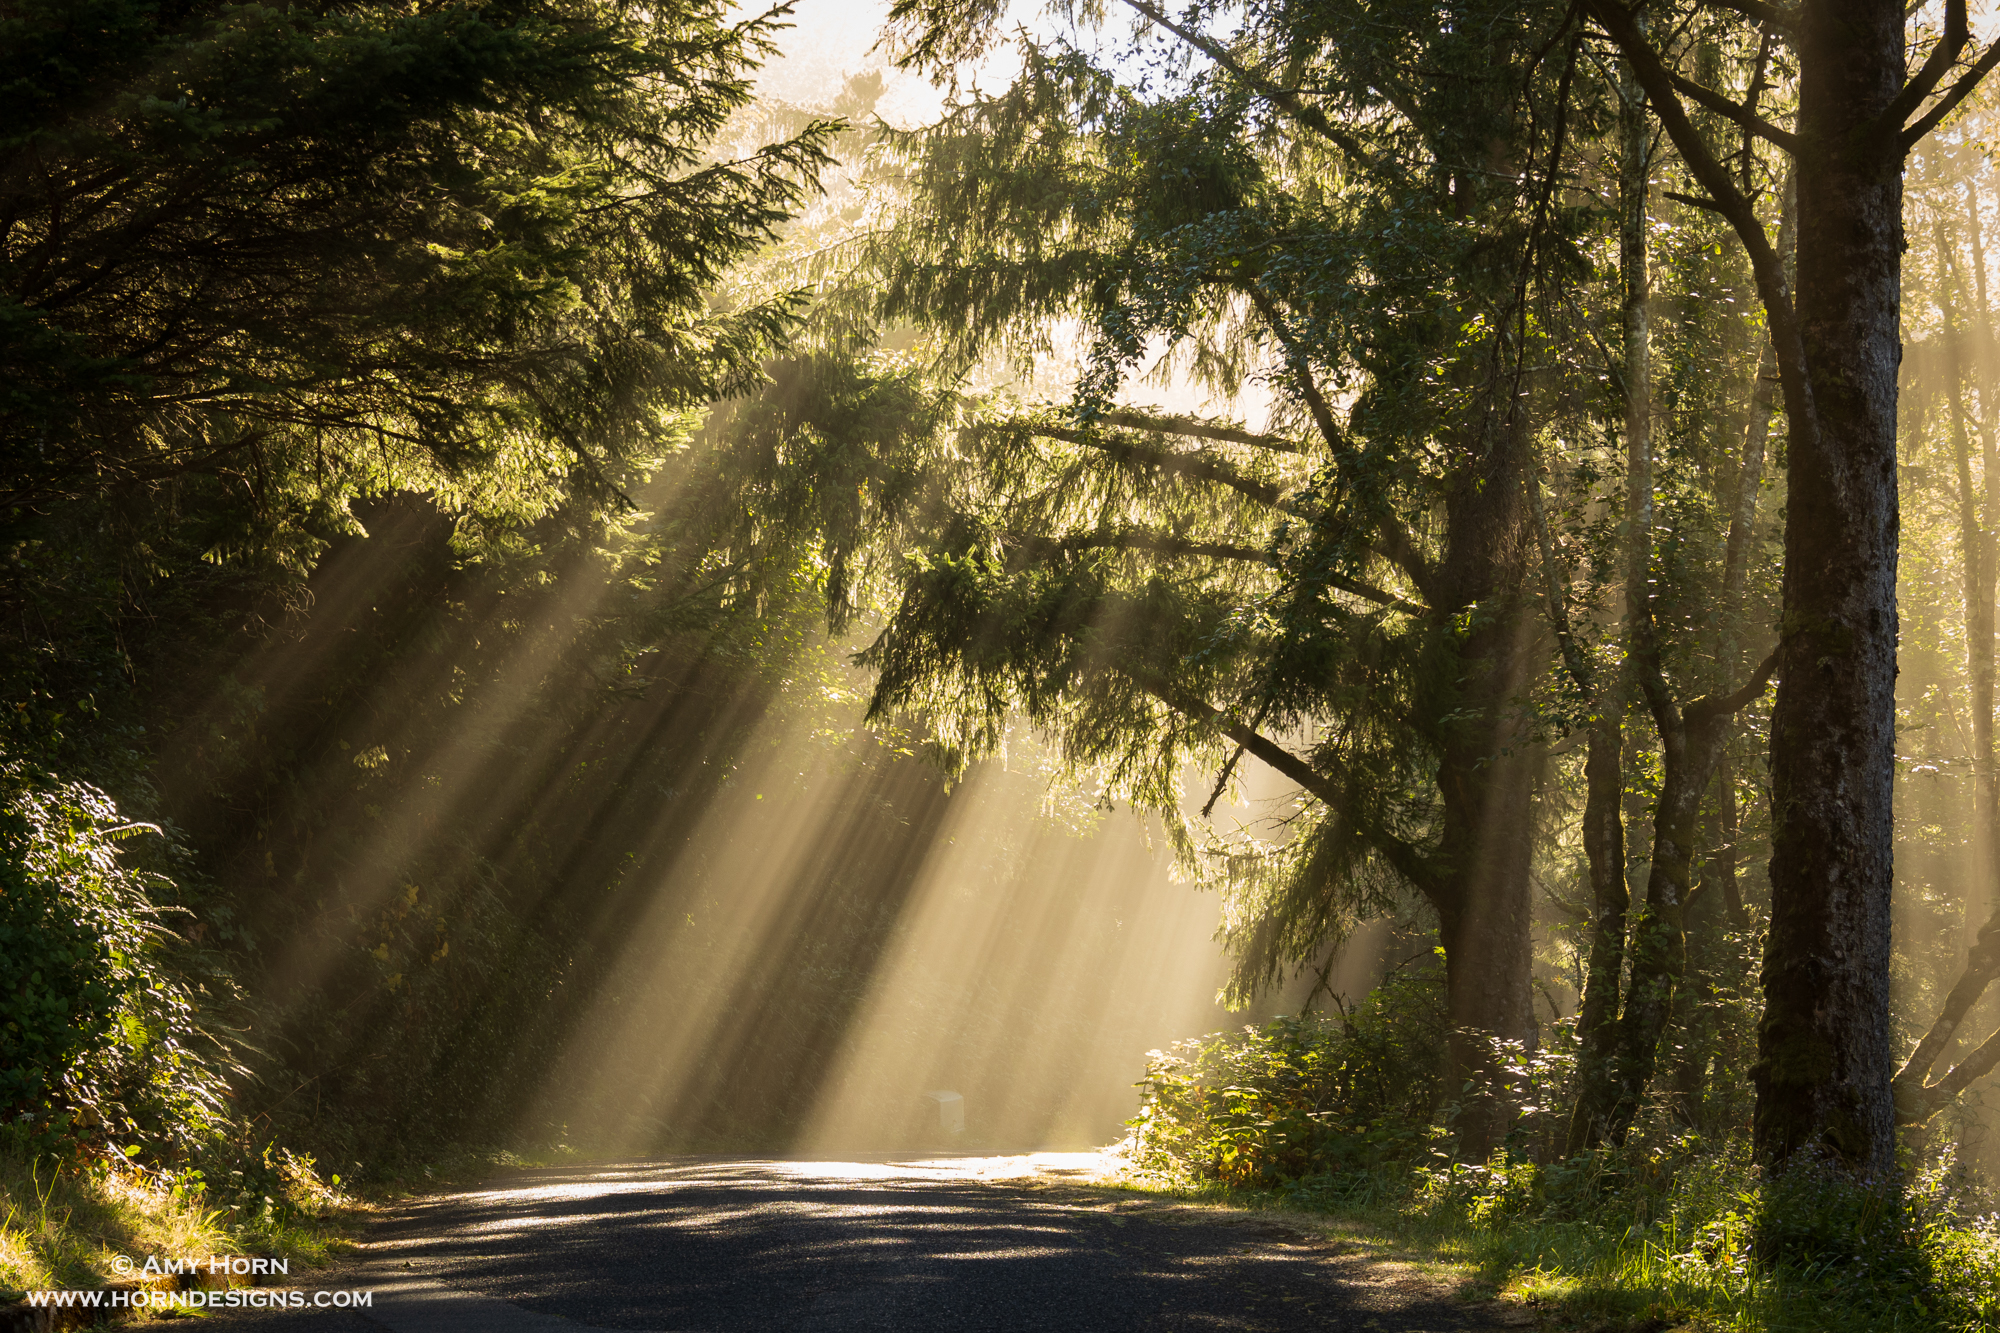
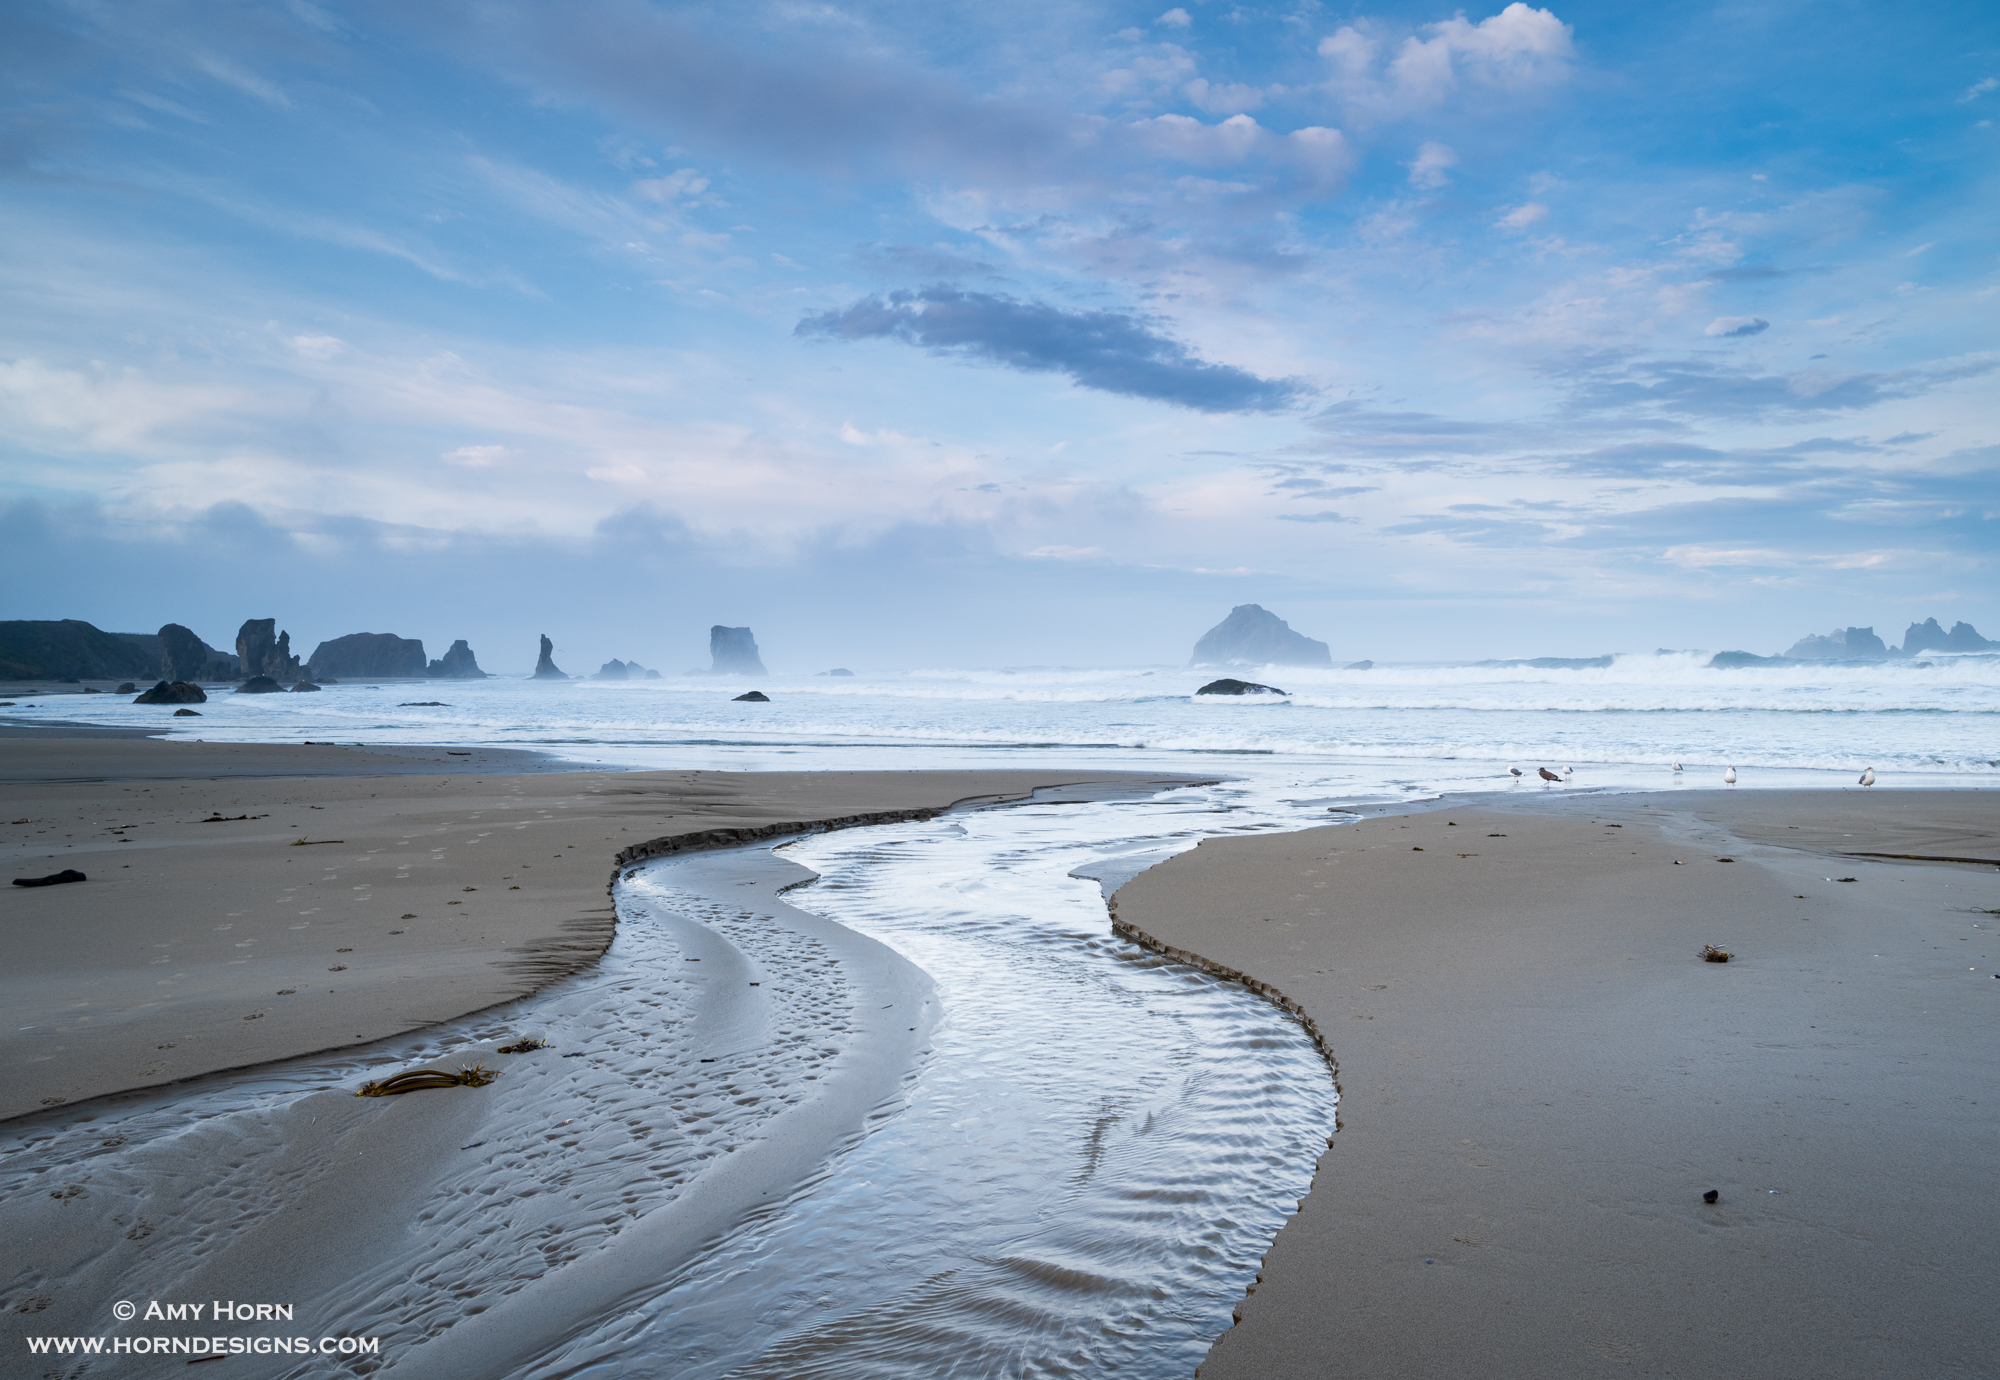
And then there are a few other favorites from macro detailed images to fog and the final image from Bandon Beach. All of these were considered for different reasons. Whether it was the unique perspective of the subject or the great light, they were definitely in my top images.
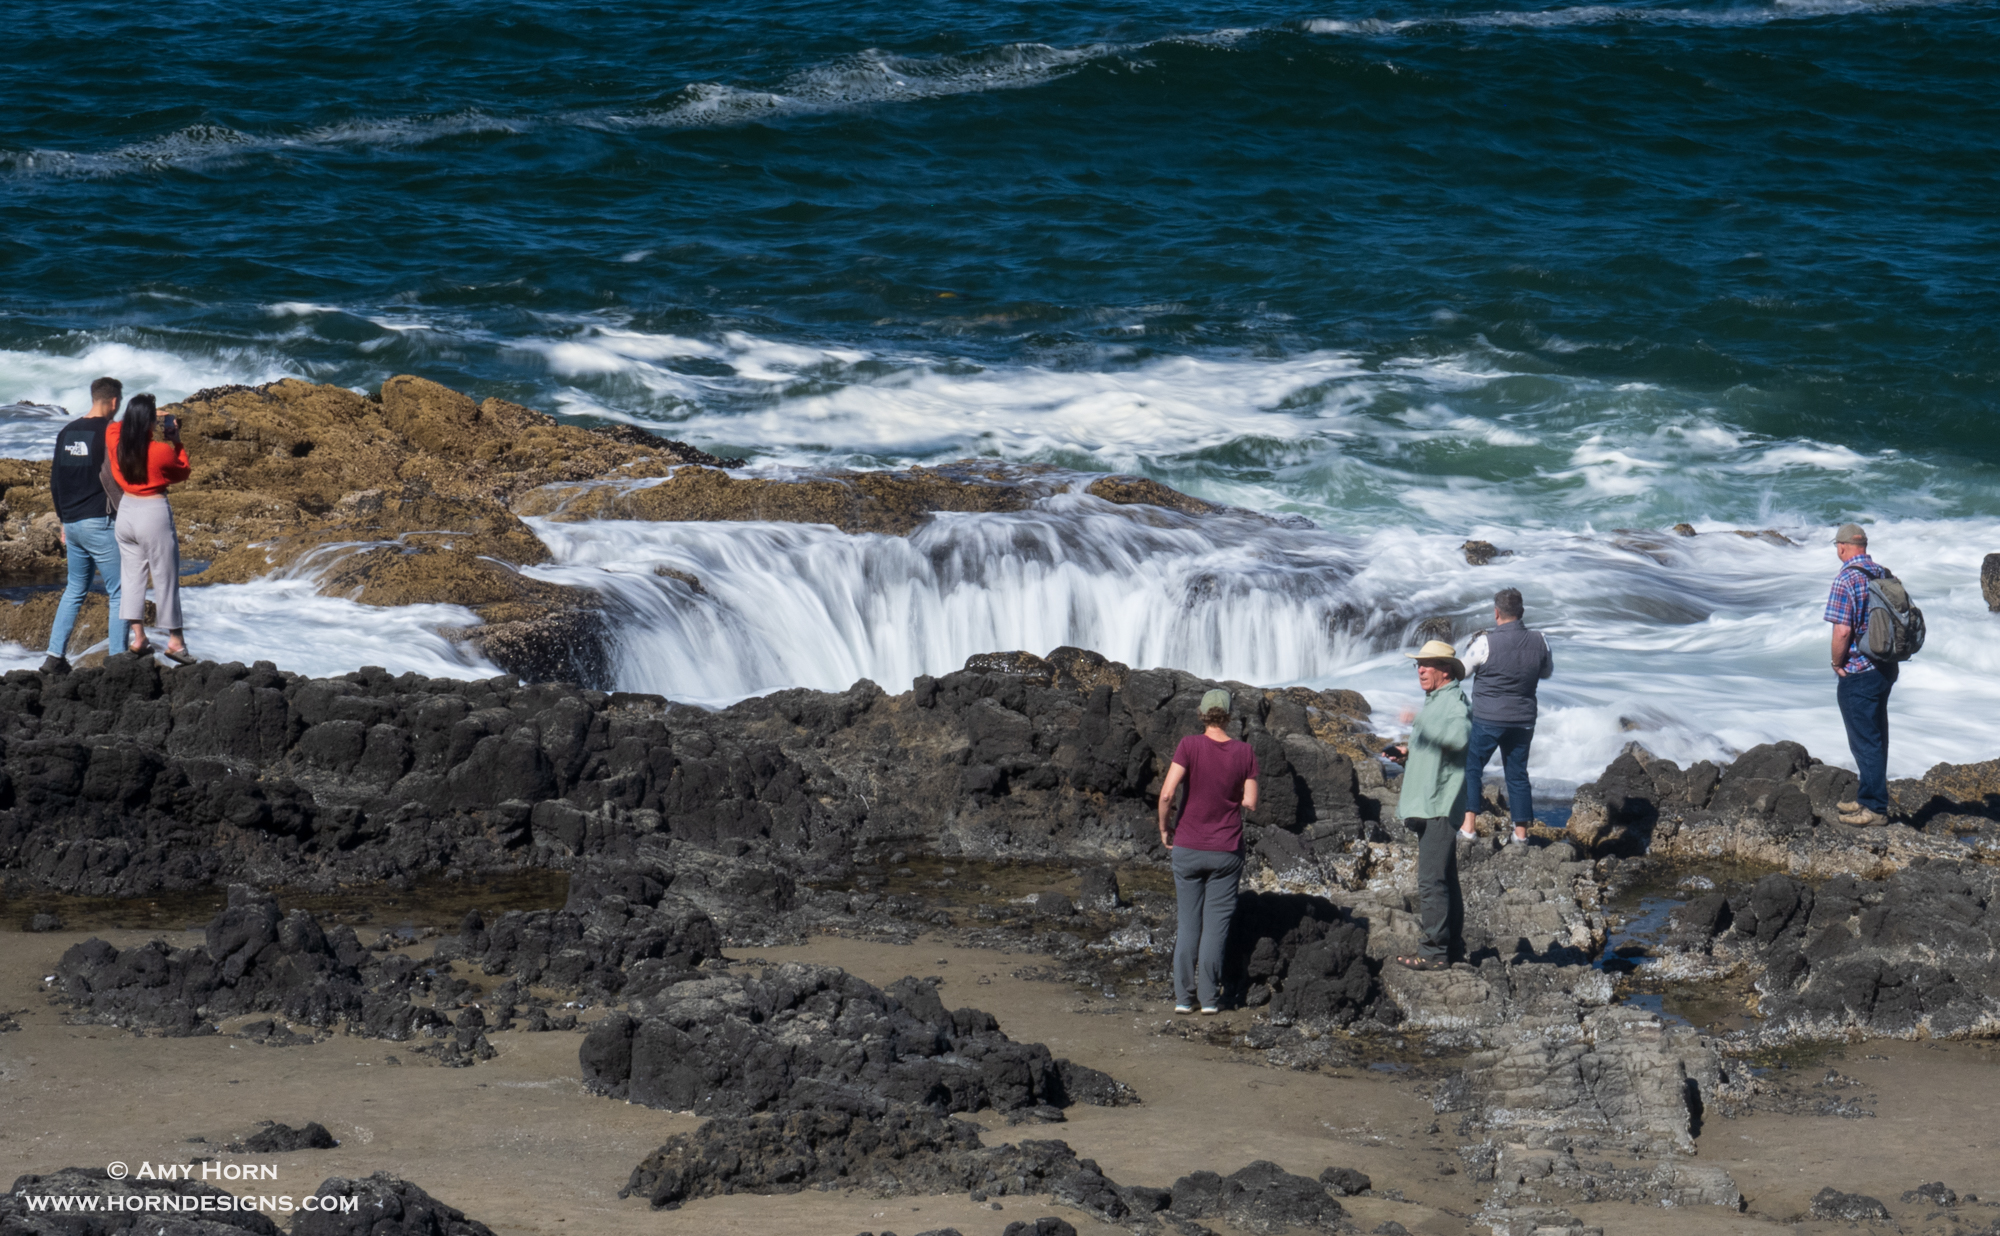
And then there is the series from Thor’s Well where it’s not uncommon to get wet from high tide sneaker waves. I did not get wet but after capturing my shots, I stepped back to watch how close other tourists got. Luckily, no one got soaked!
After your next trip, take the time to sift through the photos to find your favorites. Sometimes it is hard to decide.
And if you would like to join me along the Central Coast of Oregon September 12-17, 2023 – sign up here: ahps.org.
The question asked most about our trip to Minnesota’s Boundary Waters was, “How were the mosquitos?” Well, I have to say, they enjoyed our visit! The mosquitos were thick at times, but we were prepared and dealt with them. I knew very little about the Boundary Waters, so this travel blog shares my new knowledge of the area and our back country adventure.
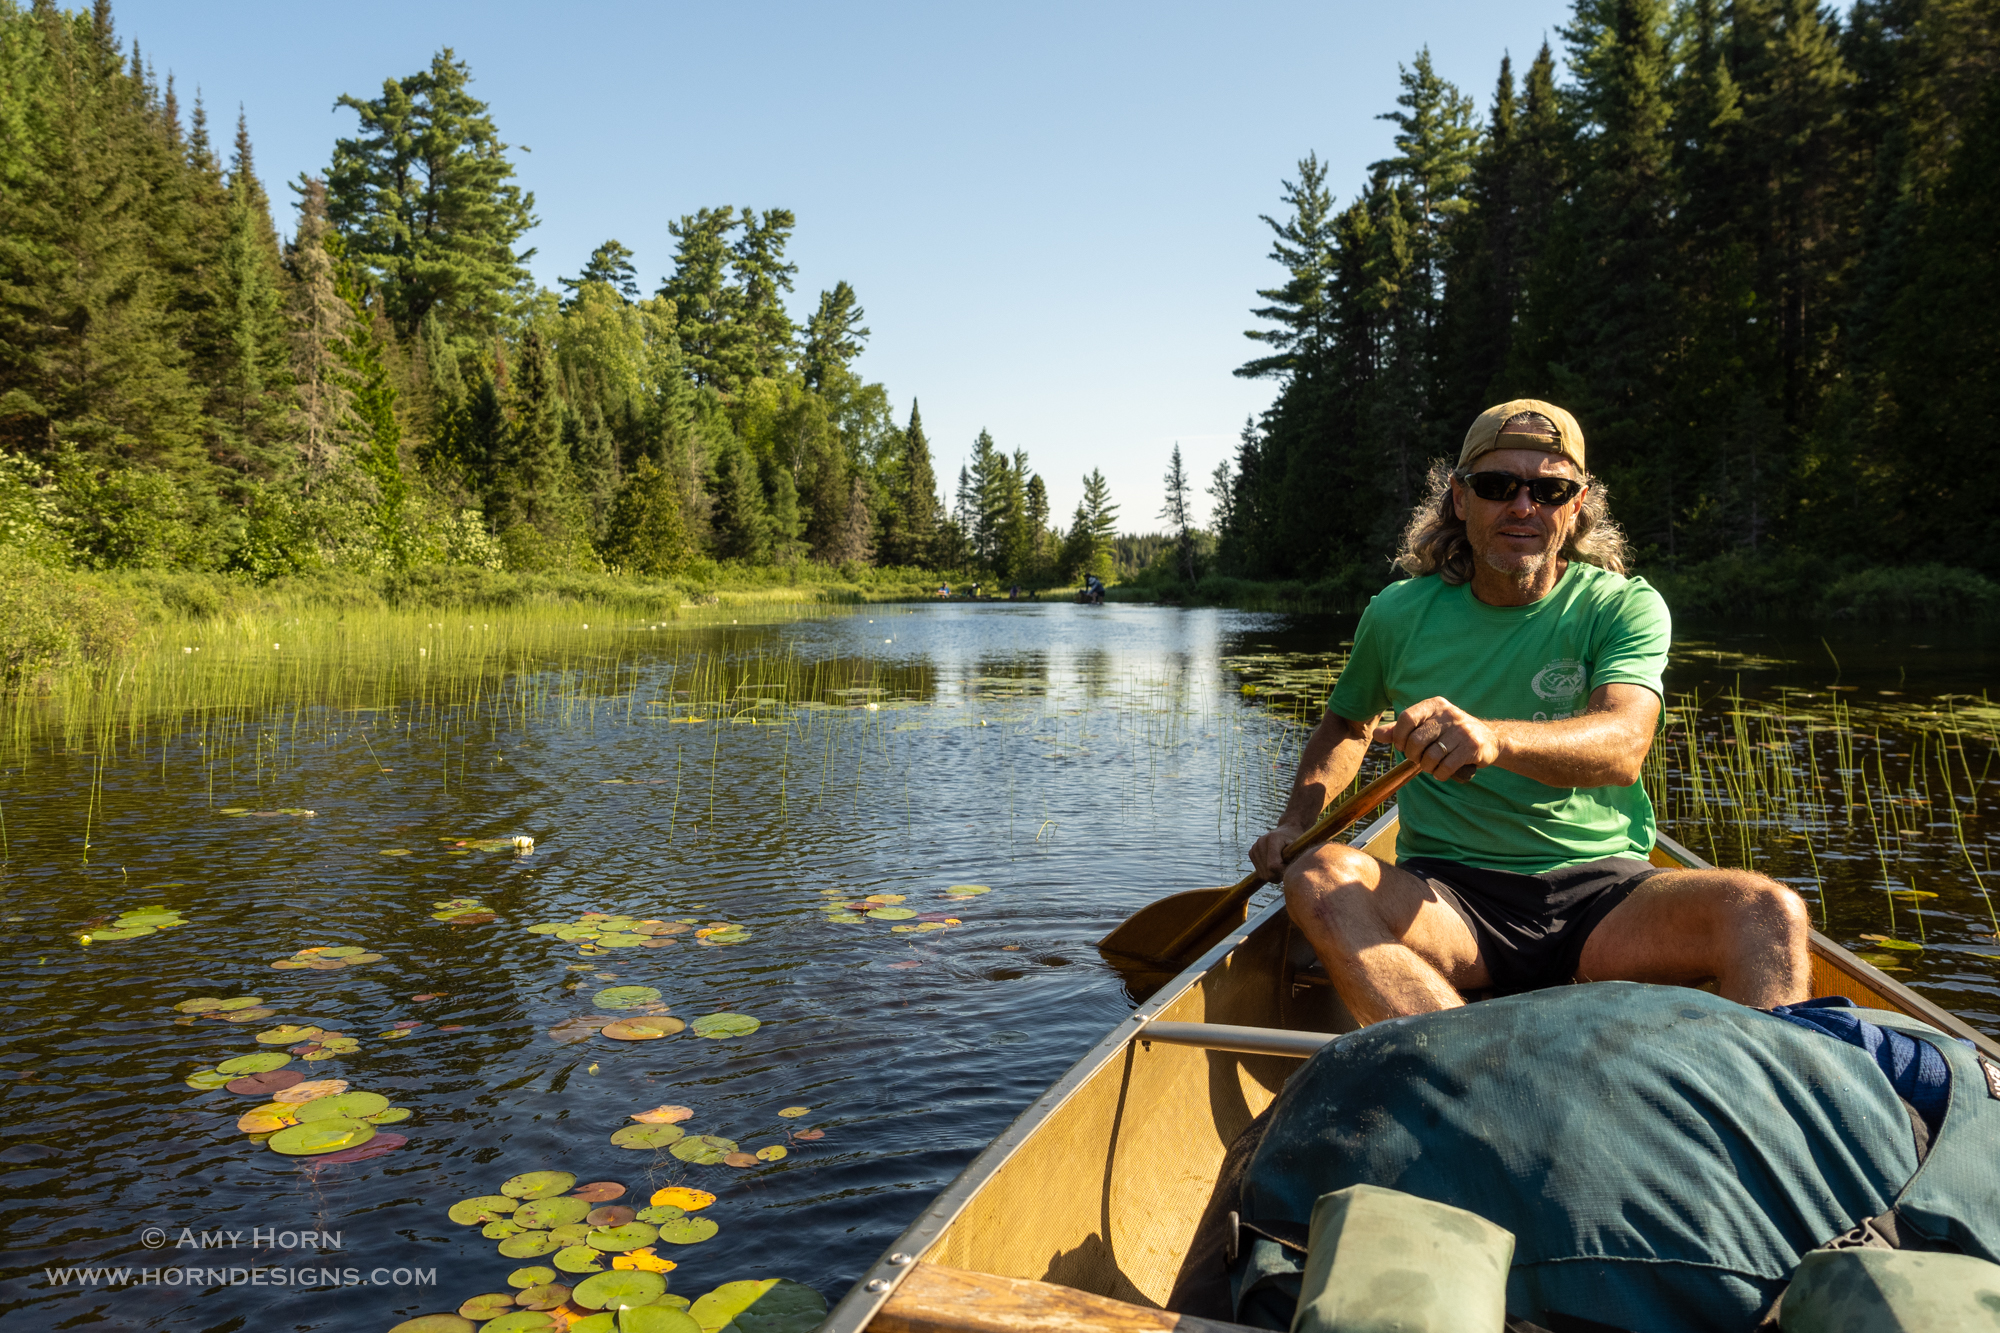
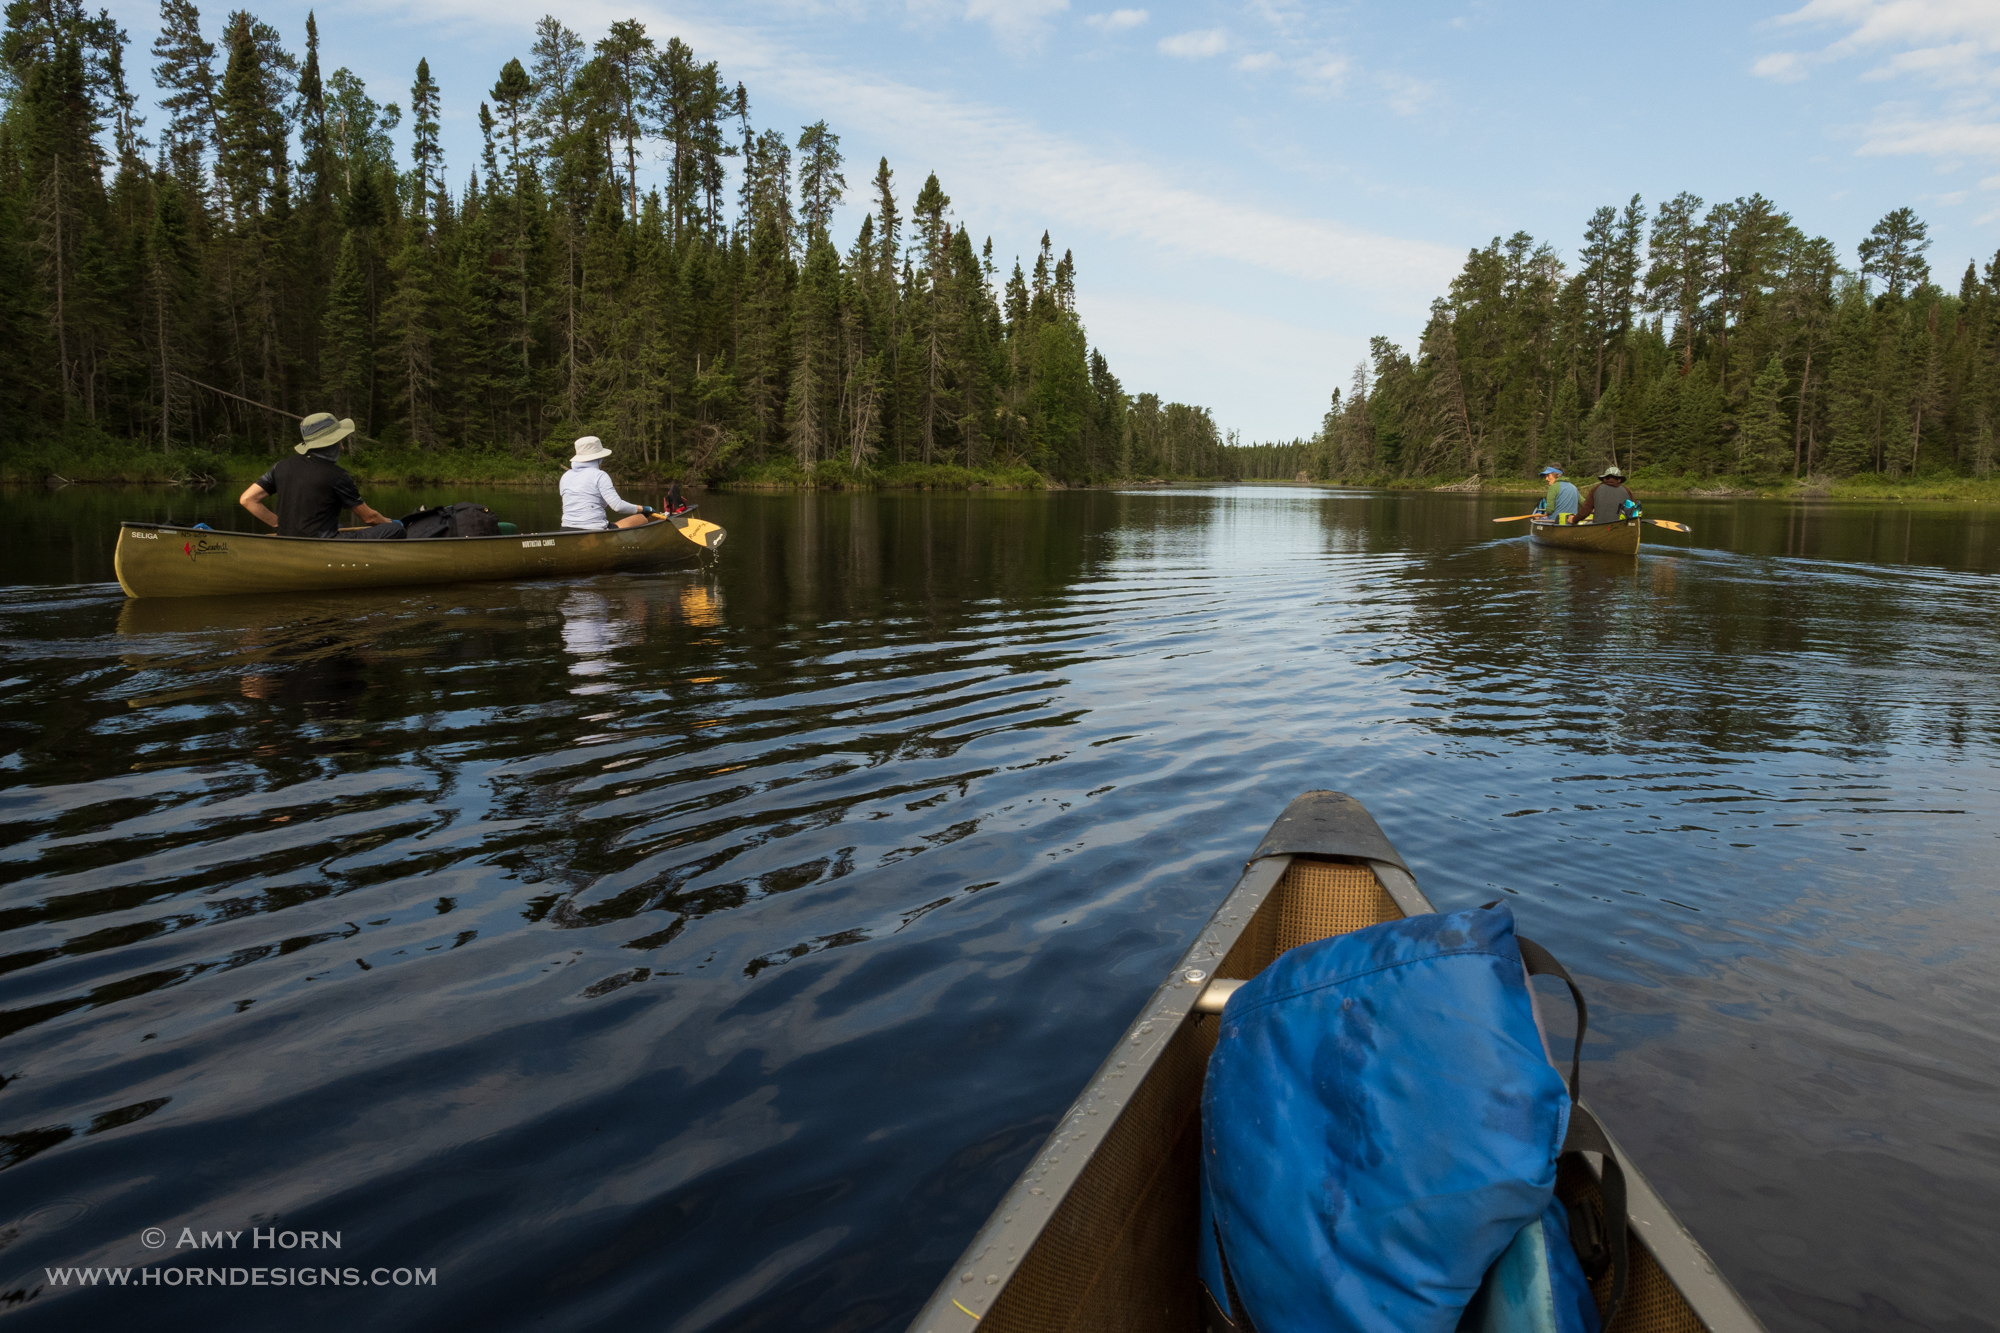
According to Paul Vincent, the Boundary Waters Canoe Area (BWCA) is one of America’s most remote and cherished wilderness areas accessible primarily by canoe. It extends 150 miles along the U.S.-Canada Border, with over 1,100 lakes and 1,500 miles of canoe routes. It was hard for me to imagine until I saw it firsthand. (Explore Minnesota) In the large lakes, the water is so clean, that it is drinkable without a filter.
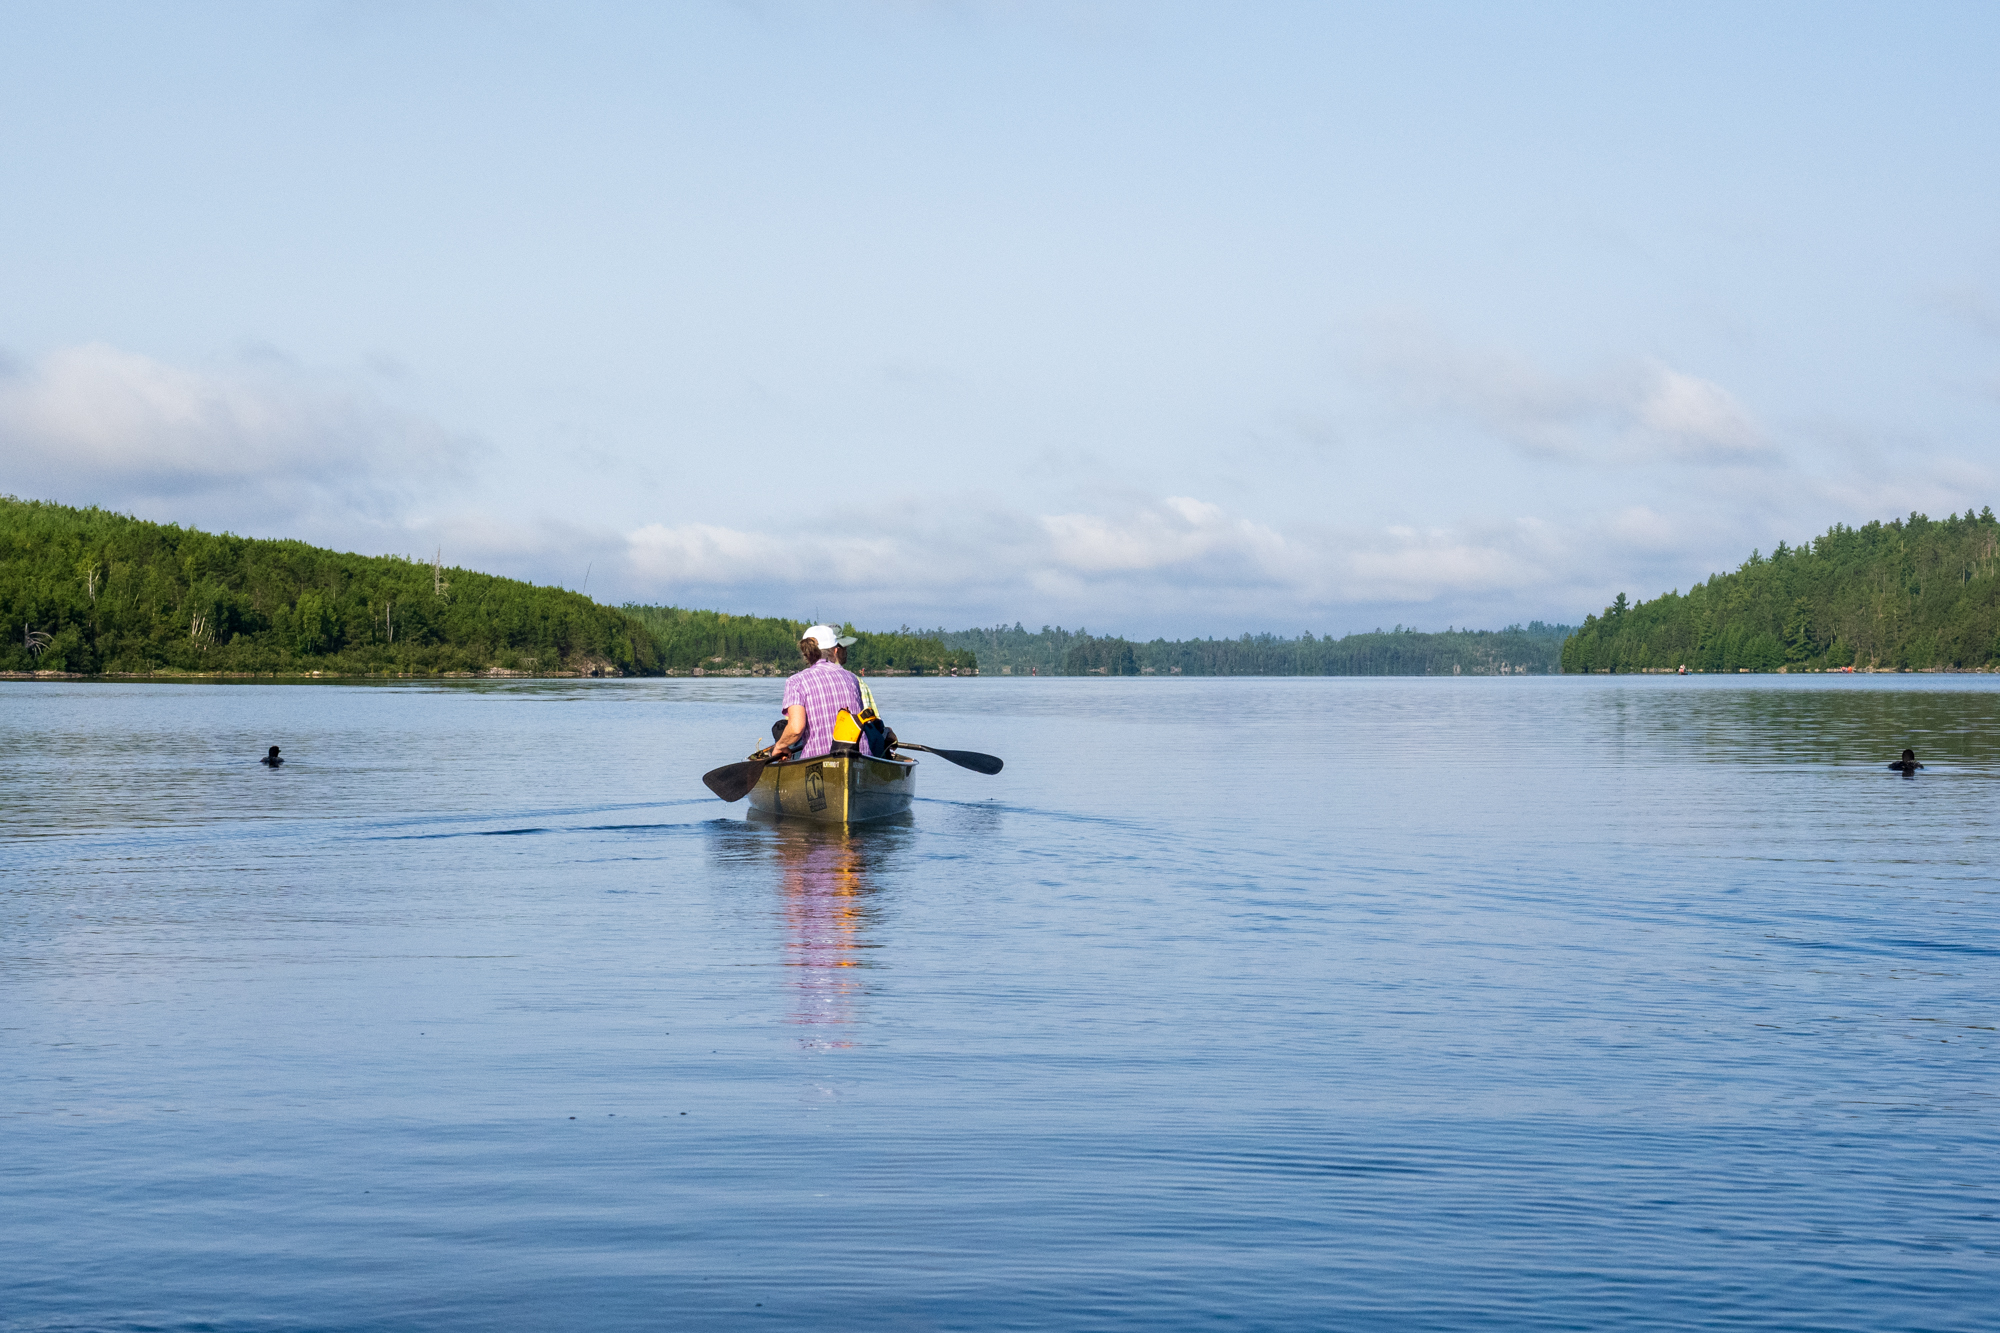
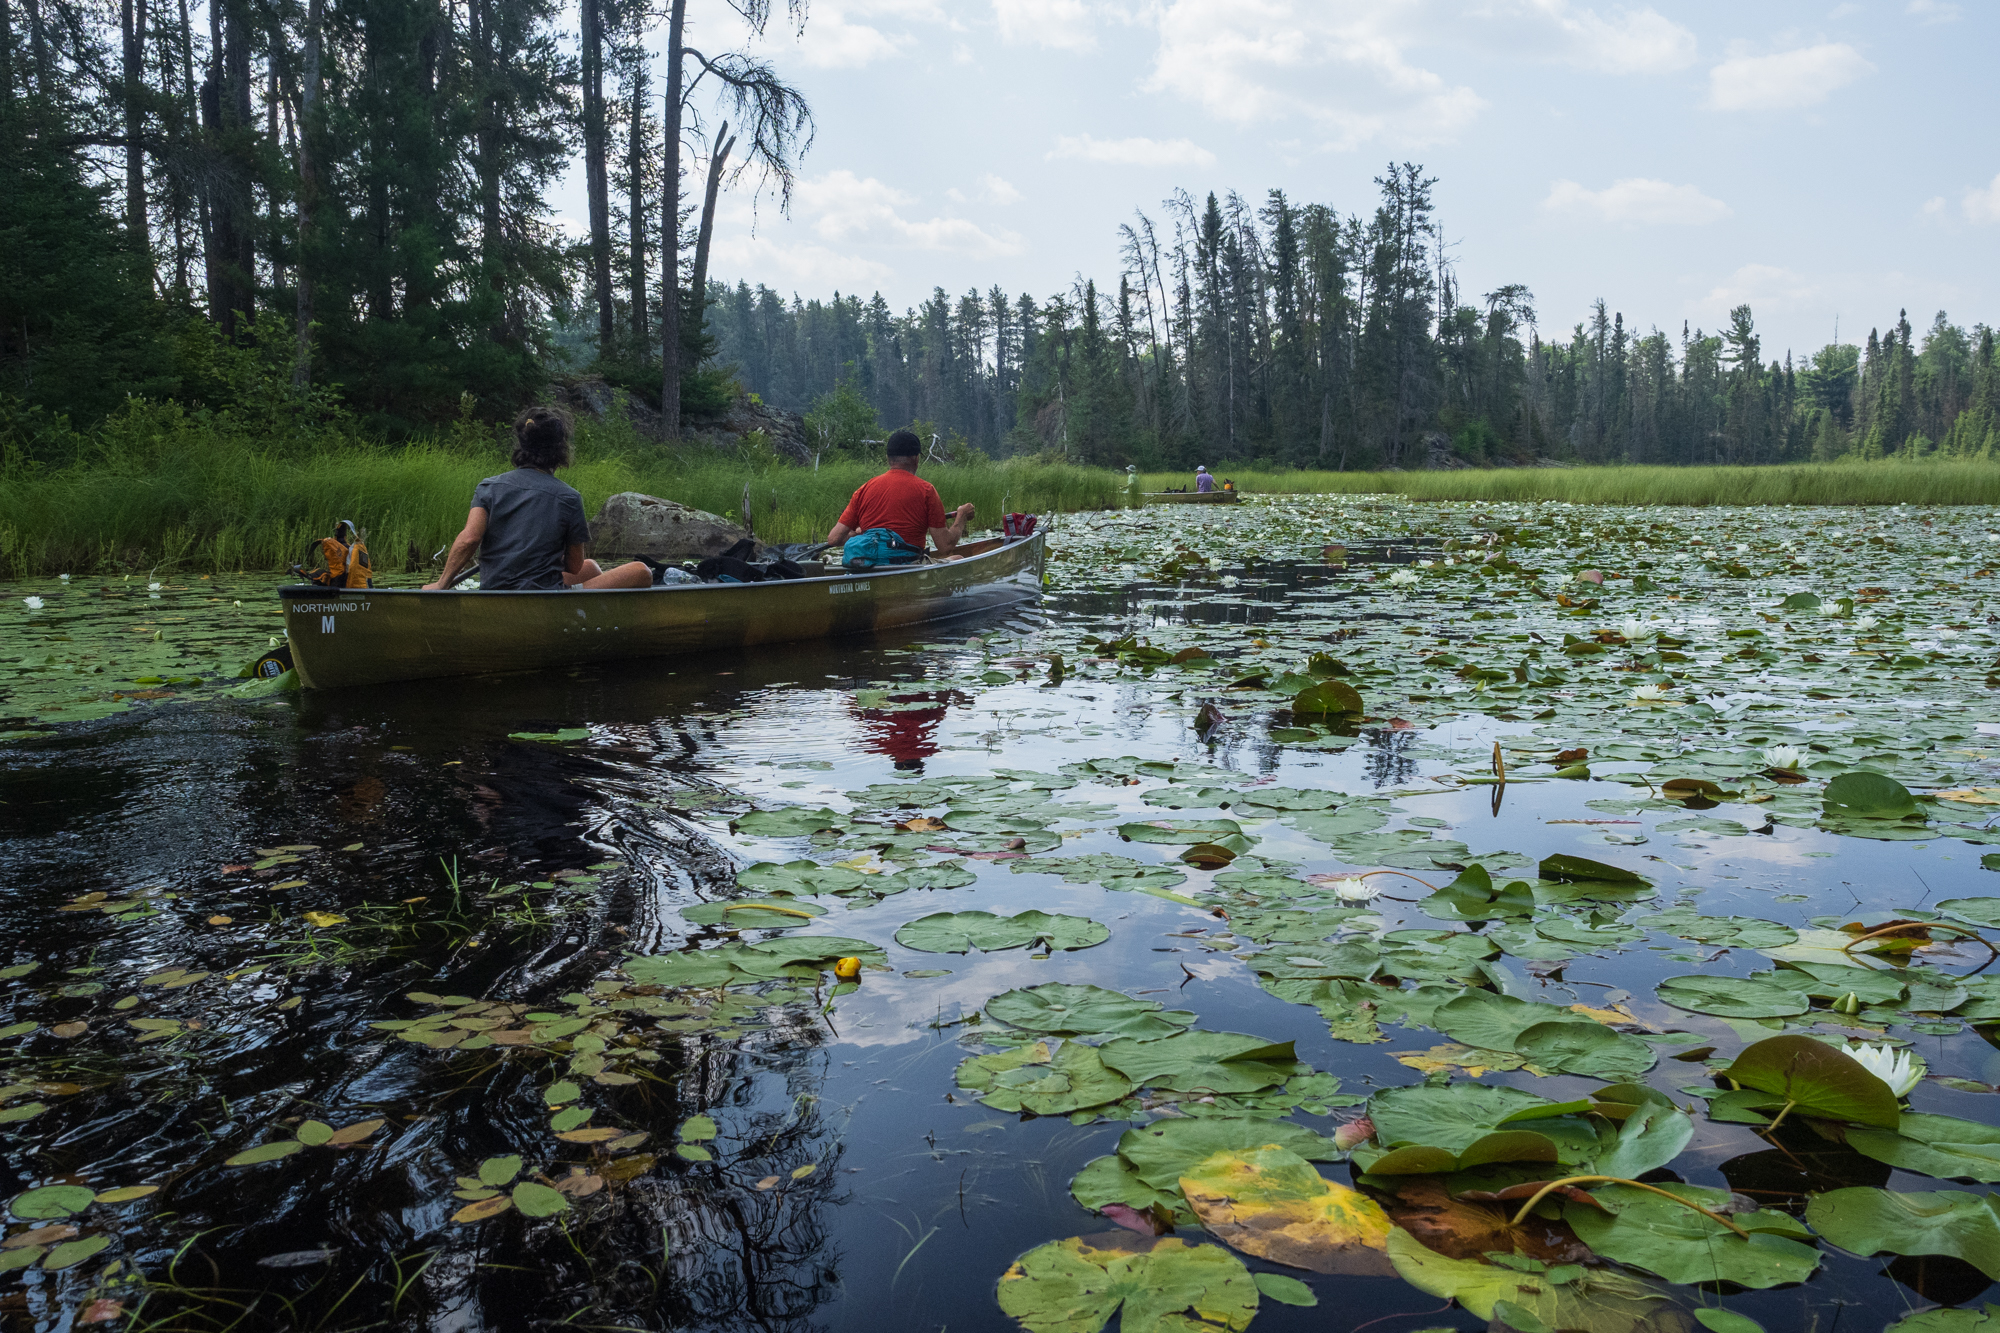
Rod and Amy Canoeing in the Boundary Waters
Preparation
Our good friends (Gretchen and Ron) have extensive knowledge and experience in the BWCA, so we followed all their gear recommendations. We brought one wet outfit and one dry outfit for the 6.5 days with additional waterproof gear/warm layers. The clothes were pretreated with Permethrin to discourage biting bugs and it worked well. We also acquired an ultra-lightweight tent, sleeping bags, and chairs to keep us comfy at camp. Of course, I brought a camera, so I bought a waterproof bag (OverBoard Waterproof SLR Bag) that clipped to the canoe or hung over my shoulder. The easy-to-access bag kept me shooting on land and water. Lastly, an outfitter provided us with canoes and packs.
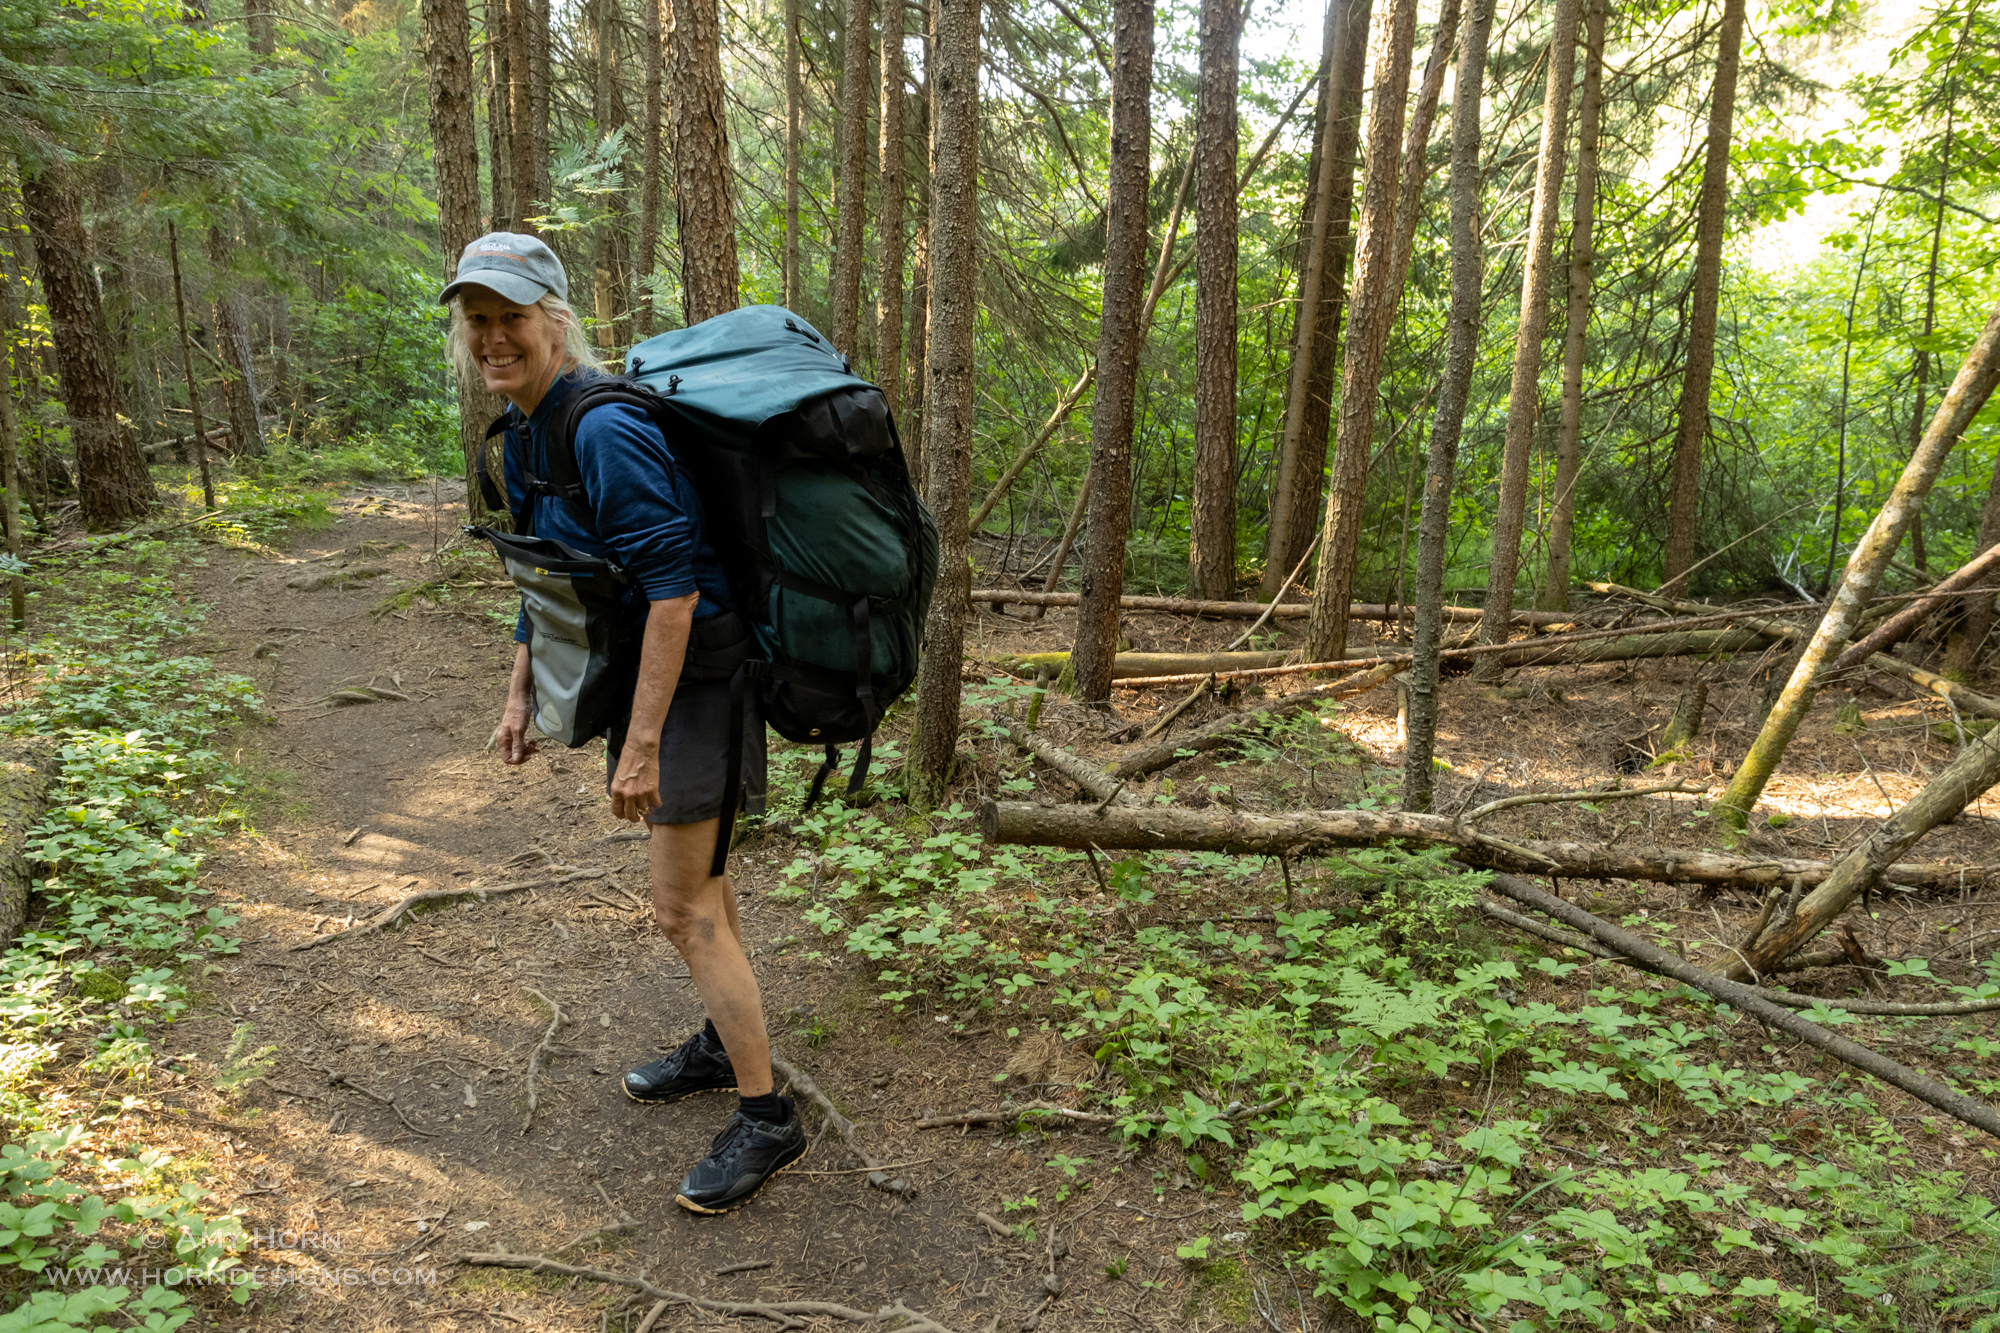
Our group included eight people with four canoes, and each canoe carried two people, with all their gear (personal gear, tent, sleeping bags) along with a portion of group gear (food, stoves, tarp, pans, etc). We carried food, a tarp, and the pancake griddle pans as our group gear. This made for a heavy pack. When I first put it on, I started falling backward. Rod caught me and expressed concern about whether I would be able to carry it all. We estimated the pack was 60 pounds. After cinching down the straps and leaning forward, I was ready to go.
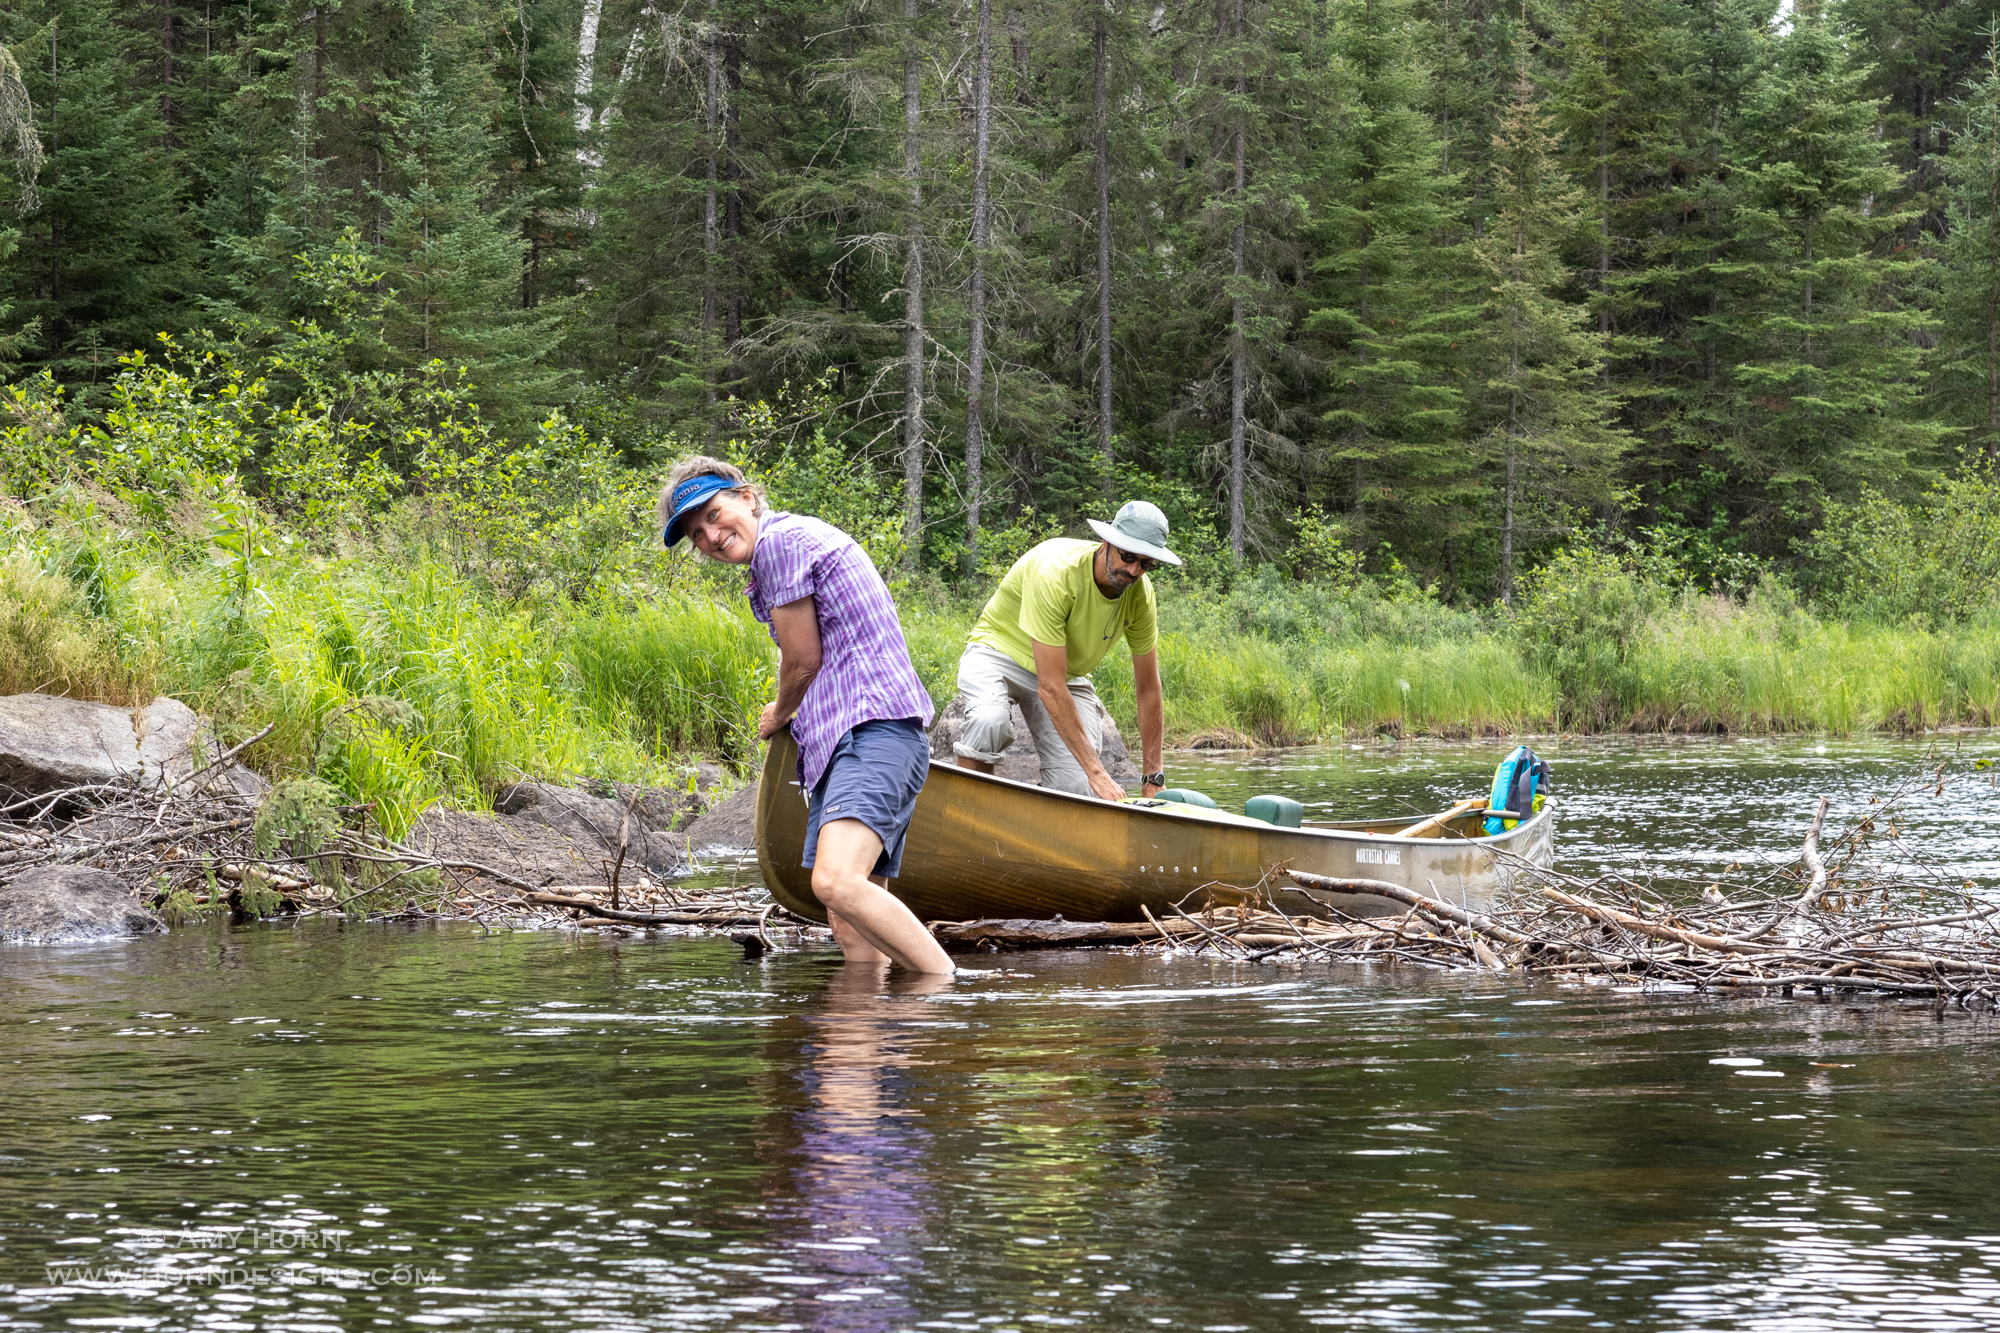
Rod steering the canoe.Gretchen & Ron passing over a beaver dam.
On the Water
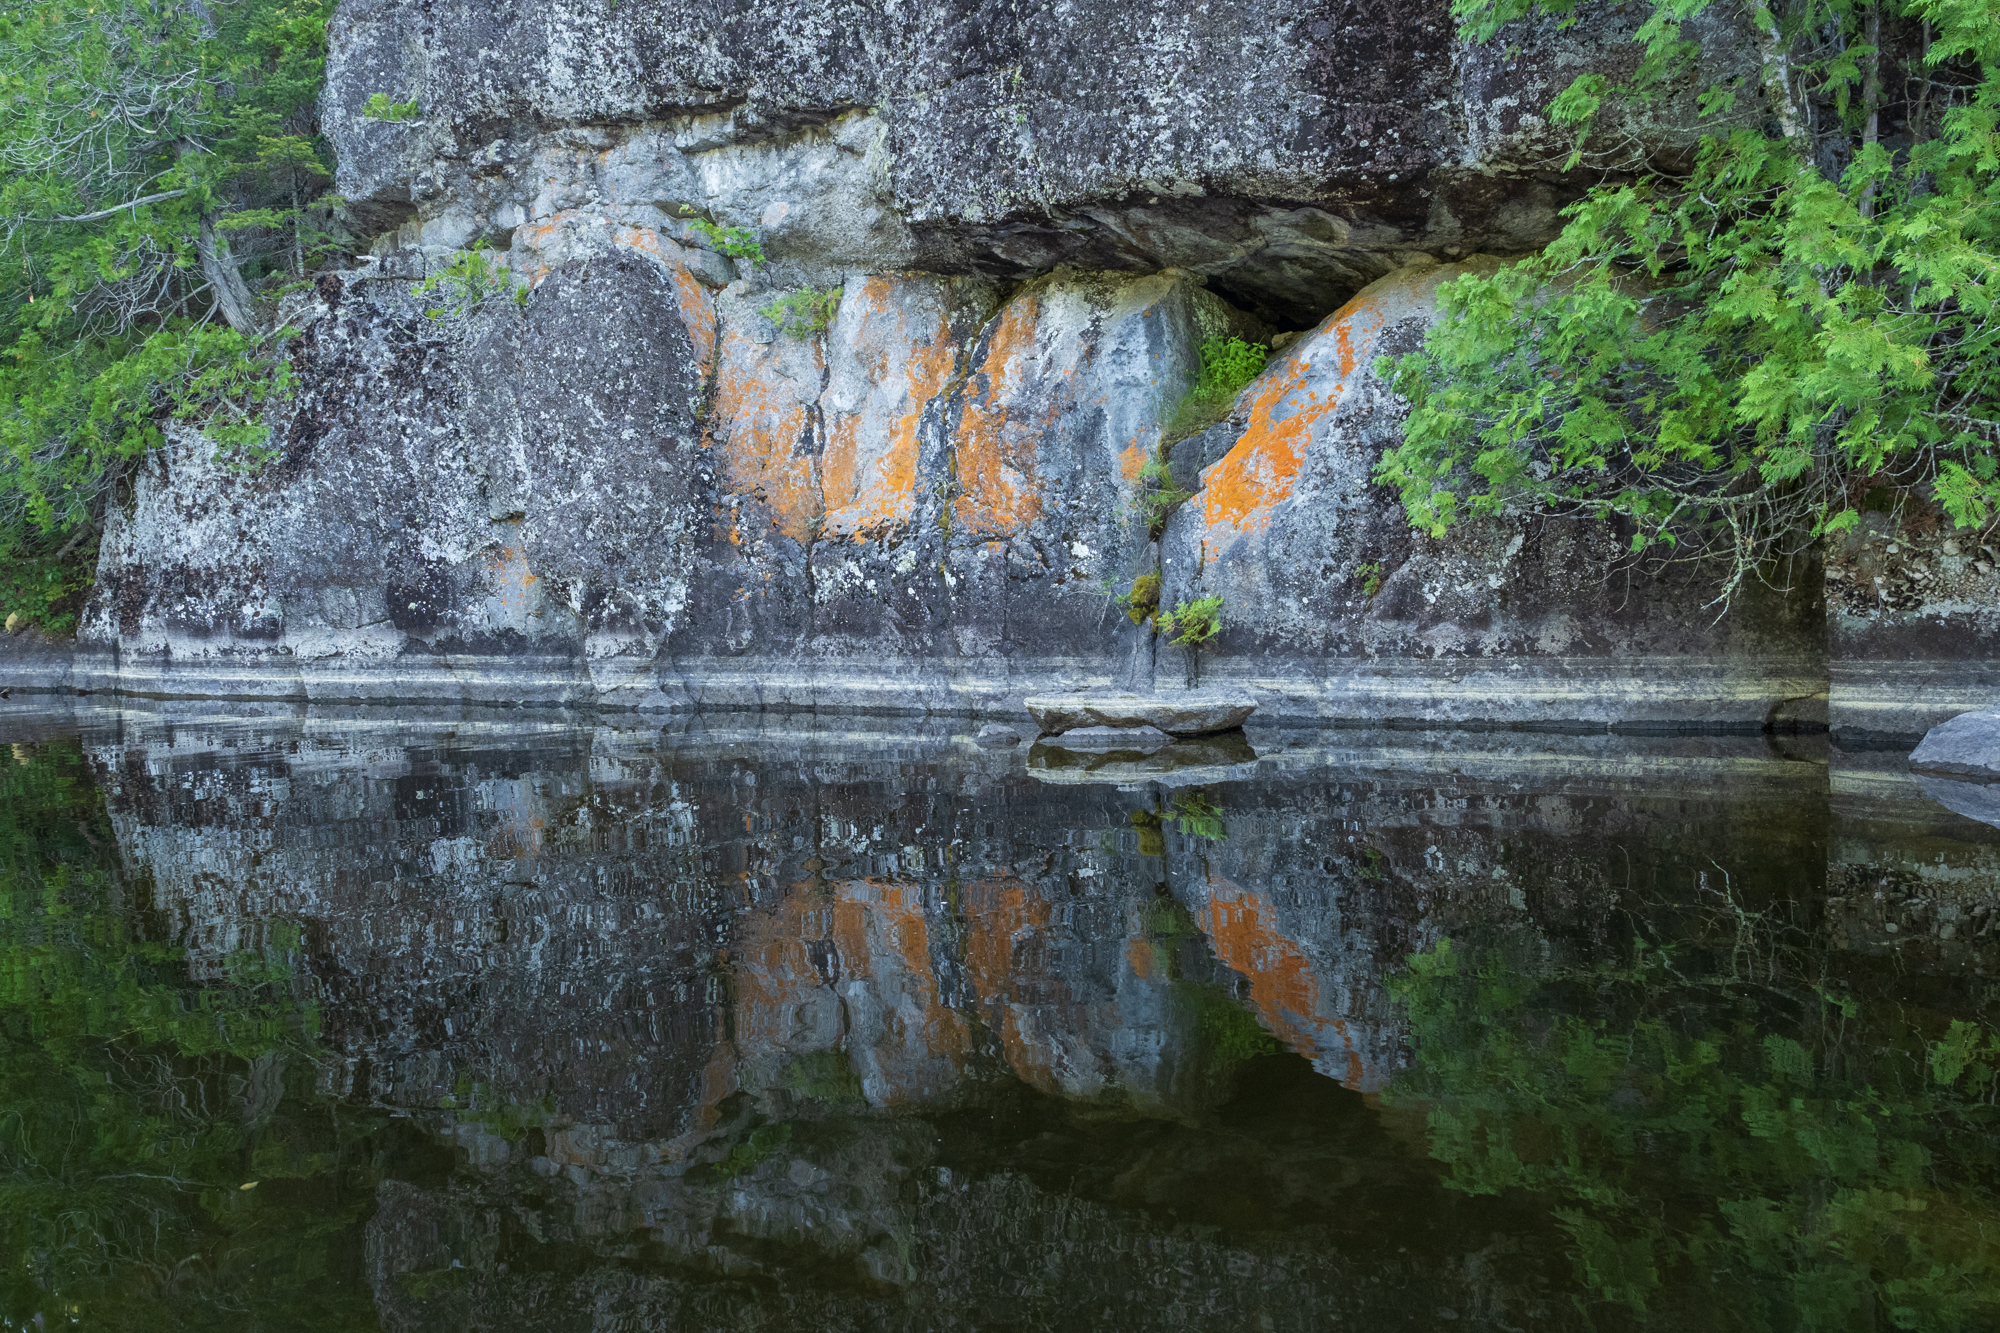
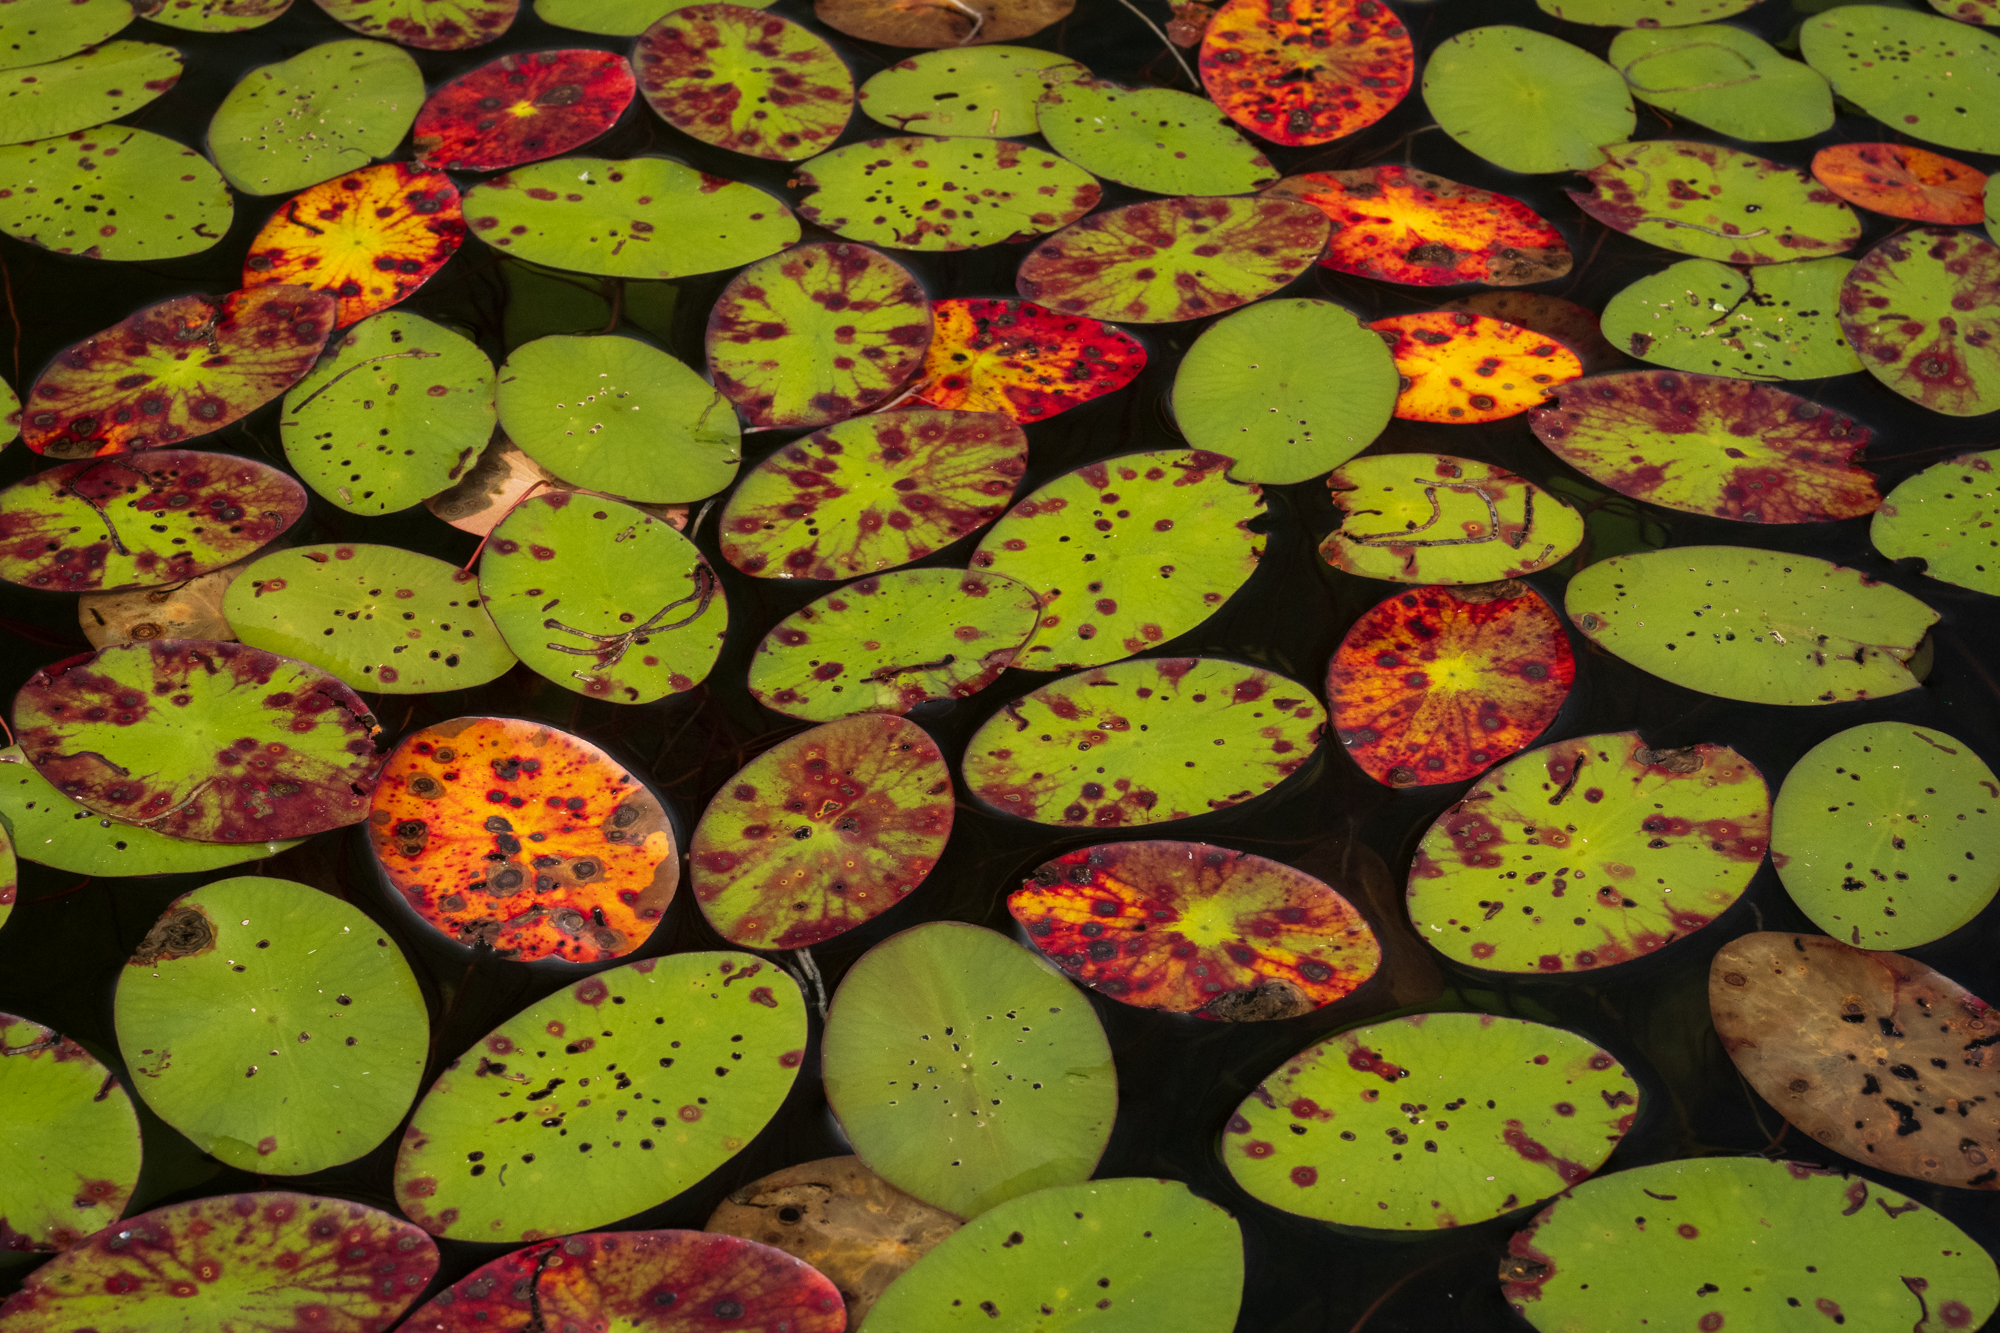
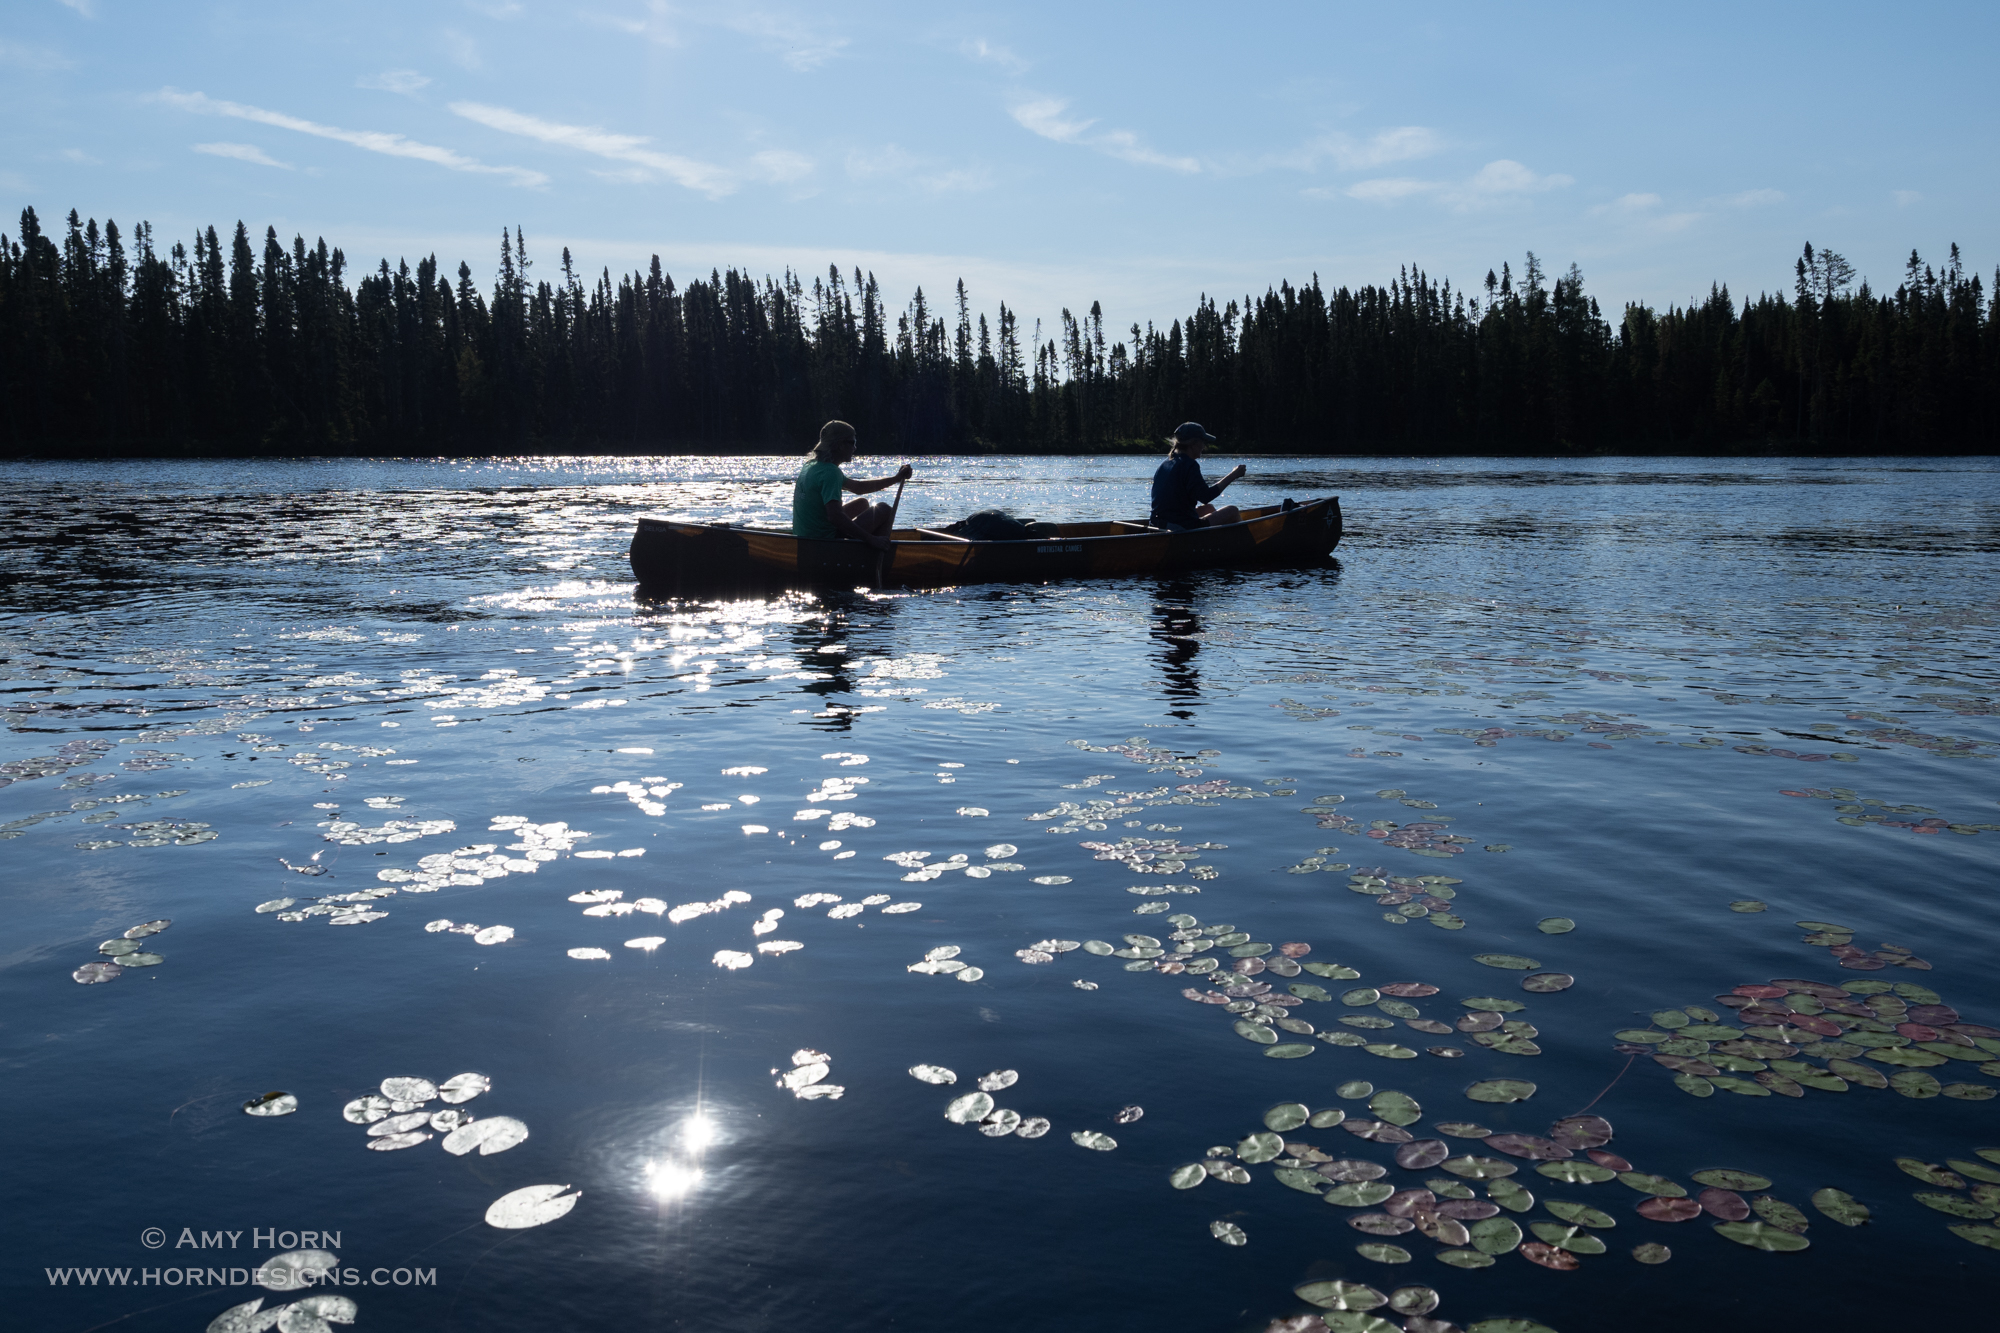
We put in at Baker Lake, a small quiet lake with lily pads, flowers, and towering trees along the shore. An amazing sight to see. After a mere 2000 feet of paddling, we got out of our canoes to portage. Portaging consists of carrying your gear (canoe too) across the land to get to the next lake or river. At this portage, we decided to walk the canoes through the stream and bypass the land portage. That put us on Peterson Lake.
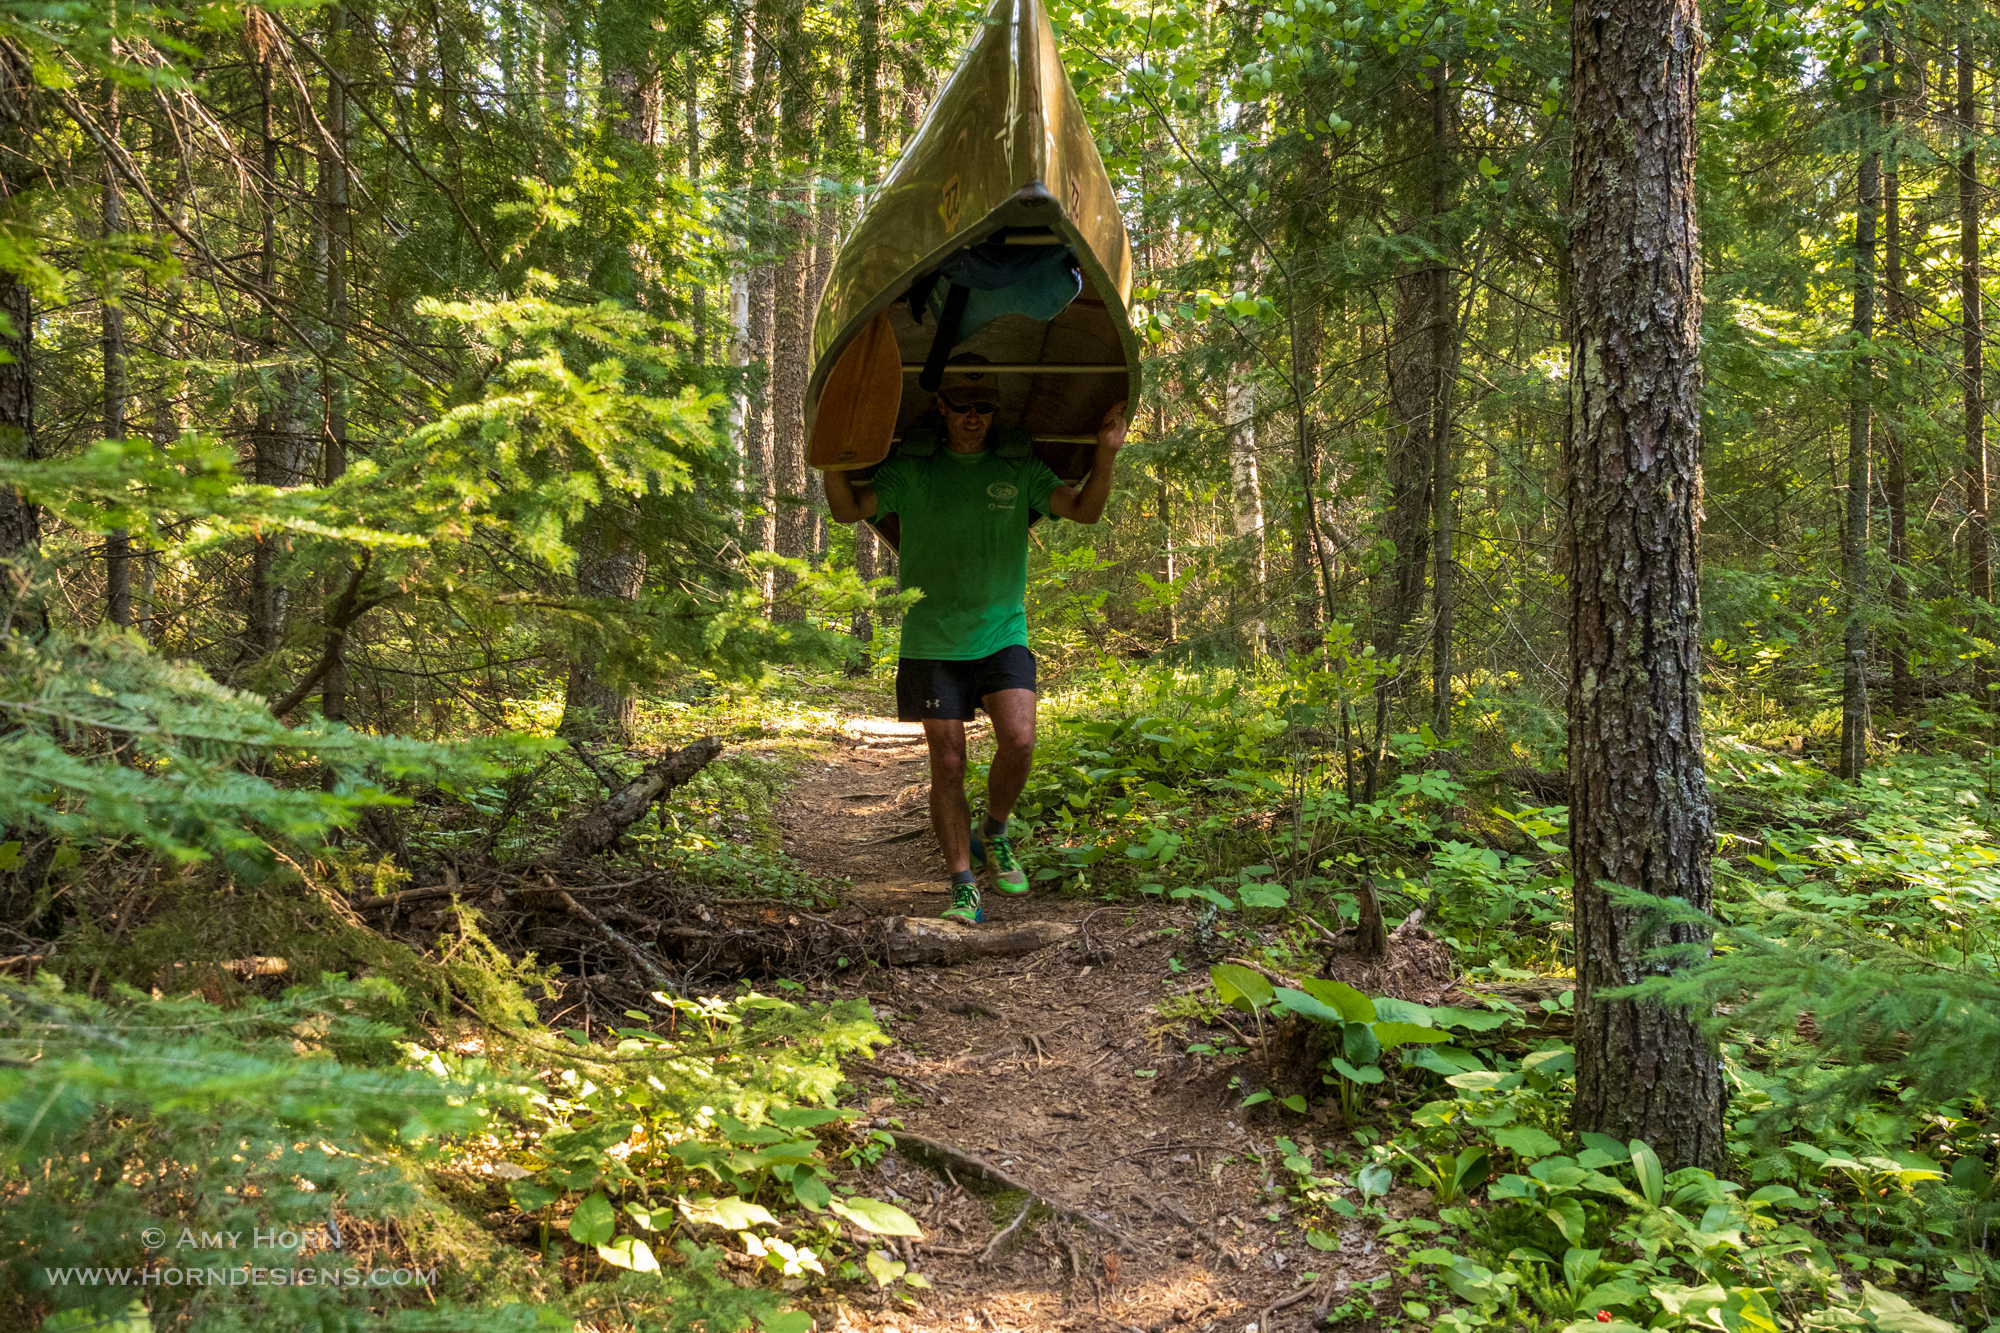
In such a short timeframe, we were immersed in nature where the only sounds came from loons, white-throated sparrows, eagles, paddles, and us. As we paddled, Gretchen and Ron taught us how to read the maps identifying approved campsites and portages. We floated past lily pads and dense forests, and occasionally, beaver dams caused us to exit the canoe. After two days, Rod and I were somewhat pros at portaging. He picked up the pack and put it on my back before we left the water. Then, he picked up the canoe, flipped it on his shoulders and we hiked to the other side. Our portages ranged from 25 feet to almost a mile and are measured in “rods” (unit of measurement). 320 rods equal a mile.
Amy’s heavy pack.Rod portaging.
Portaging
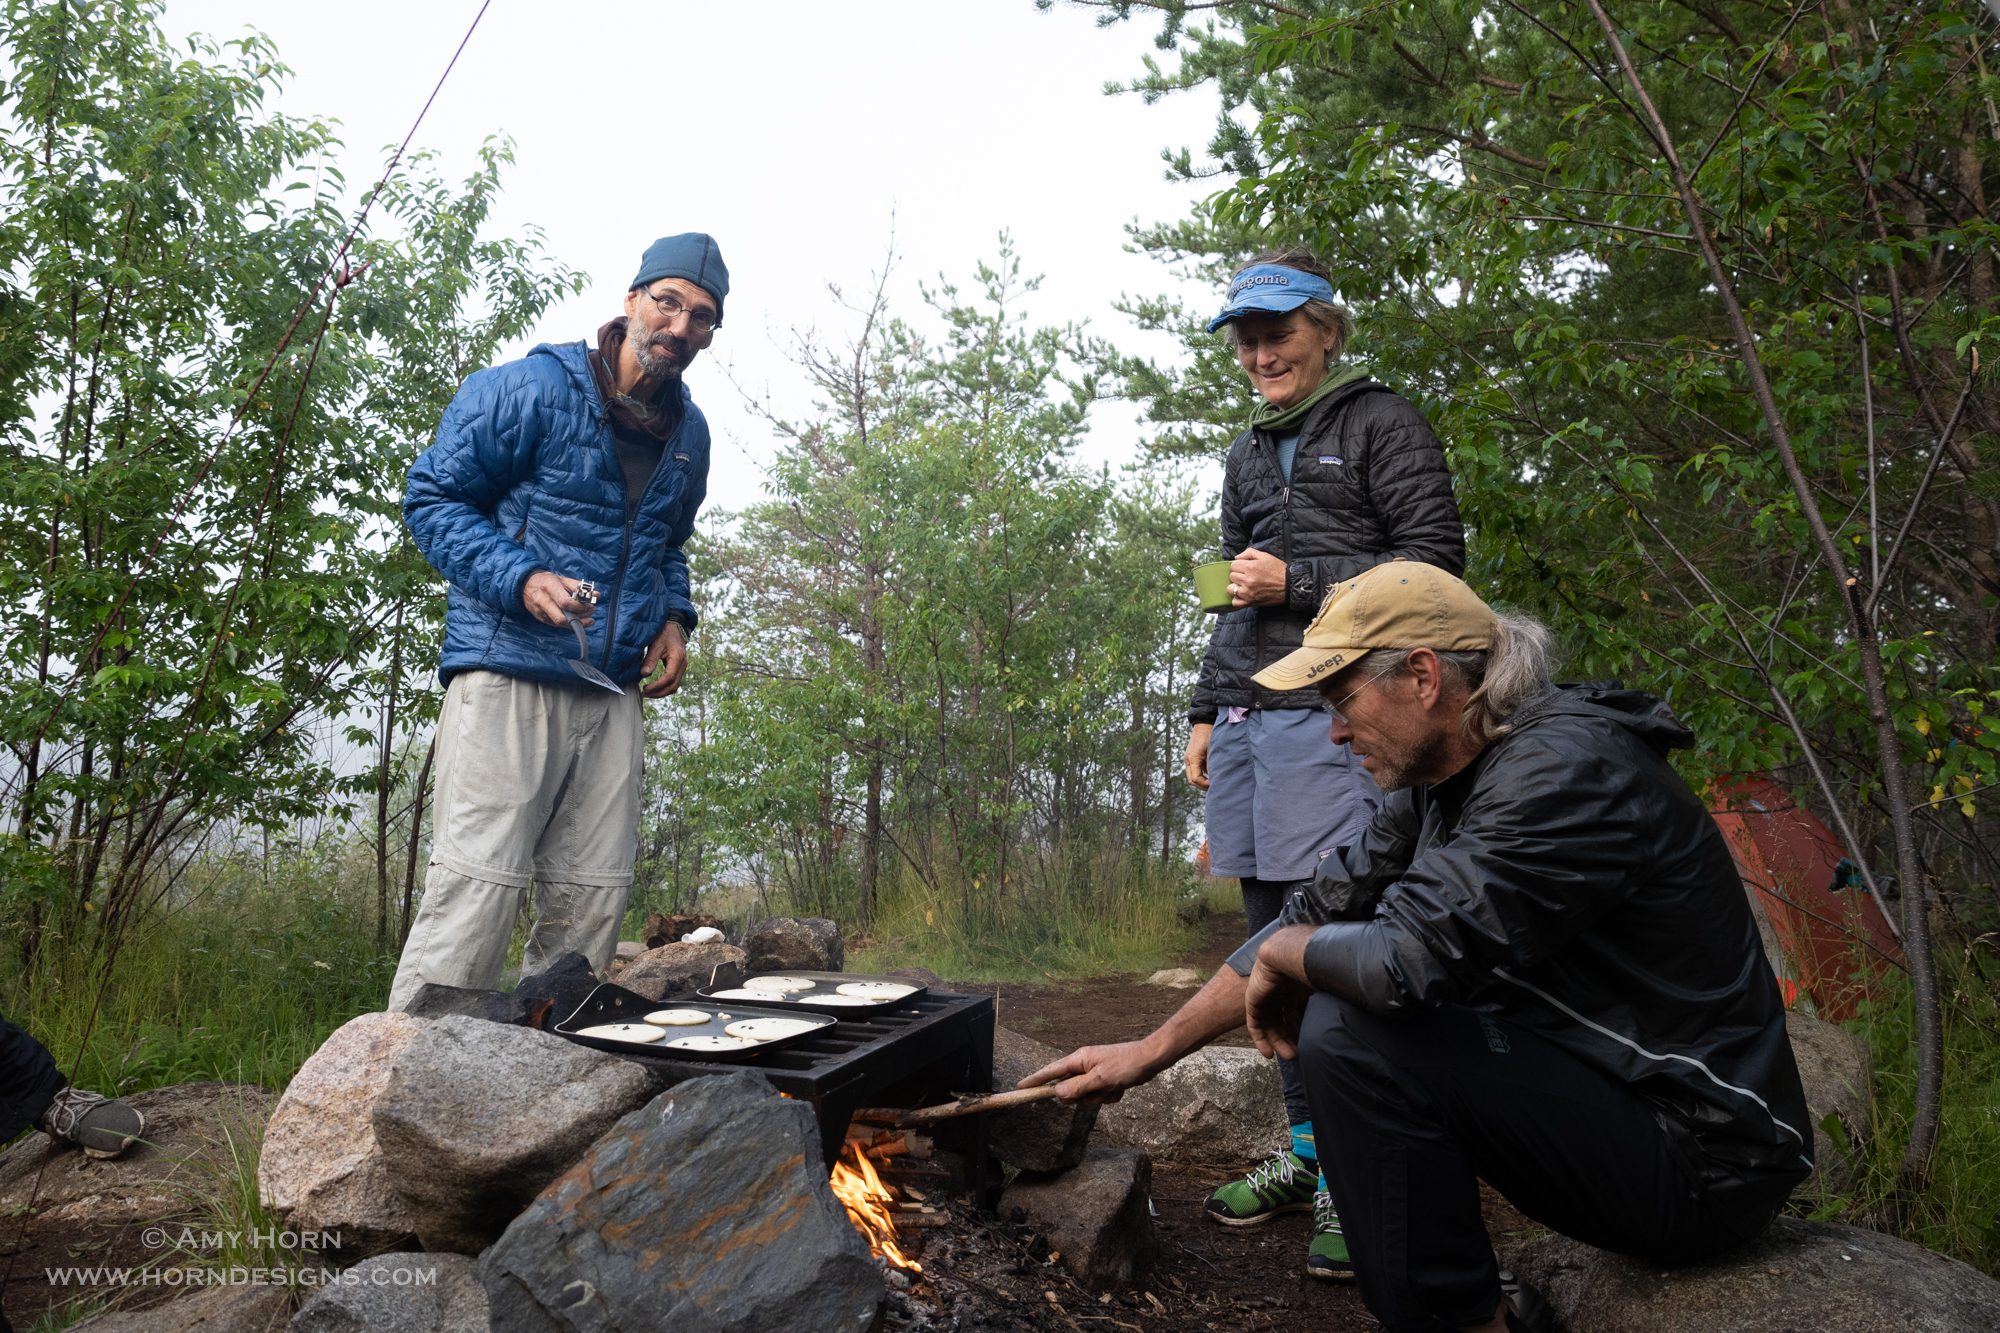
The best part of portaging was grabbing the wild blueberries, raspberries, and chanterelle mushrooms. On one portage, others in our group picked a bunch to use in our pancakes the next morning. We saw bear scat, moose footprints, leaches, swans, frogs, and turtles. On a few of the longer portages when I was hiking alone, I did sing out loud to avoid encountering any bear.
We paddled and portaged an average of 7 miles a day with a total of 40+ miles for the week. Although portaging got easier, I slipped once and fell on my back (pack). The pack was so awkward, I looked like a turtle and needed help getting up. Each day, we paddled to a campground for lunch. Sometimes we took a swim, then paddled more to a new campground to pitch our tents for the night. We passed some people on canoes, but most of the time it was just our group. We did encounter rain on several occasions, but we had the right gear, so it wasn’t problematic. It was all so relaxing.
Paddling through the reeds.Quiet morningSelfie! Amy & Rod
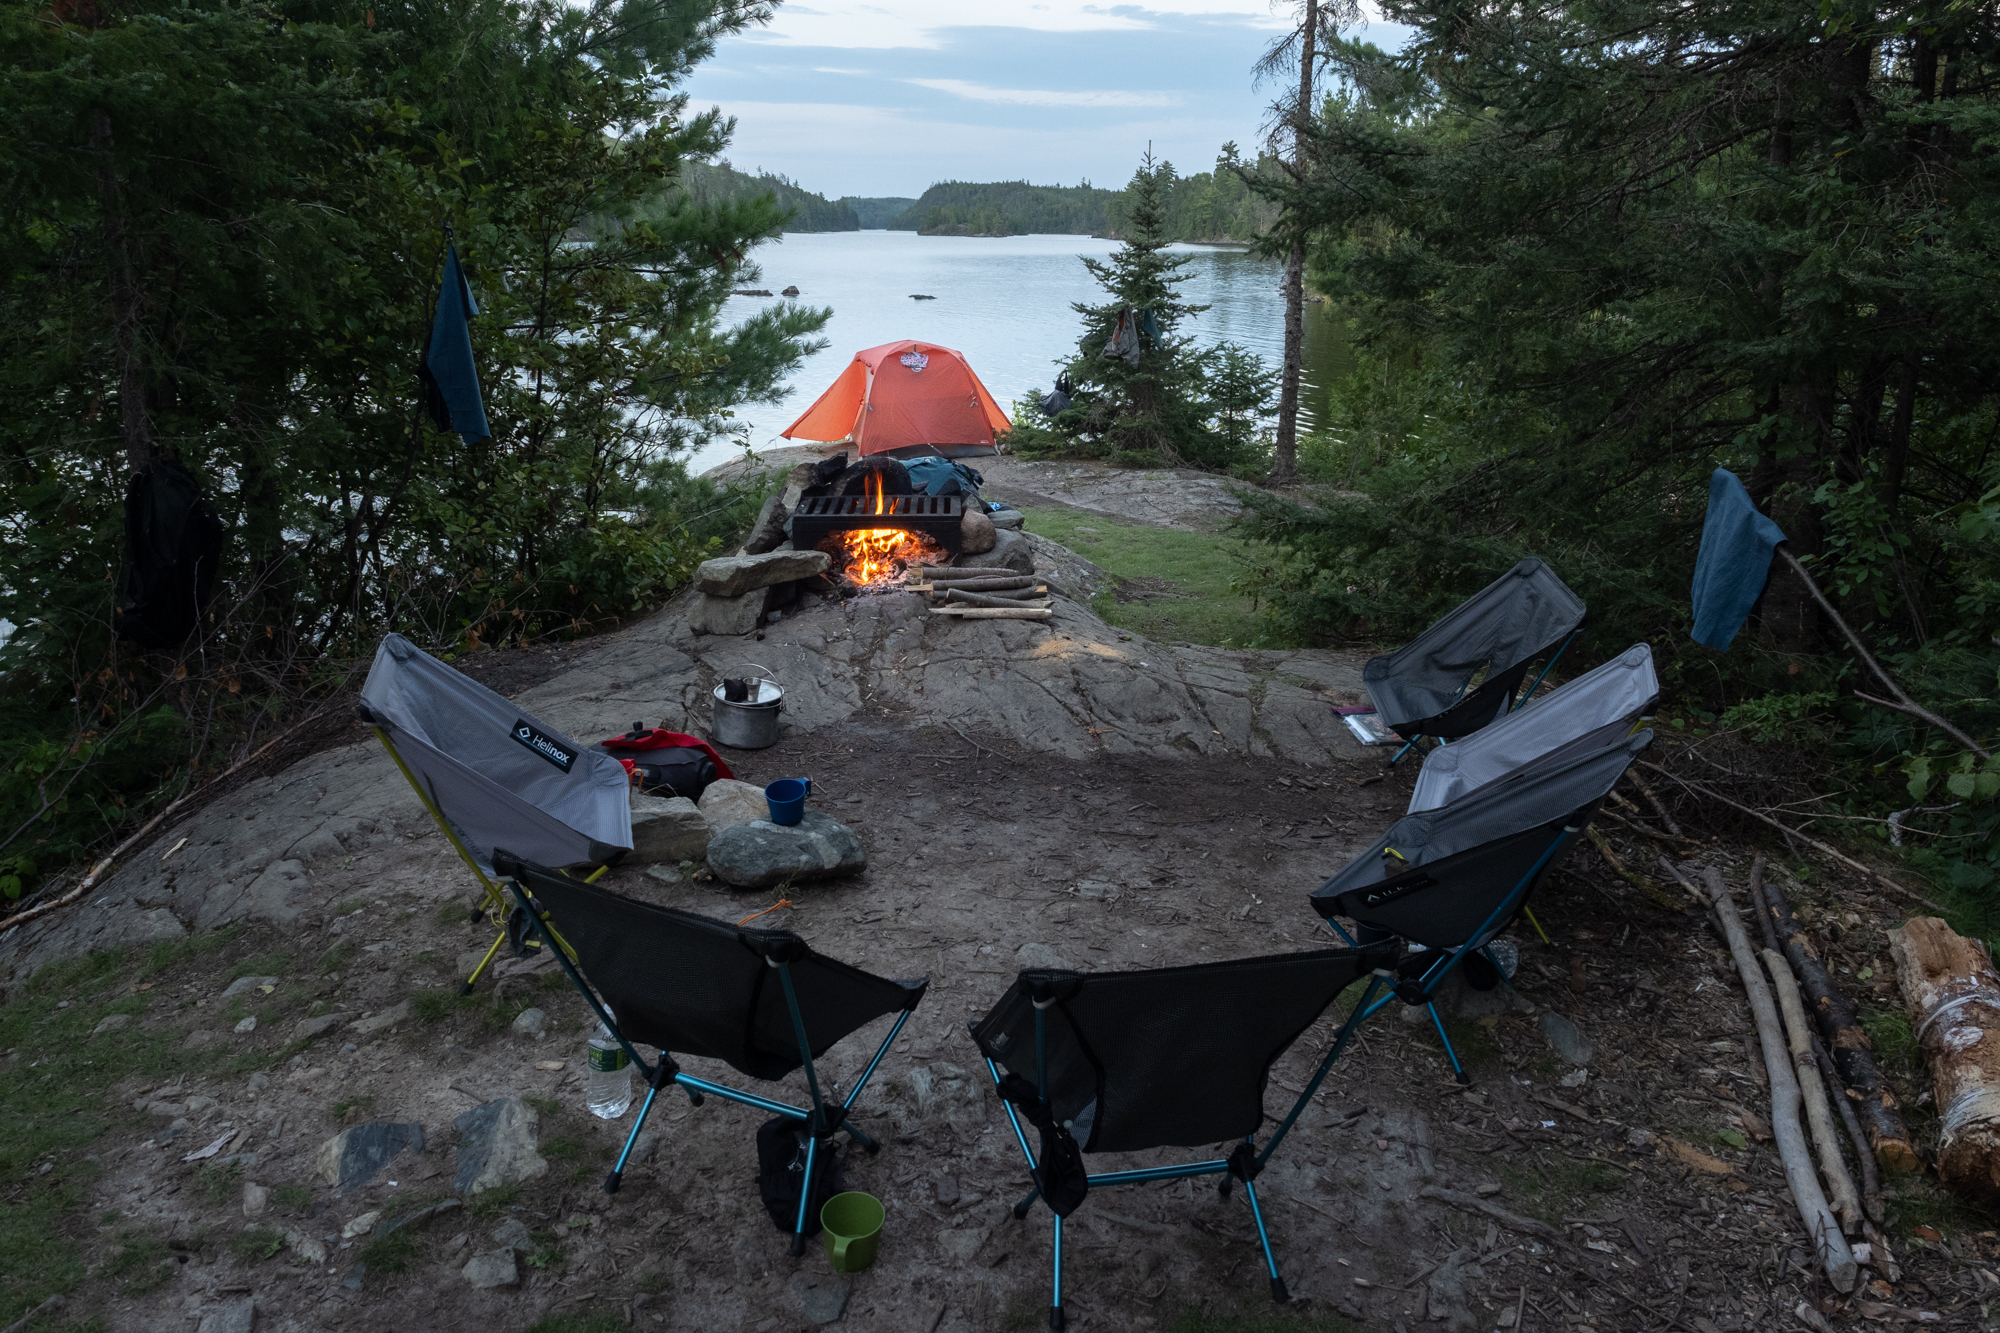
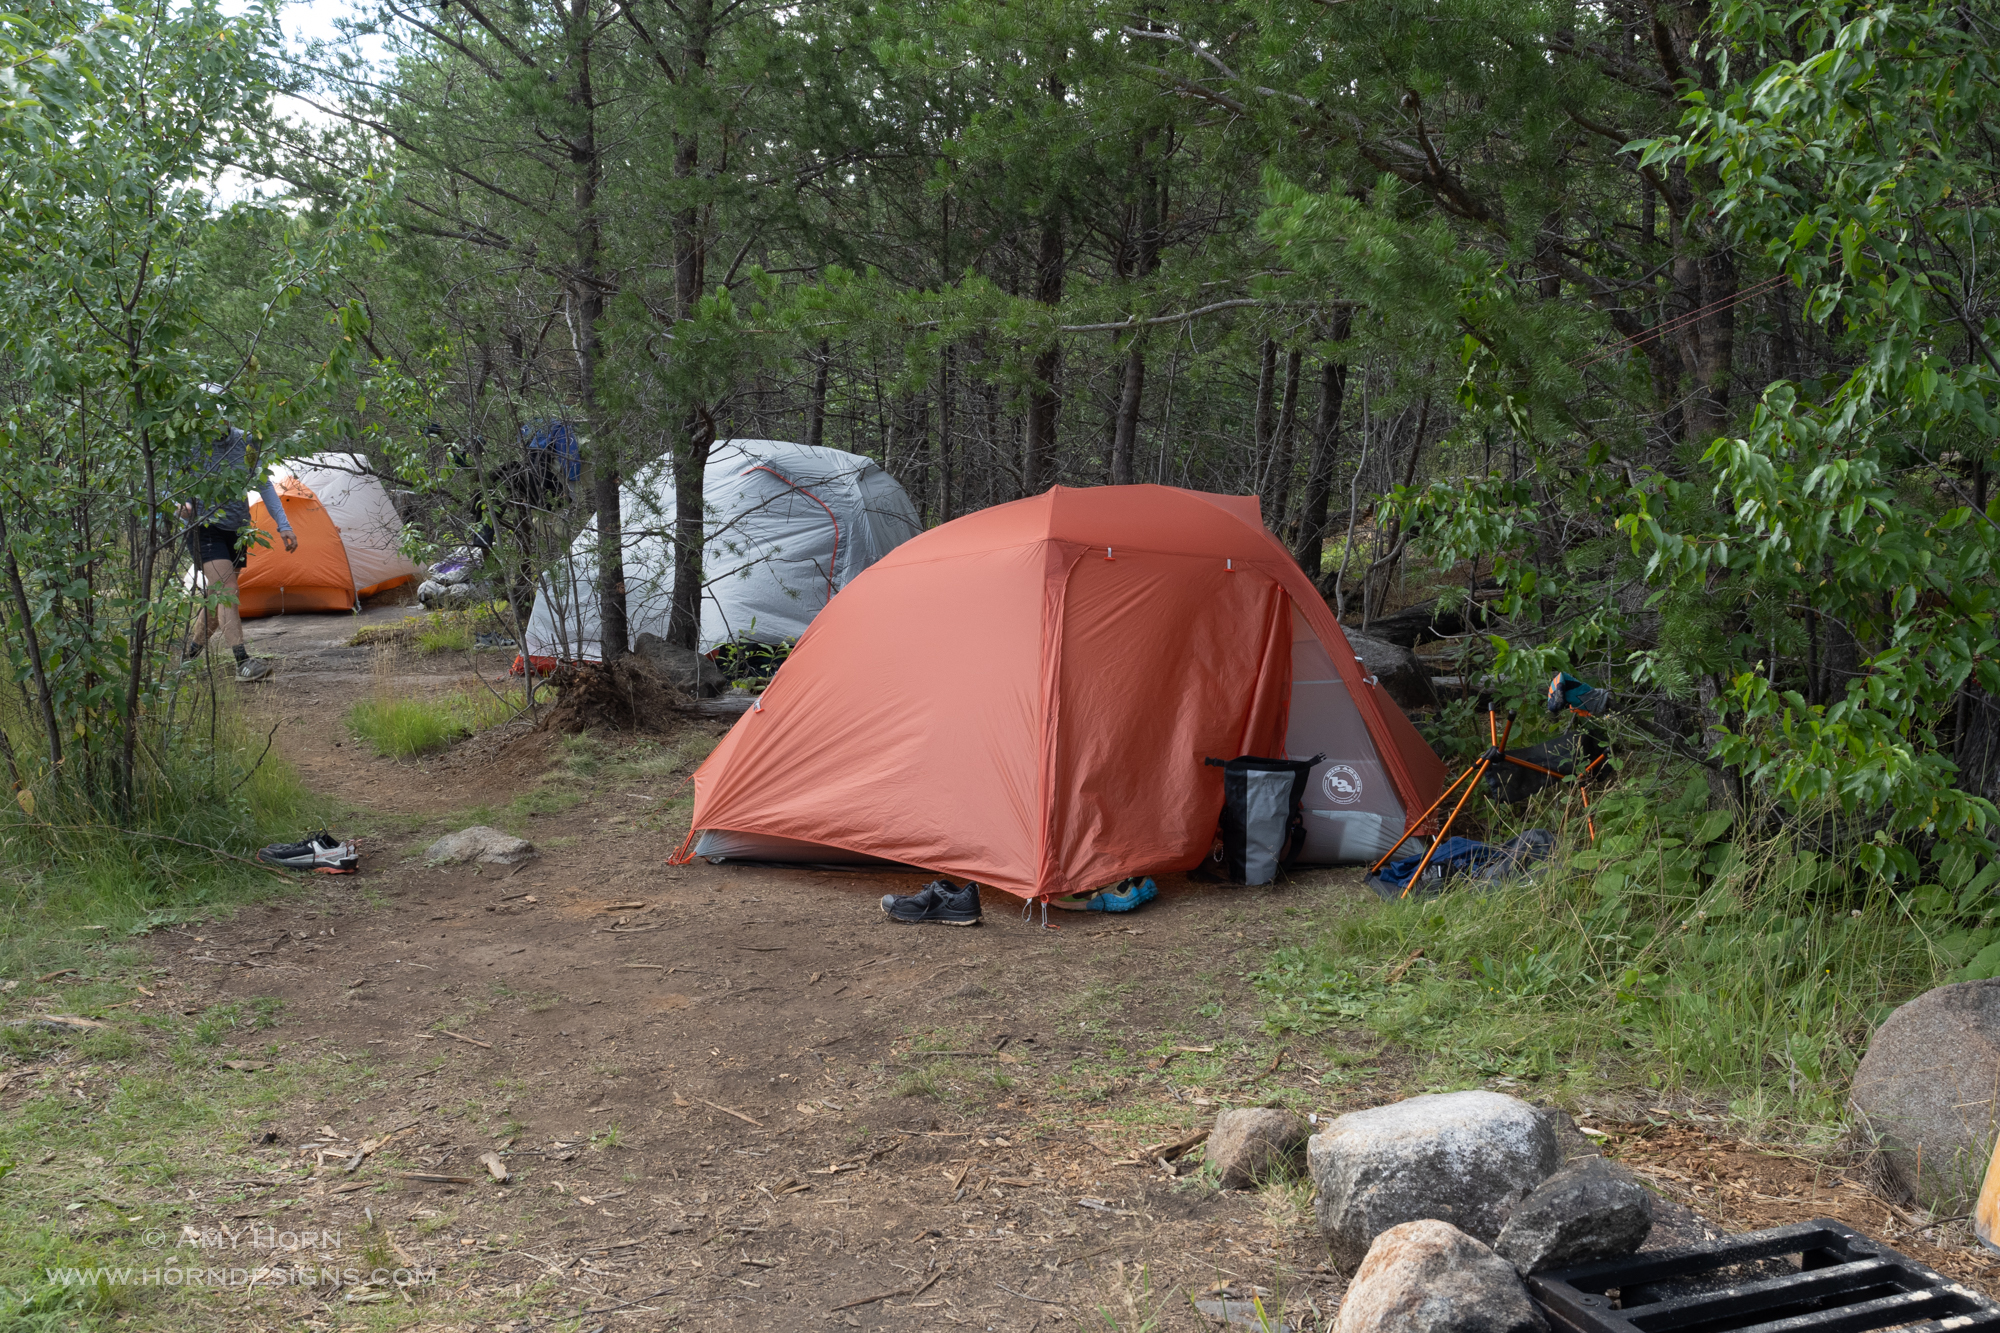
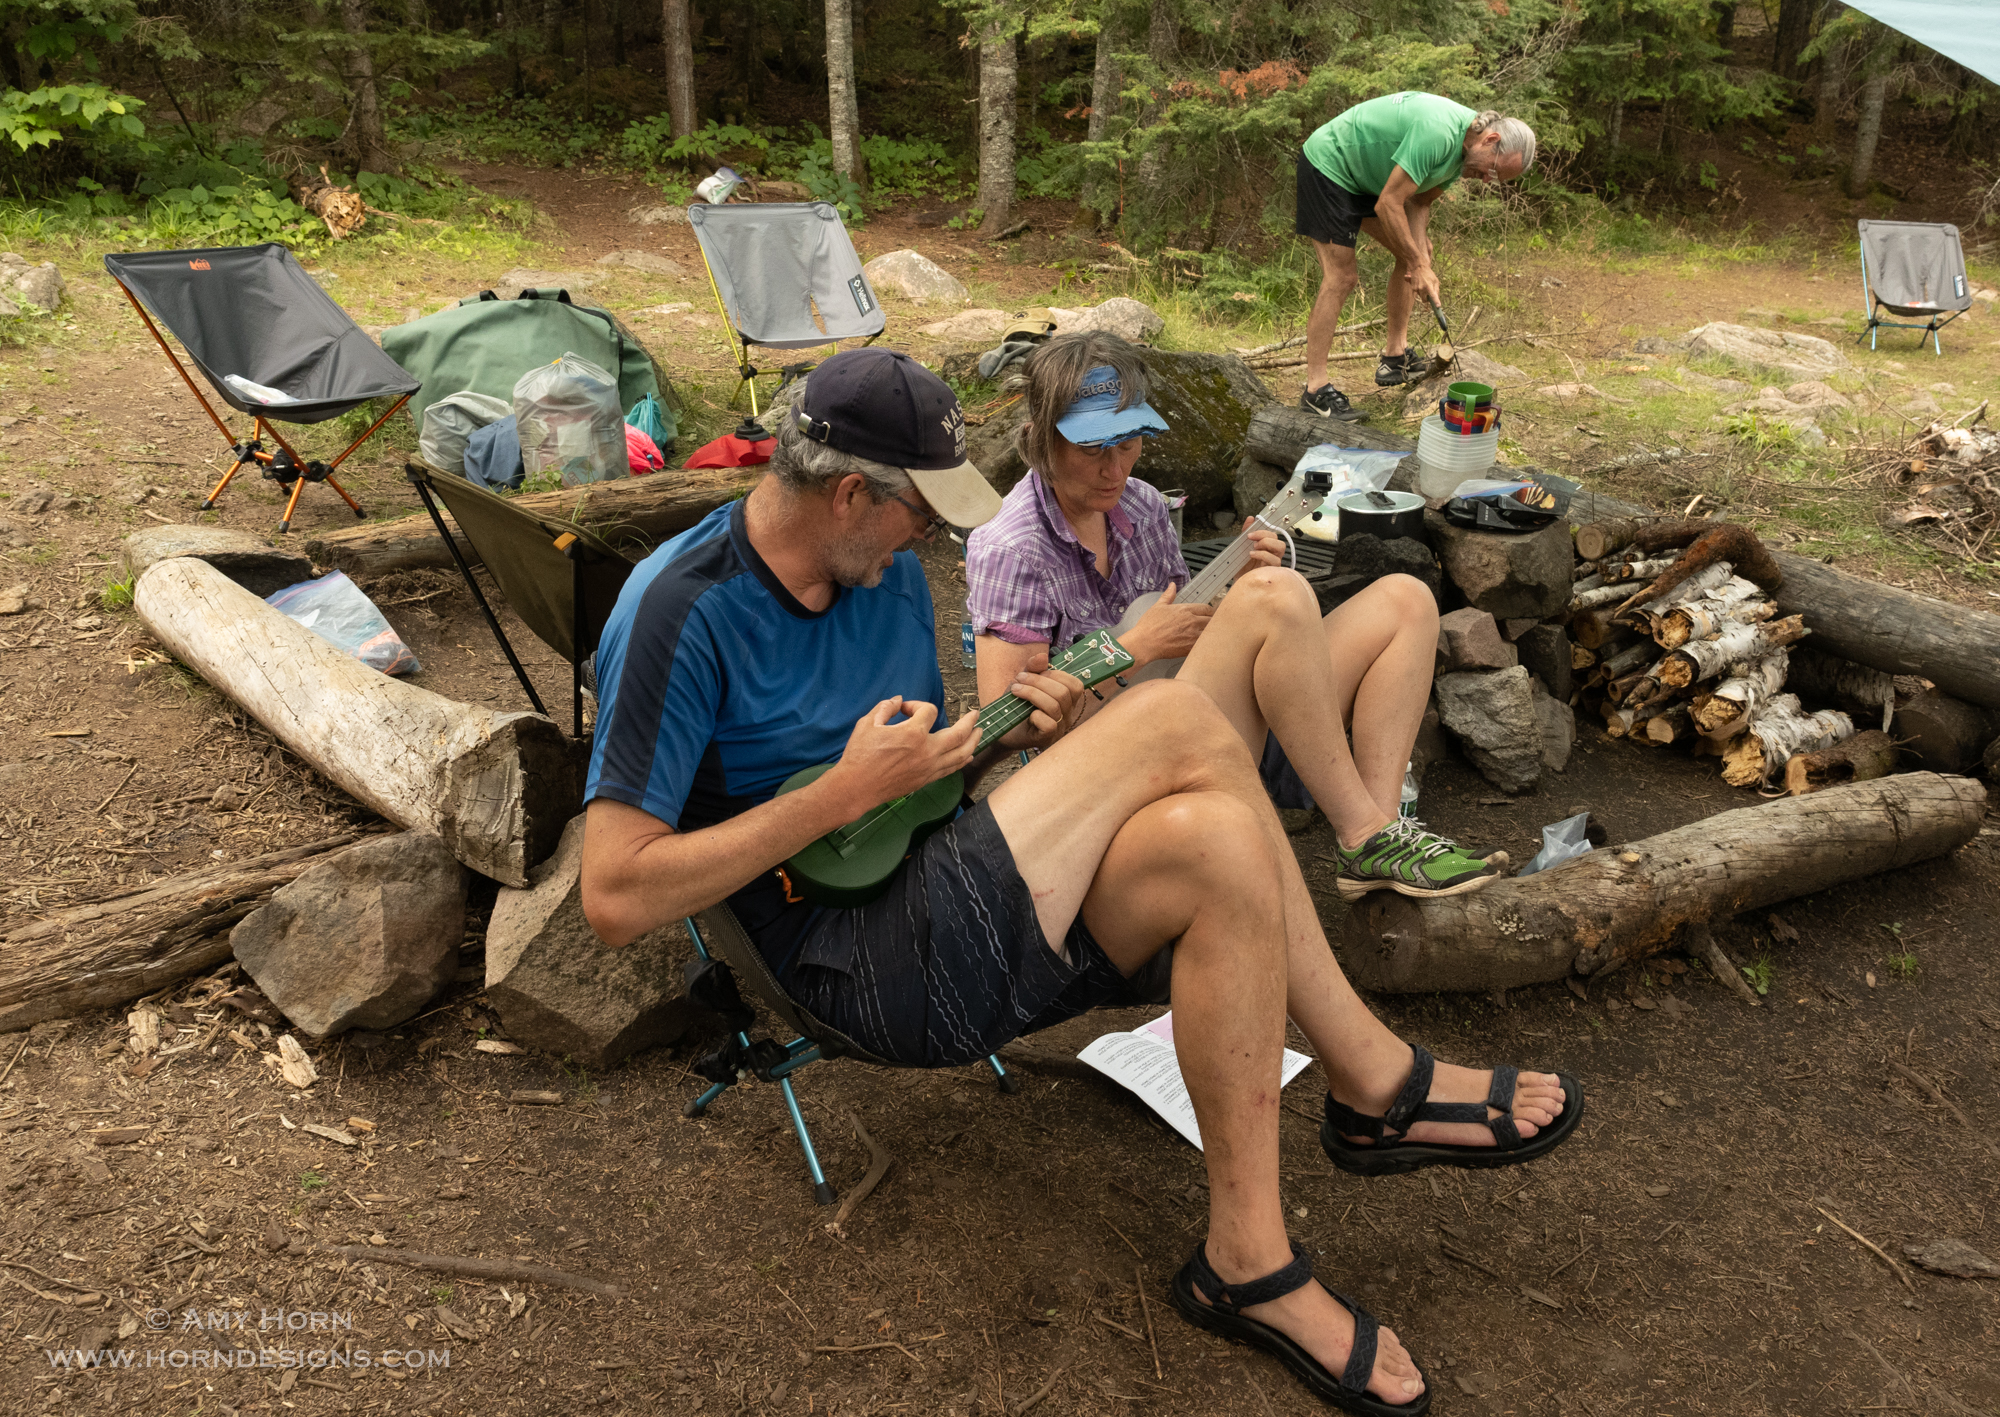
At Camp
Each afternoon was an adventure to find a campsite. Camping is permitted at approved sites only and if you can’t find an open campsite on a lake, you portage until you find another site. Sometimes that meant you went to several different lakes because campsites are not found on all lakes. Once at camp, we pitched tents, set up the tarp, gathered wood, swam, played music, ate, and on our last night, we had a poetry slam. Gretchen challenged us to write a poem based on 5 given words. It was fun seeing the creativity put into each poem. We heard love poems, poems written from the perspective of a swan, from the mosquito perspective, a haiku, and my short and sweet poem sums up my week (bold words were required):
A canoe and paddle we did rent, to float the lake and pitch a tent. I hope that every son and daughter get to row on the beautiful Boundary Waters.
Amy Horn
Planning tomorrow’s route.Ready for rain.Cooking pancakes over the fire.Playing music.
Highlights
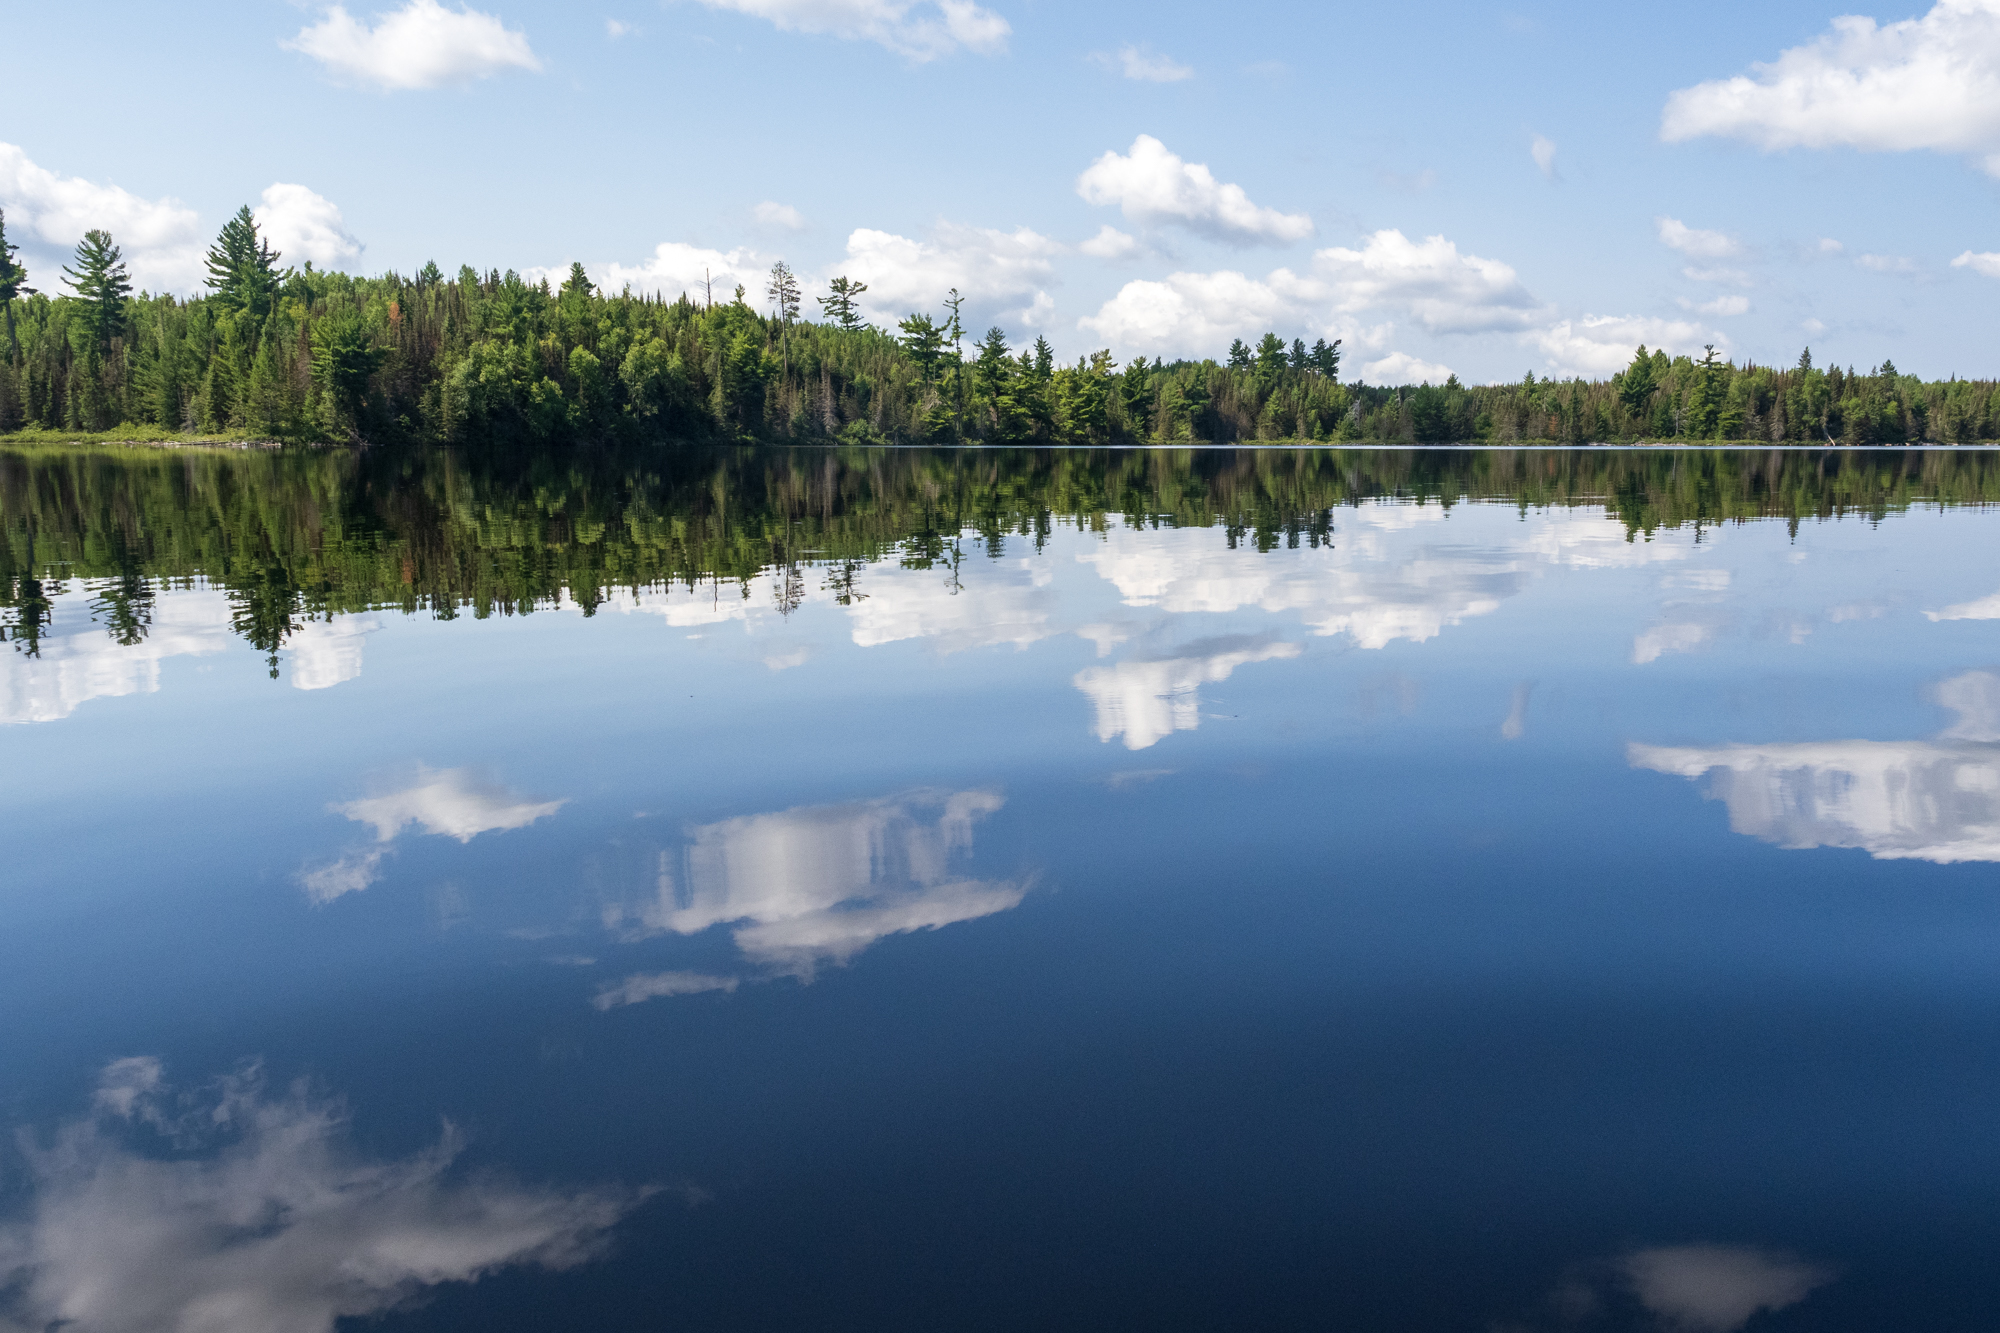
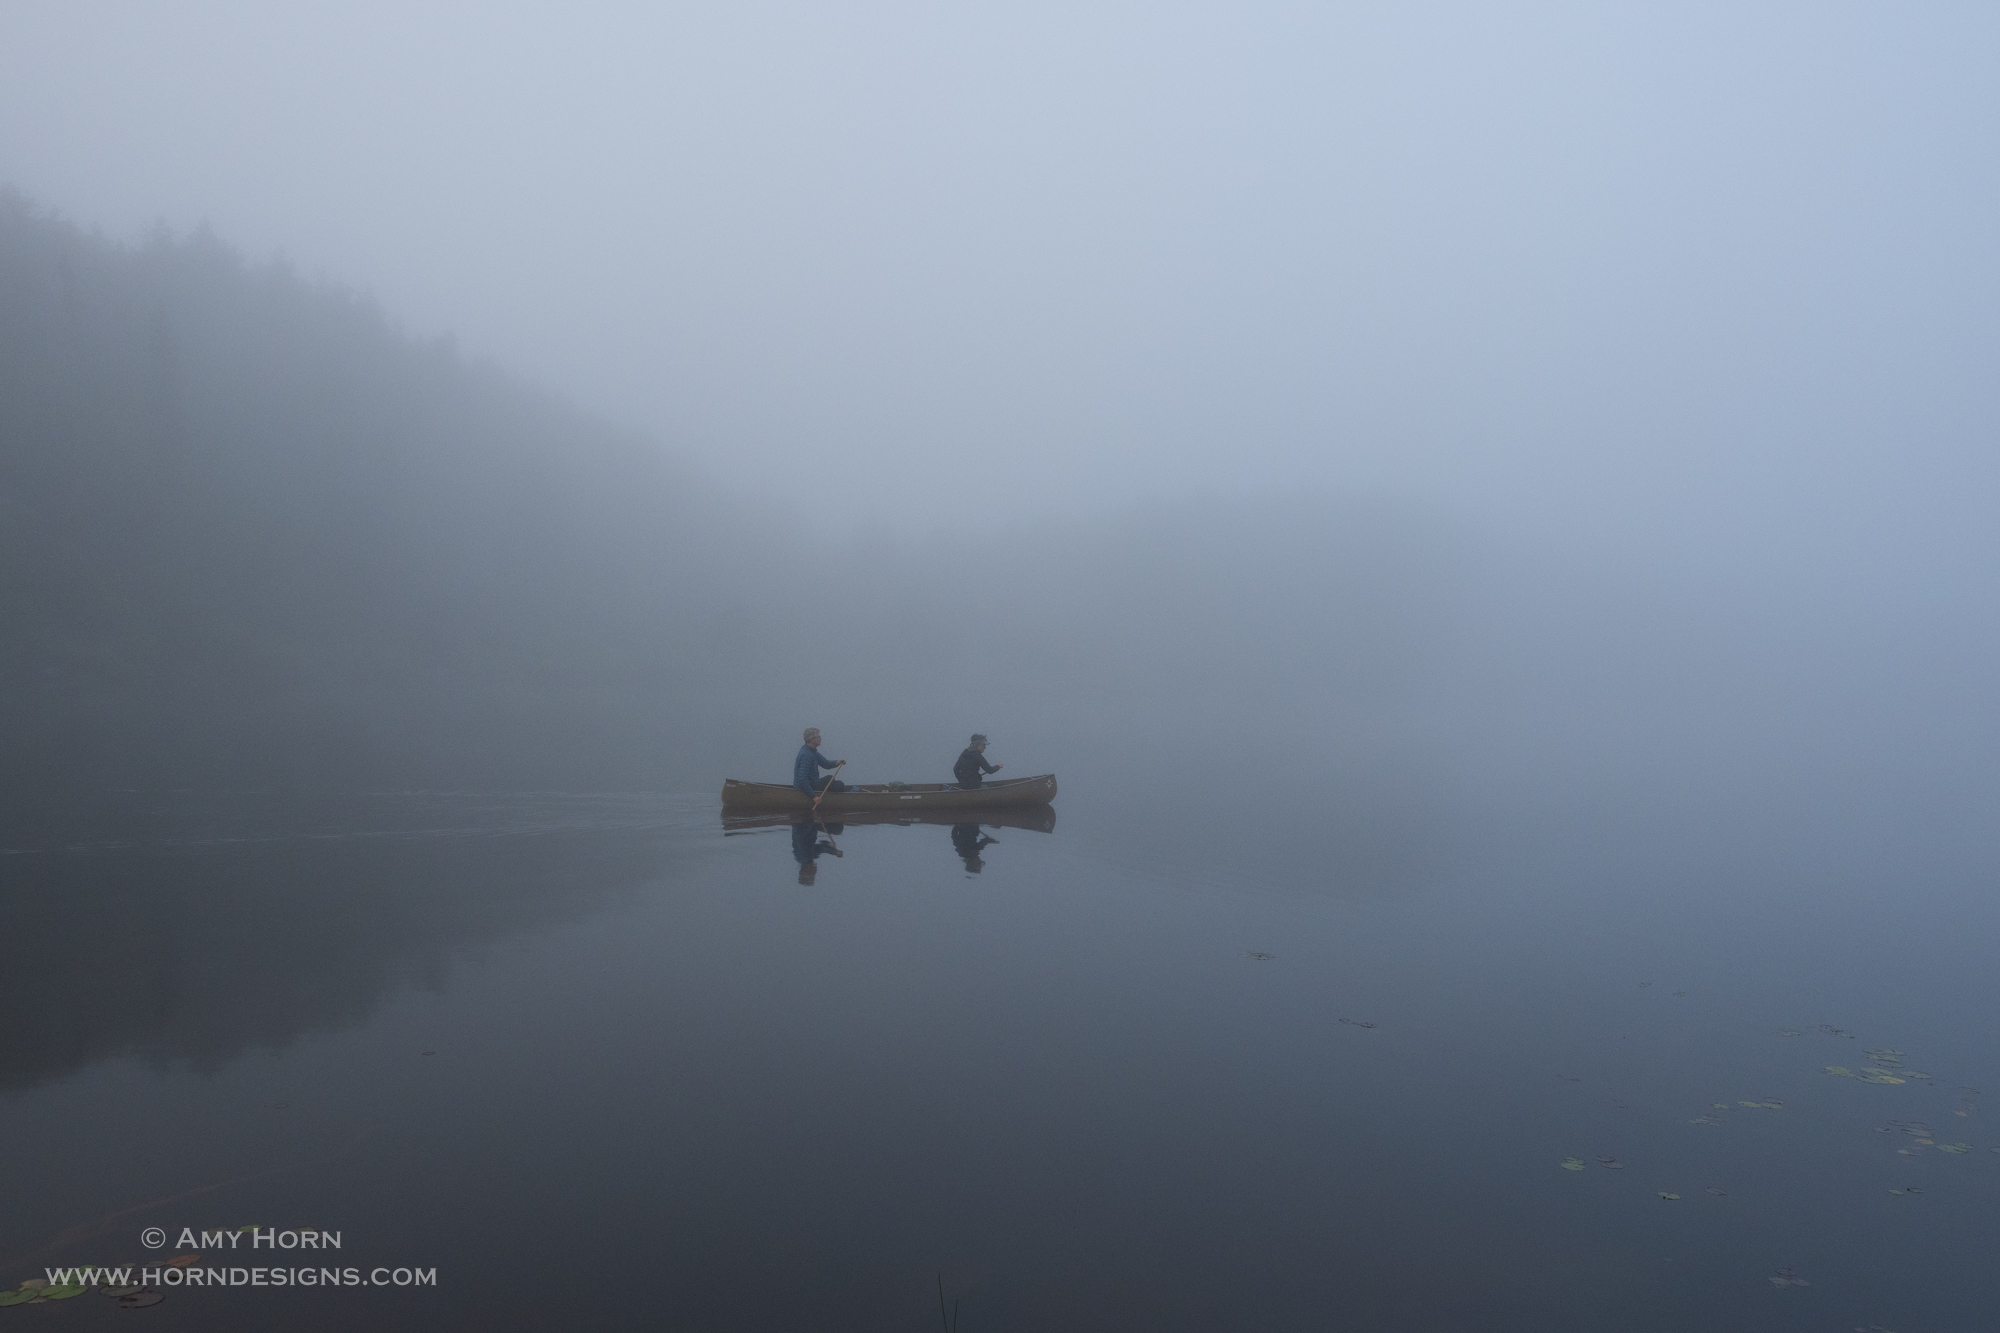
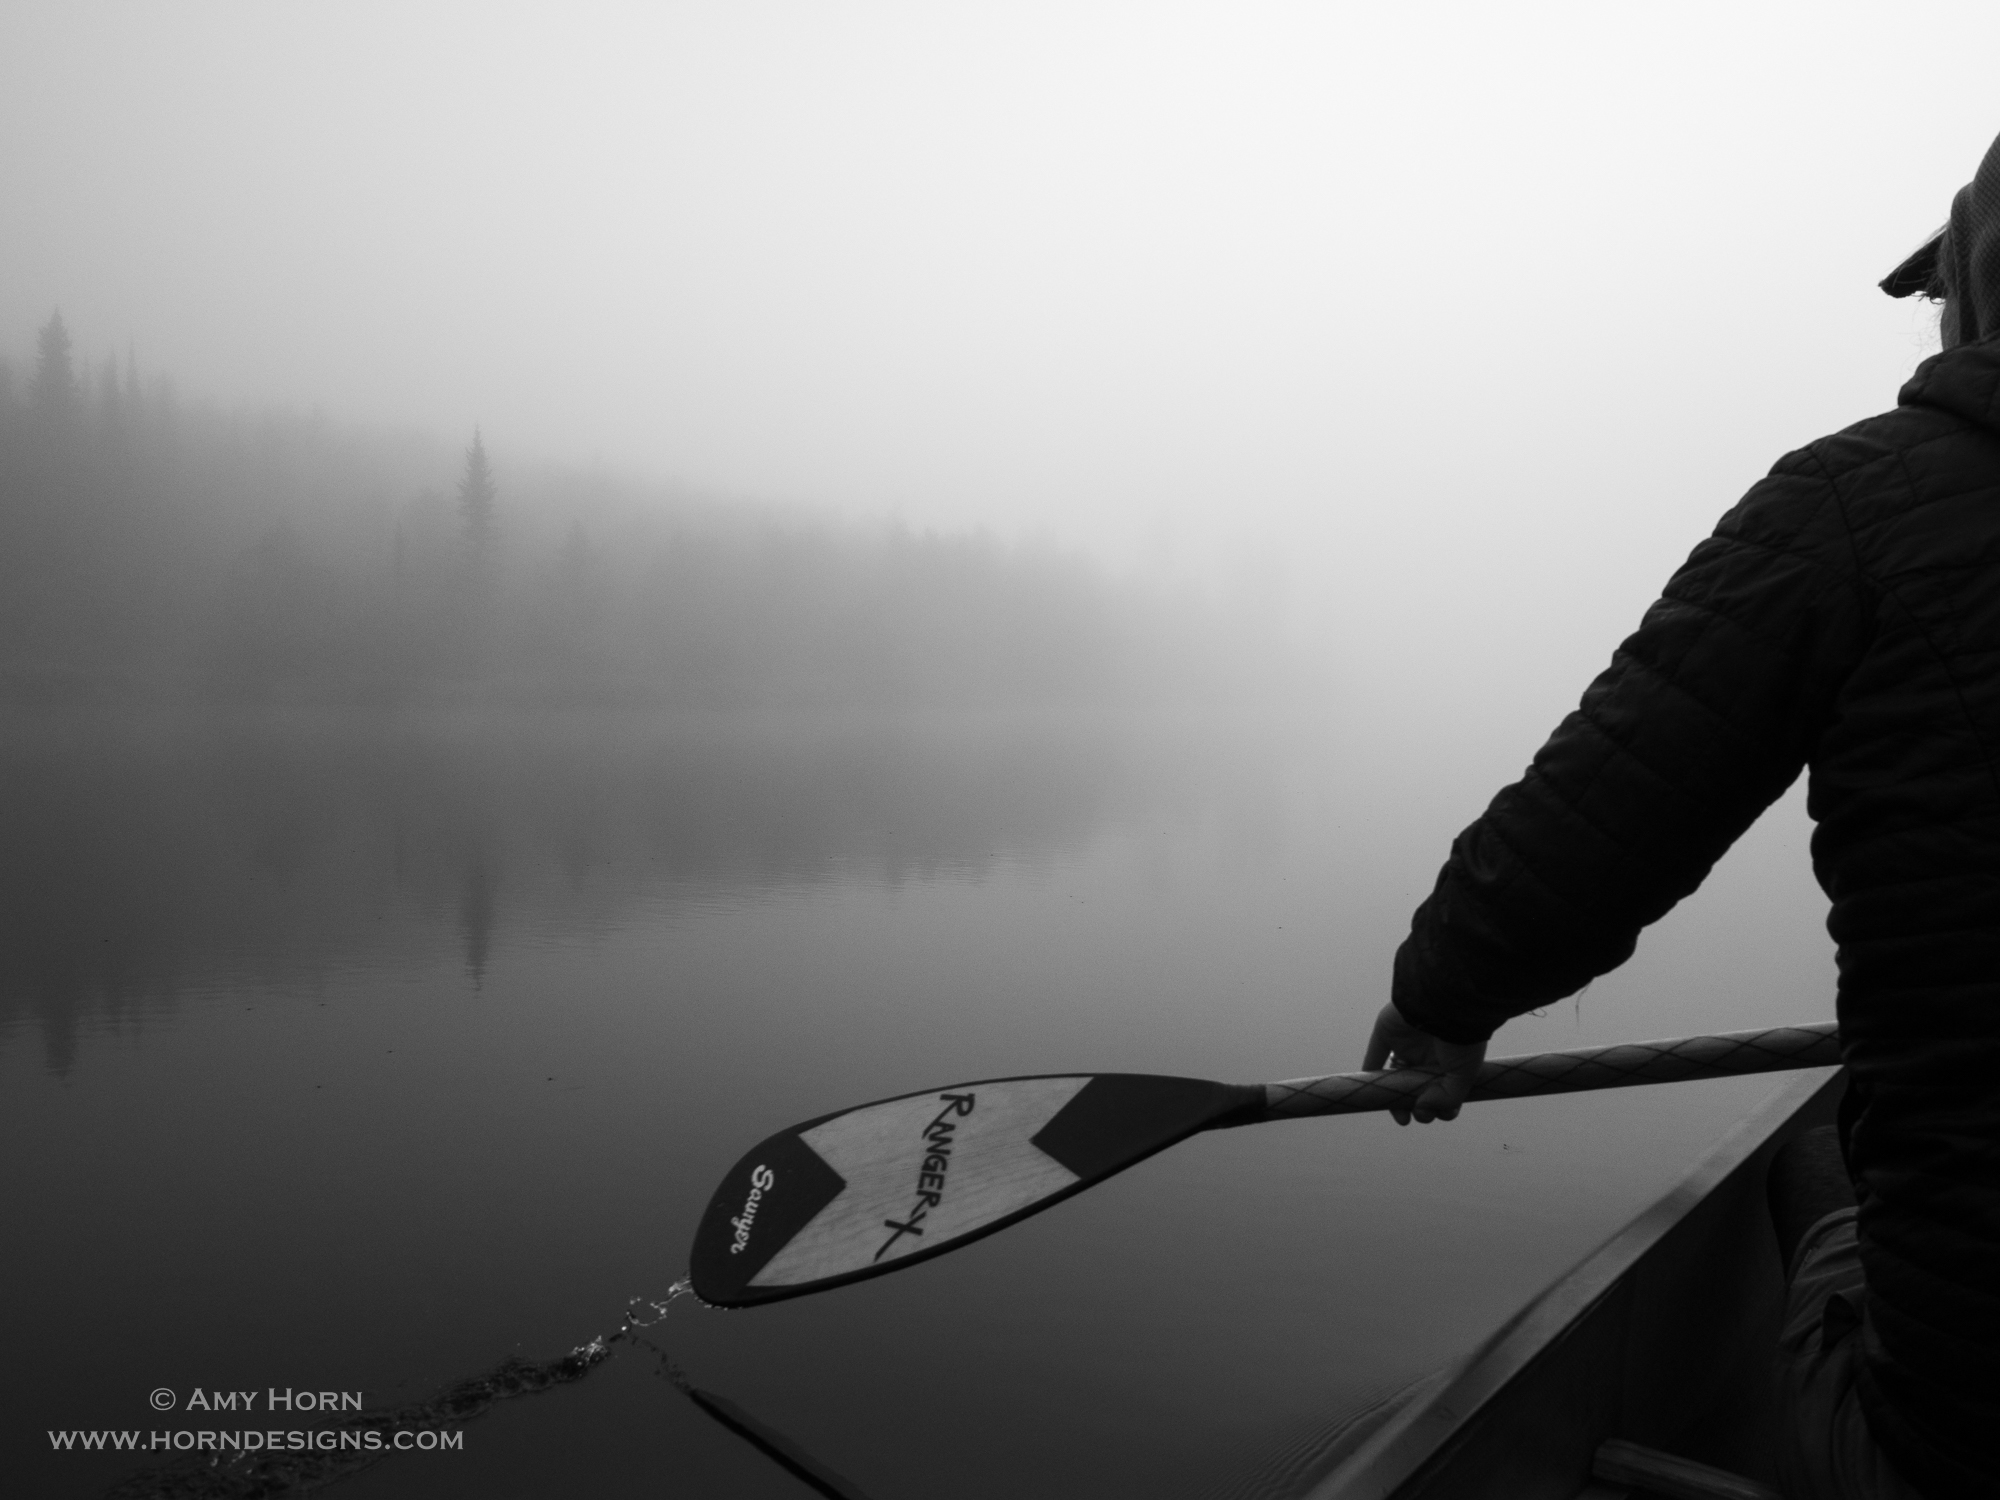
Besides the cool things mentioned above, my highlights of the week were many, but my favorite memory was the foggy morning. Before I could even ask anyone to get out in the water on the canoe, Neil and Gretchen offered. And then they had me “duff” (sit in the middle of the canoe) and took me out on the water. It was a magical morning – so quiet and still. When we returned to land, I photographed the dew on spider webs. I could have spent hours at this site.
It has been two weeks since we returned and all I do is think of returning. I didn’t think spending 6.5 days in nature without electronics would have such an impact on me. The BWCA is such a pristine area with fresh water so clean (big lakes only) you don’t need a filter to drink it. I didn’t know that was possible today. Let’s protect this area. The Boundary Waters is threatened by copper mining and if you would like to take action visit: https://www.savetheboundarywaters.org/.
Neil and Gretchen in the fogGretchen paddling through the fogFoggy morningTree snag and its reflection in the fogSpiderweb with dew drops
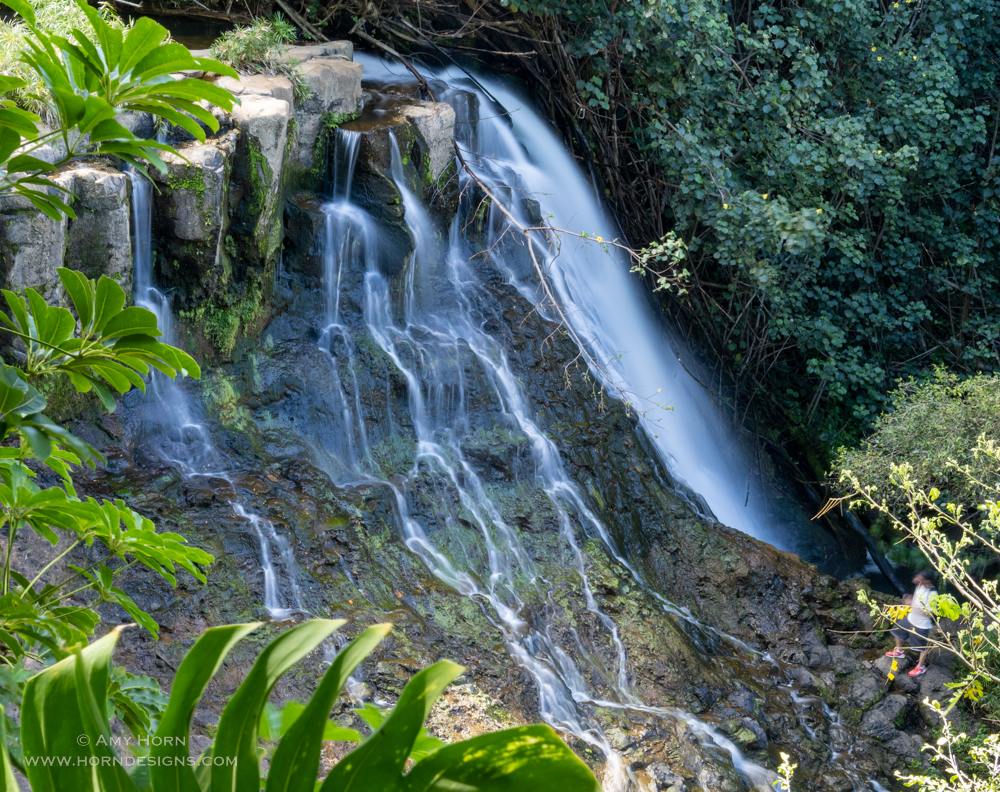
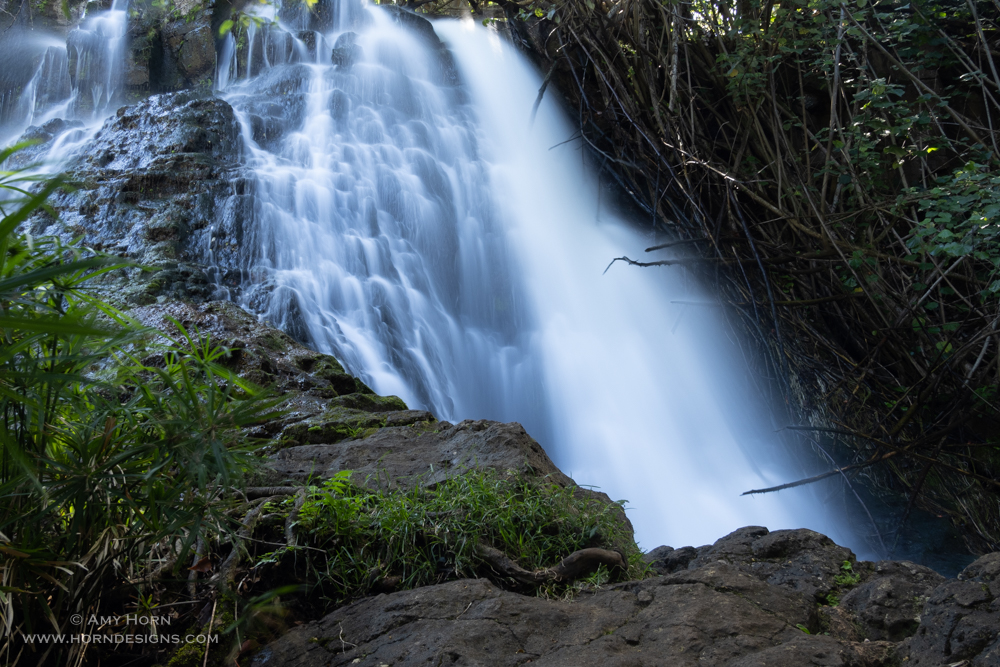
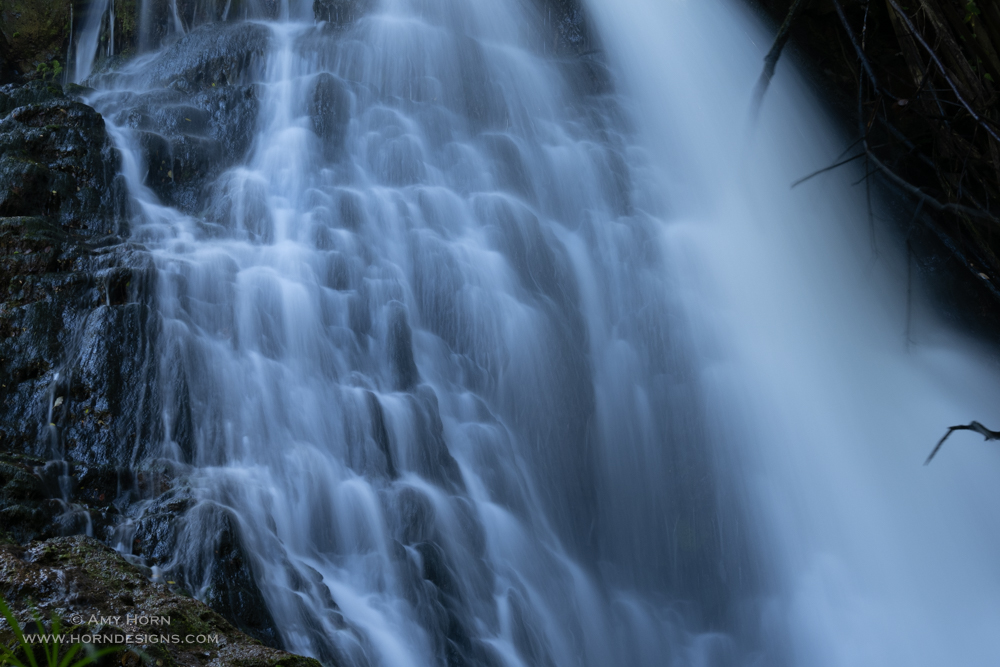
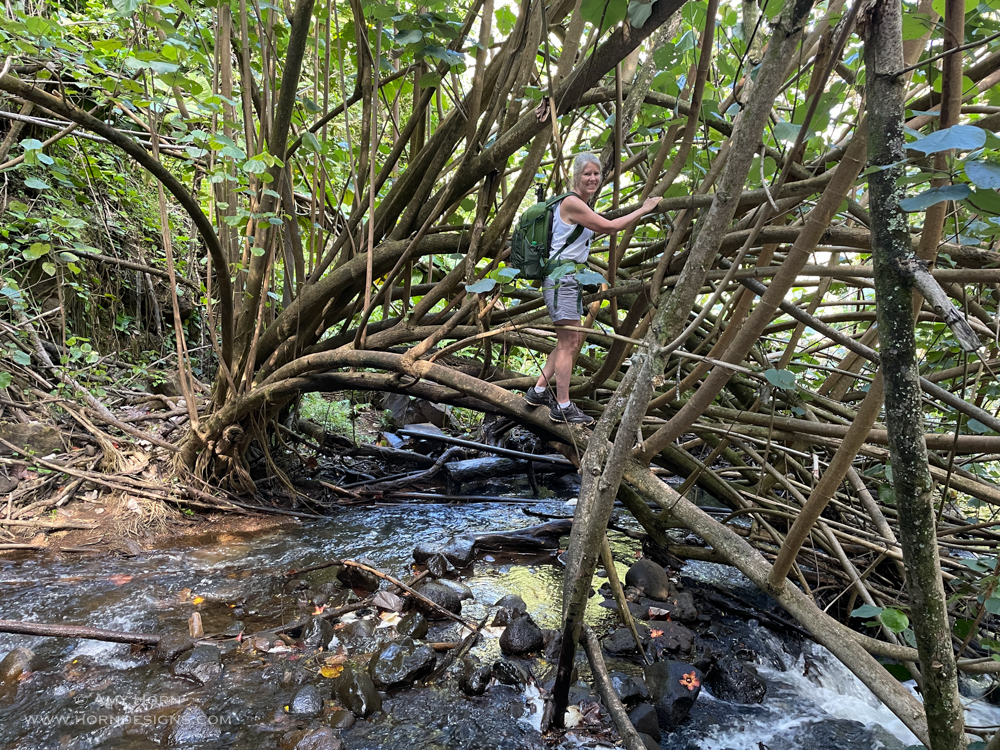
While on our 10-day Hawaiian vacation celebrating our 30th anniversary, my husband and I hiked to Ho’opi’i Falls, Kauai. Normally, we get up early for the best light, but our plans changed when we woke up to rain, so we ended up at Ho’opi’i Falls. With less-than-ideal light, it was important to find a good location that eliminated direct light.
Here is my process as I found the best composition that day.
Waterfall in cloud coverAdded a foreground from close-up bushesDown at the water levelTight shot of just the waterFound a “bridge” to cross over for a better perspectiveImage from across the bridge.
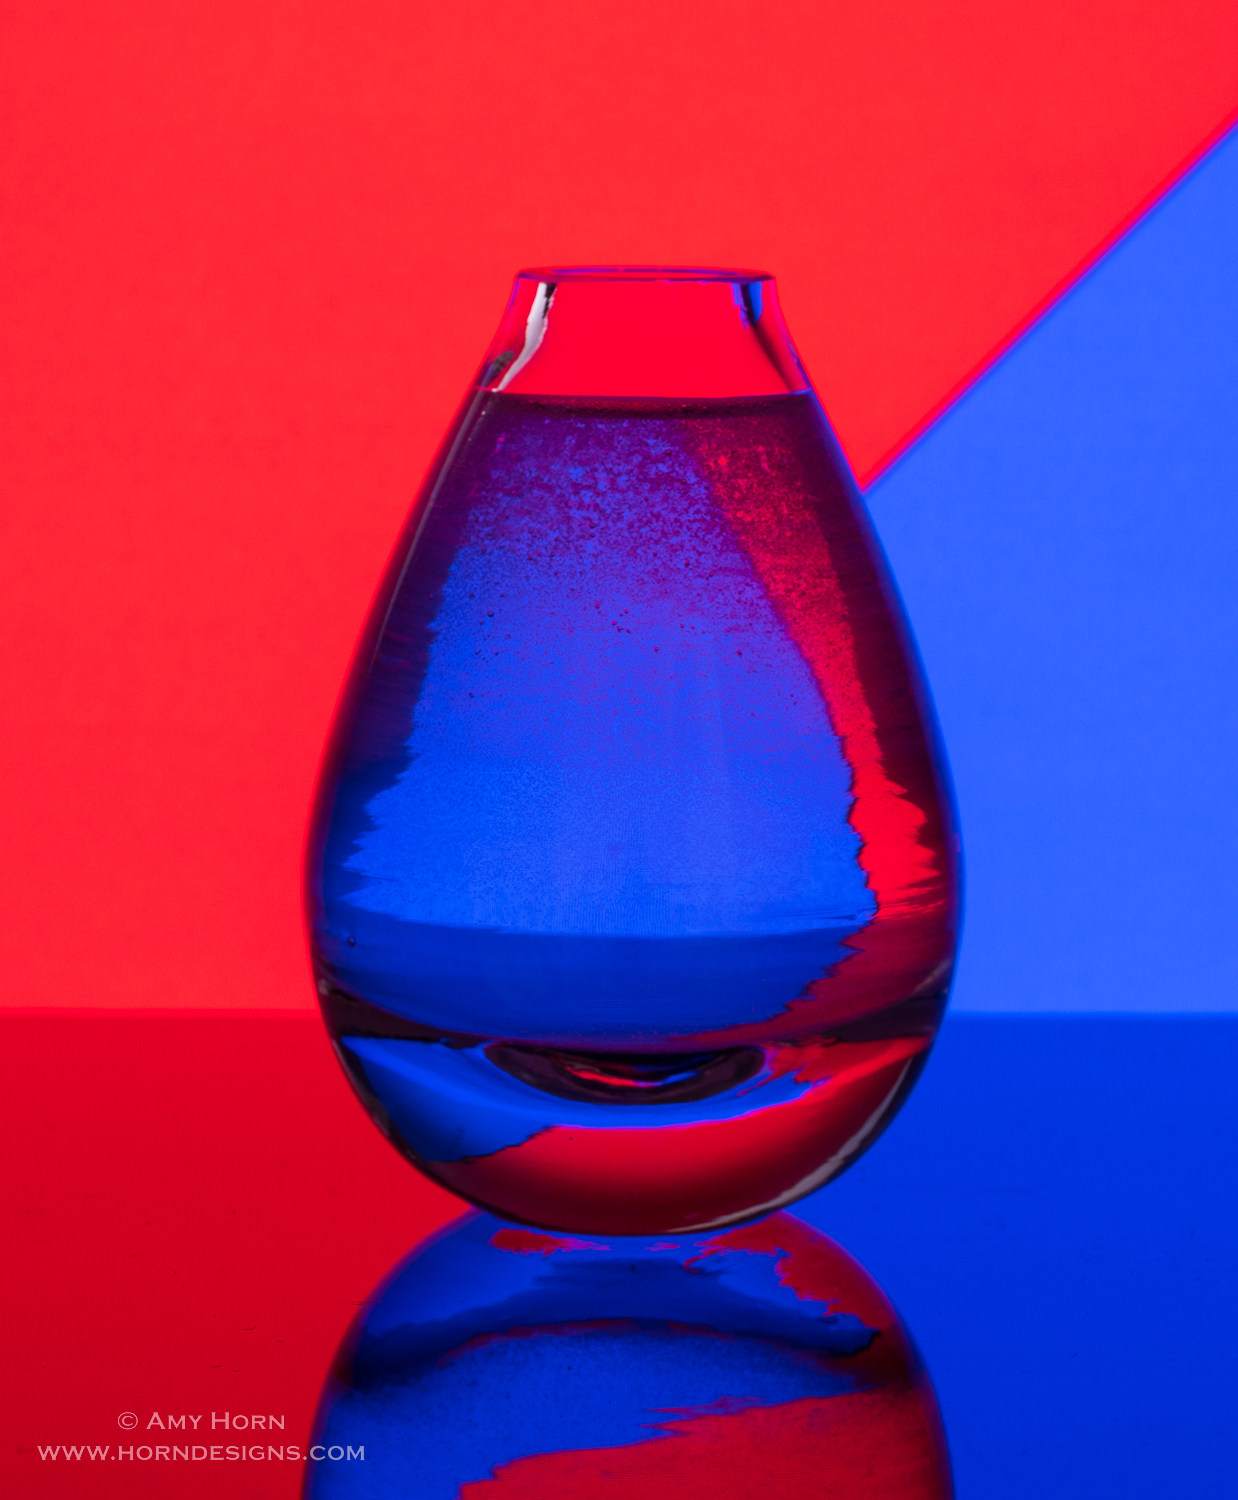
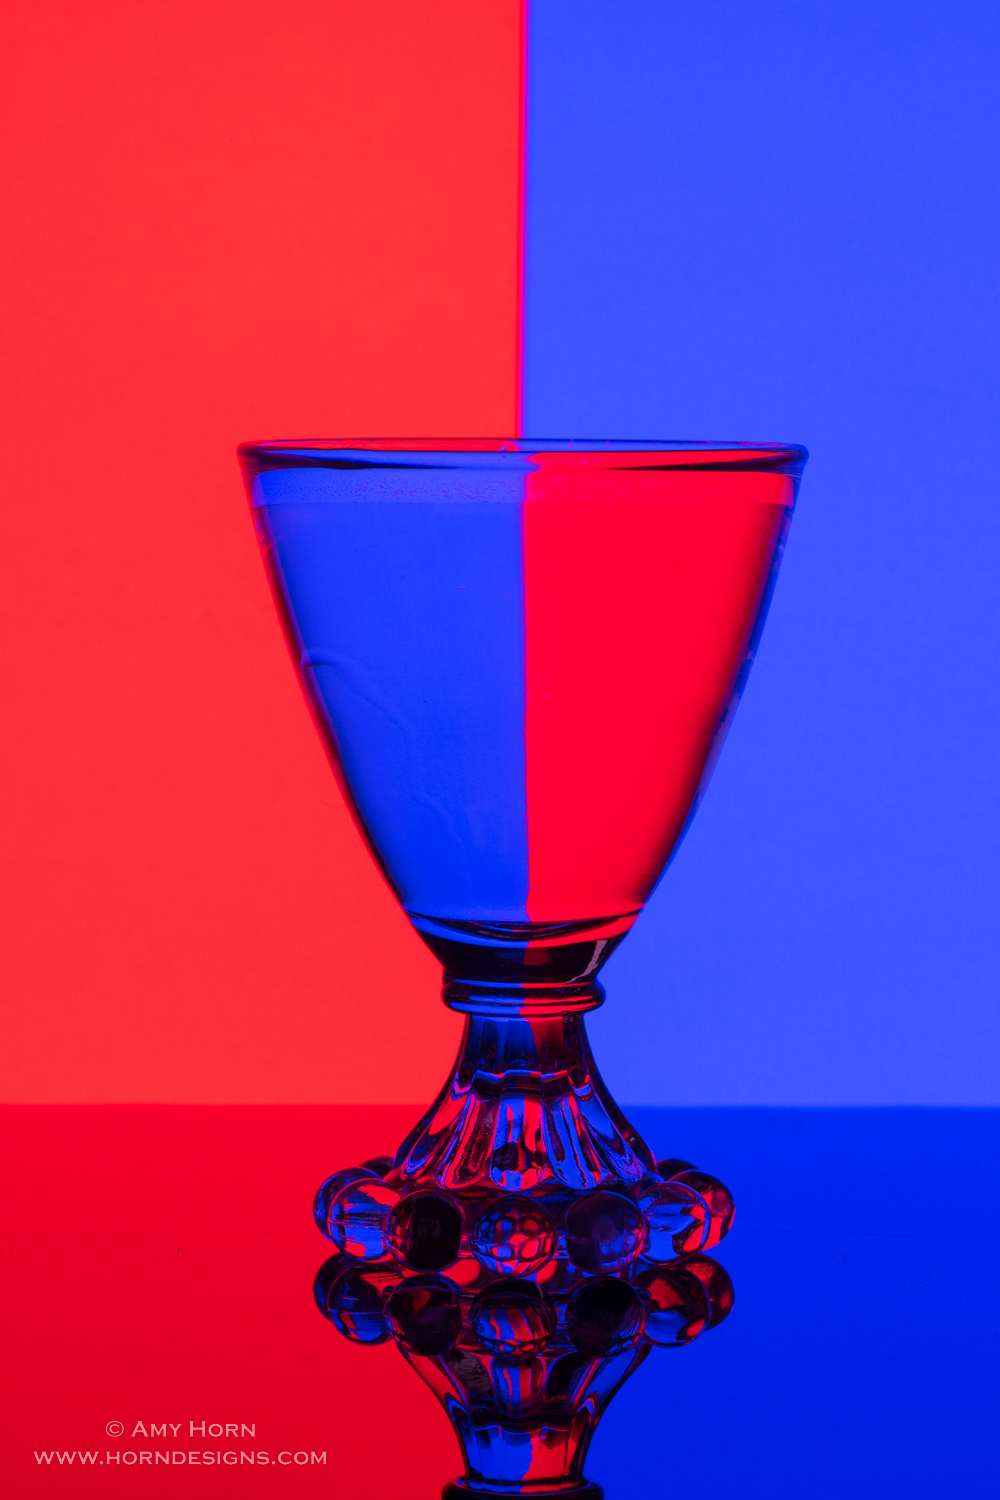
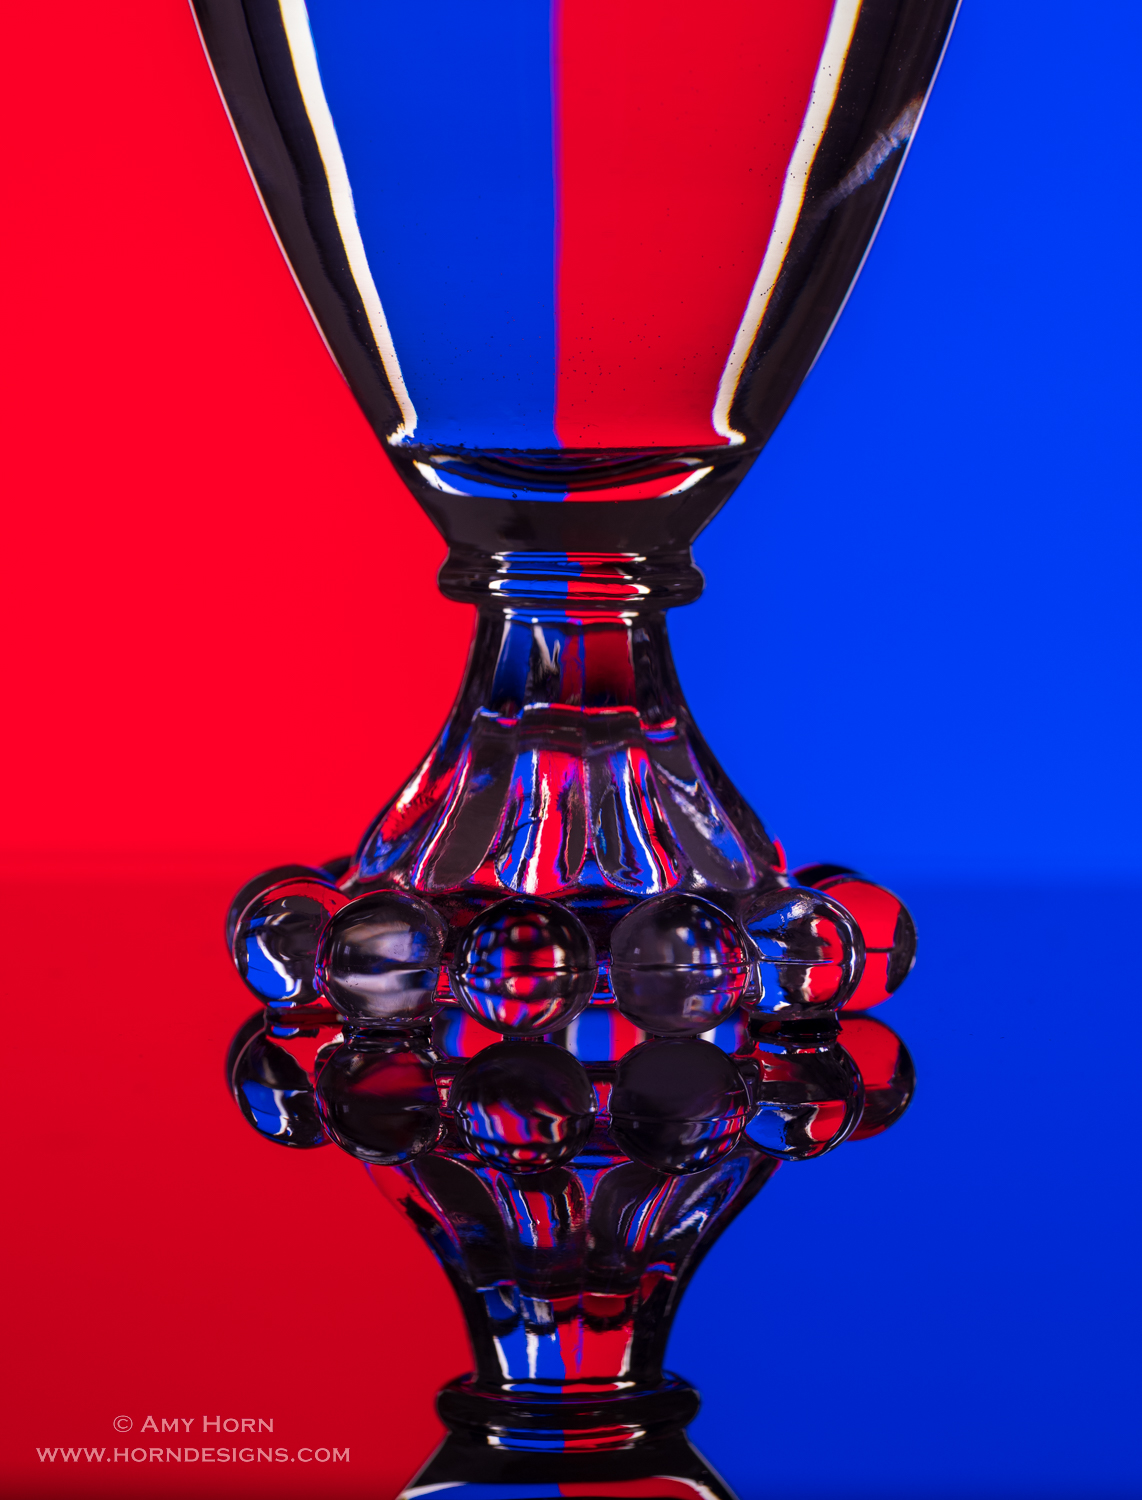
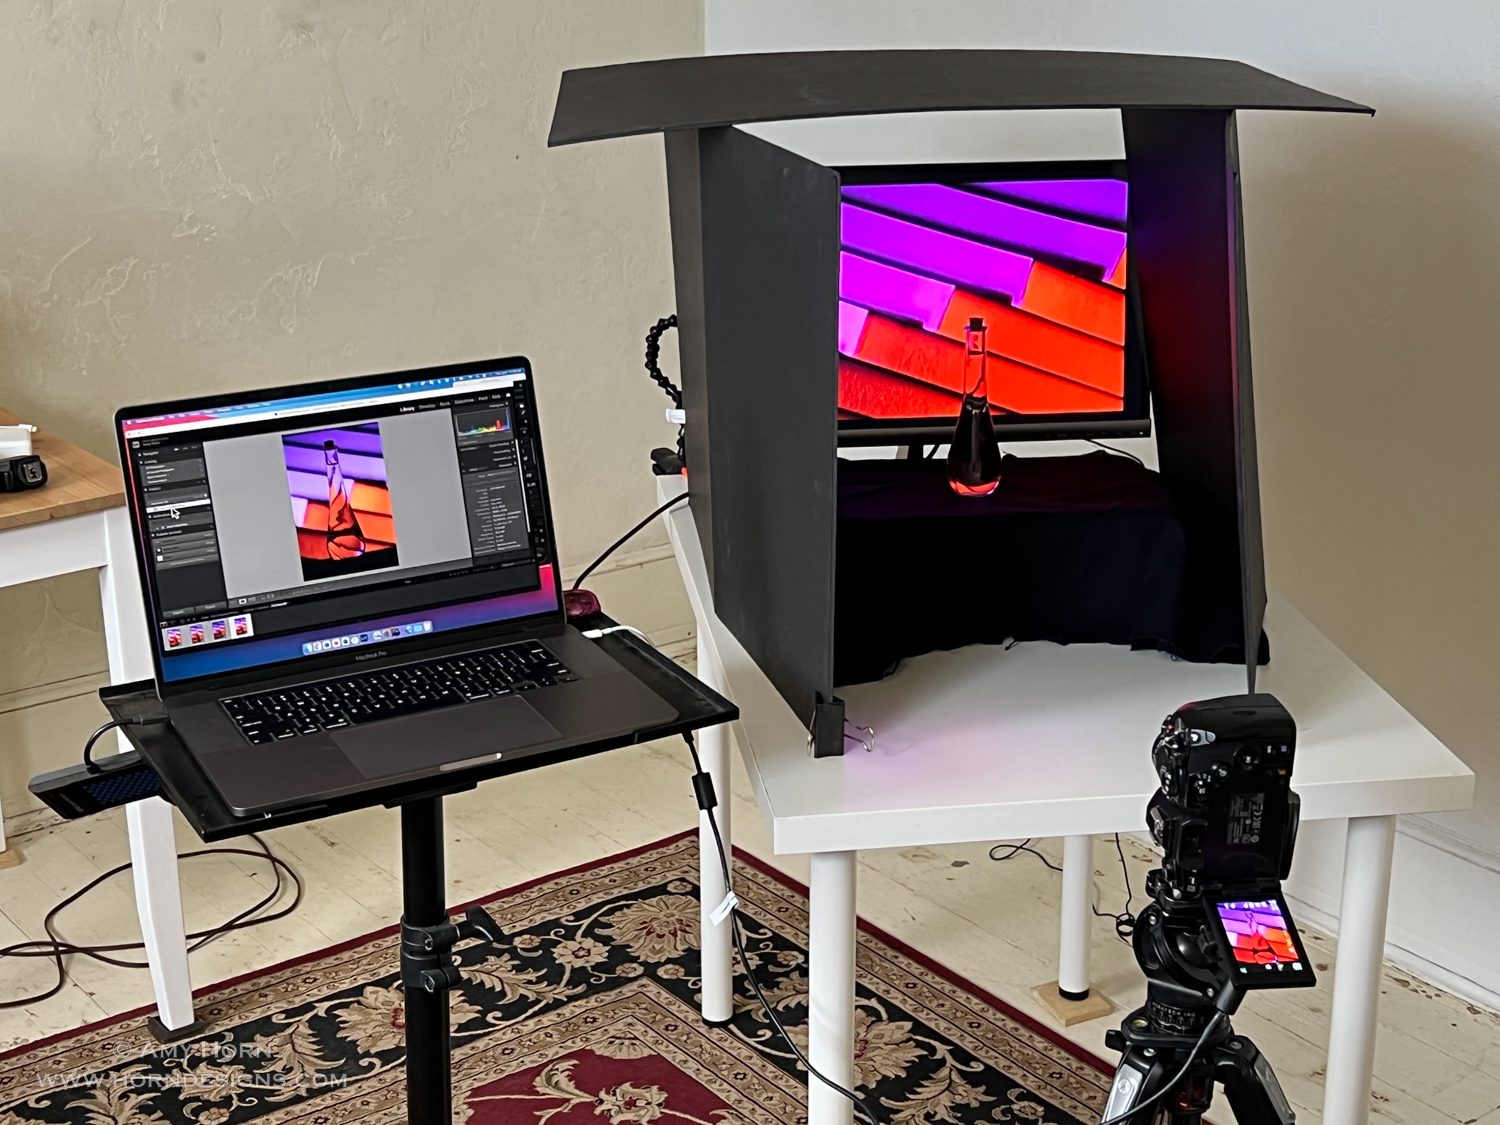
A past participant and friend, Lorri Oliver, shared some water refraction images a while back that used a different technique than mine. Since it was summer, I decided to give it a try. If you are familiar with my work, you might recognize that I hang paper on a background for the colors to refract through the glass. Her method positions a computer monitor with different colored images in the background. So, I created colored boxes and stripes in Photoshop, then pulled a few of my photographs as well to serve as backgrounds. Here are the resulting images:
Finding the perfect glass makes each photo unique. The last time I went to a second-hand store, I found several new glasses to try. I really liked the red/white/blue image glass for its simple top and knobs at the base. I love how the colors refract and shine through the glass knobs. Check out my setup in the below photo. Check out my YouTube video if you want to see more on water refraction. AmyHornphotographer Refraction video.
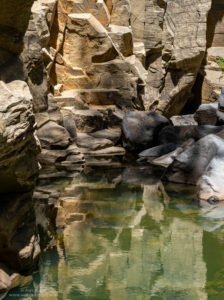
Waterfall at Queen’s Bath, Princeville, Kauai. Olympus OMDI Mark III, 12-100mm at 12mm, f/5.6, 8 sec, ISO 400, Singh-Ray Bryan Hansel Waterfall Polarizer Filter.
This question haunts me every time I use my camera, “Did I achieve focus?” It’s not as simple as zooming in on the LCD panel. For the past four years, my eye prescription changed dramatically causing cataract surgery in both eyes and as a result, I wasn’t always sure my images were in focus. My eyes see distance fairly well, but not close up (because my new lenses are for distance only). My doctor and I thought this was the best solution for the sharpest images. The only problem is that the surgery only corrected the astigmatism in one eye. As a result, I still need prescriptive adjustment to see far sharply. The downside to my new lenses is that I can’t see near.
So, for the past year, I’ve used progressive glasses to accommodate both the astigmatism and seeing near. I don’t like progressive glasses. Hiking over rocks at Watson Lake was miserable, not to mention I constantly moved my head around to find the sweet spot of focus. So, for the past two months, I returned to contacts to correct my astigmatism and readers for close-up/computer work. I’m finally back to really enjoying photography and don’t find myself saying, “Is it in focus?” after every image. Do you have a better solution to finding focus with vision problems?
The memory card survived the water! Olympus OMD 1 Mark III, 12-100mm lens, 1/200 sec, f/7.1, ISO 200.
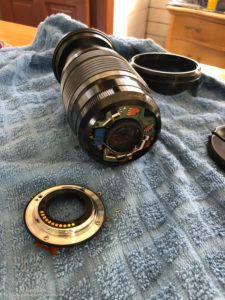
On a recent hike with my husband through Pumphouse Wash I dropped my two-month-old camera. The hike required wading through many thigh-high polls of water, and I was careful while wading. Hiking was slow through the water, so after three hours of hiking, we turned back toward the car. That meant wading through the pools of water again. The walk-able ledge on the last pool meant we would stay dry, well that was the plan anyway. Somehow, my pack was open and my camera took a swim. I watched it submerge 18” under water, so I jumped in too. As I grabbed the camera strap the lens broke off and water gushed inside the camera. After getting the camera, I spotted the lens wedged between two rocks and retrieved it. I pulled the battery and memory cards from the camera immediately, hoping to keep the images from the hike.
Broken lens with water inside.
Once on dry ground, I wrapped the gear in a towel, and we hiked the last 1/3 mile back to the trail head. At the car, I opened every compartment to dry them out and knew Monday I would call my insurance company. Almost ten years ago, I purchased a policy from State Farm Insurance to cover my gear since I own too much camera gear for a traditional homeowner’s policy. On Monday, I called in my claim. A few days later, a claims adjuster called and by the end of the phone call, he issued me a check for the full value of my gear minus the $100 deductible.
Insurance
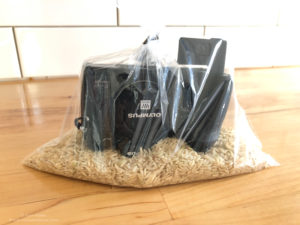
Camera in rice to dry out.
Hopefully, this event got you thinking about insuring your gear. My policy cost $20/month and with over $3000 replaced gear, insurance was a wise choice for me. Not only can you get a special policy through most homeowner’s insurance agents, but many photography organizations offer insurance as part of your membership. Here is a short list of options for insurance, but there are many more.
PPA – Professional Photographers of America
PSA – Photographic Society of America
NANPA – North American Nature Photography Association
Howard Burkholz of Allstate
I contacted Olympus to see if a repair was possible. Although they couldn’t say for sure without evaluating it, dropping the camera in water void the warranty. While I waited to hear from my insurance agent, I placed the camera in a bag of rice. I’m glad I had insurance.
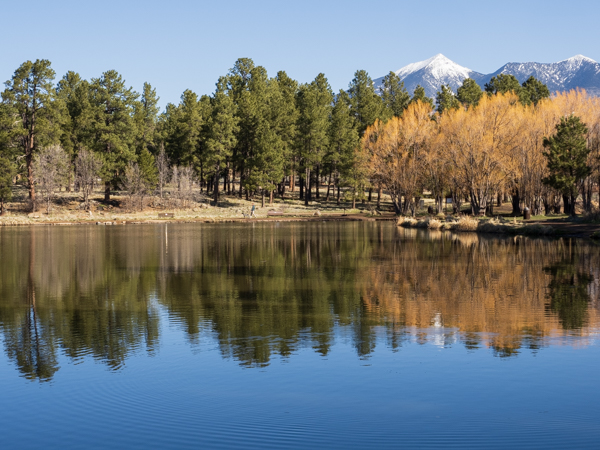
Francis Short Pond with the San Francisco Peaks in the background. Olympus OMD1 MIII, 31mm, 1/160 sec, F/10, ISO 200
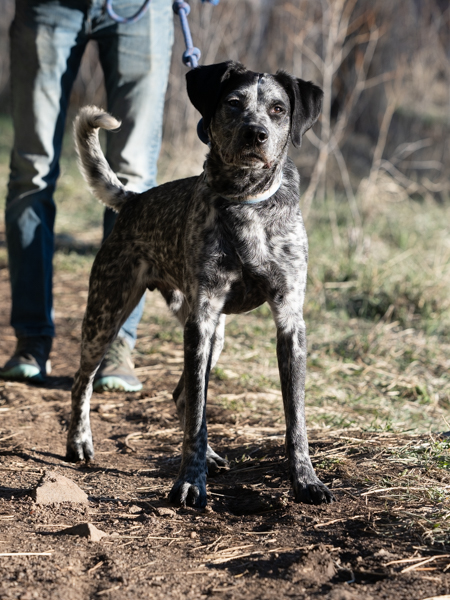
Our son, Austin adopted a dog last month. Ryder (dog) is a
great addition to our home and we walked him day and night for the first few
weeks. Most of these walks were to Francis Short Pond, a ½ mile from our house
and easy to maintain social distancing. Here are several photos from these
walks.
An early Flagstaff morning in March with a thin layer of ice on Francis Short Pond. Olympus OMD1 MIII, 150mm, 1/3200 sec, F/2.8, ISO 200
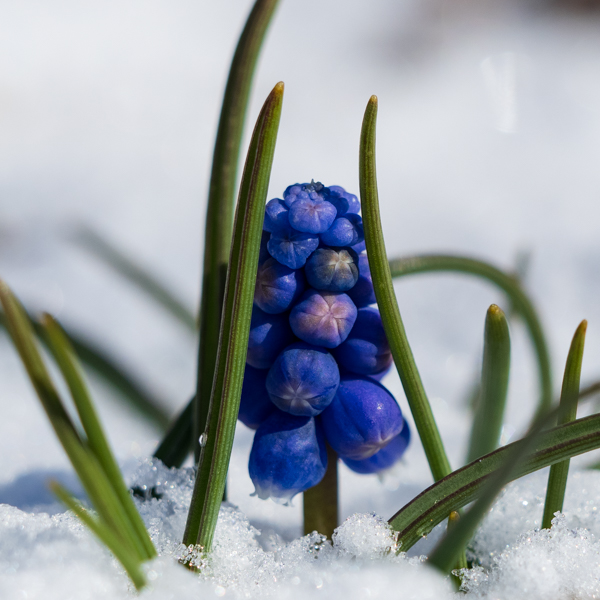
Blue grape hyacinth poking through the fresh snow. Olympus OMD1 MIII, 150mm, 1/2000 sec, F/4, ISO 200
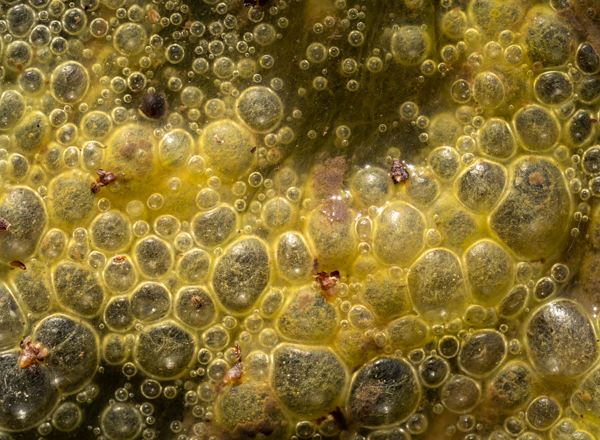
Algae. Olympus OMD1 MIII, 60mm, 1/40 sec, F/6.3, ISO 200
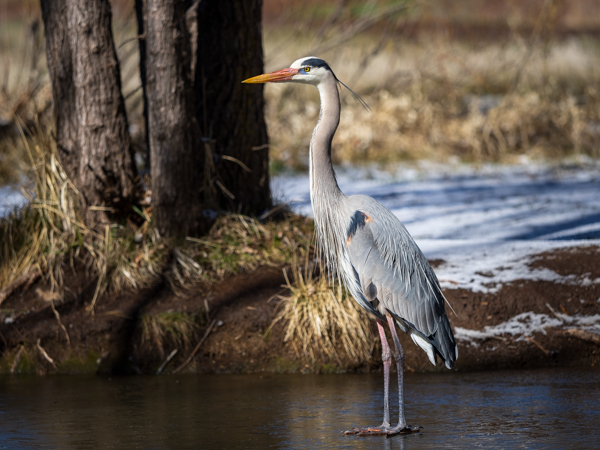
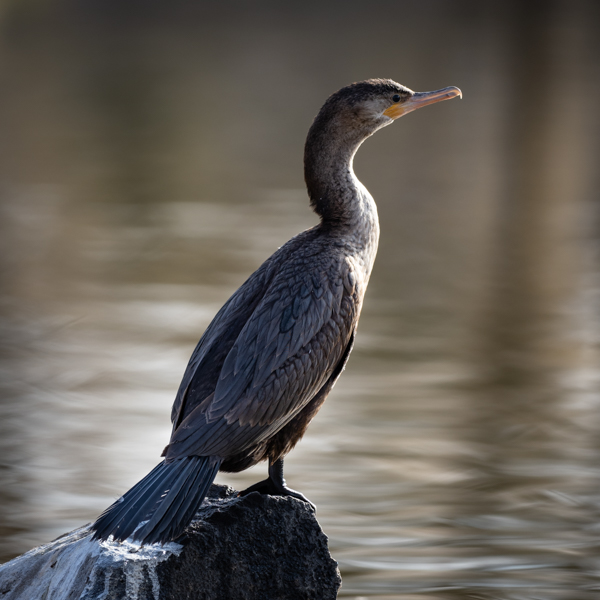
Cormorant at Francis Short Pond. Olympus OMD1 MIII, 300mm, 1/640 sec, F/4, ISO 200
Ryder on his daily walk. Olympus OMD1 MIII, 95mm, 1/500 sec, F/4, ISO 200
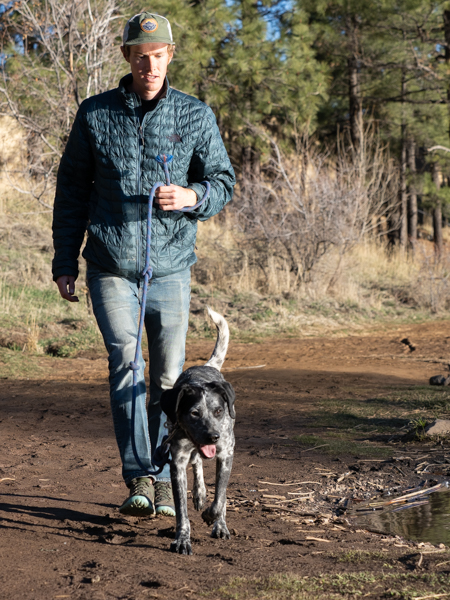
Austin walking his dog, Ryder. Olympus OMD1 MIII, 46mm, 1/640 sec, F/4, ISO 200
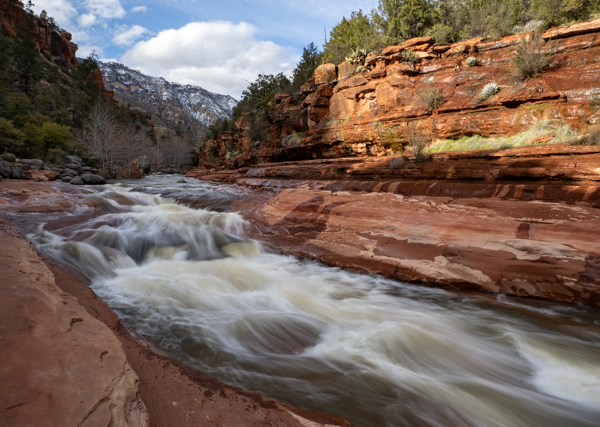
Spring Break started with the announcement of a pandemic and the cancellation of, well, everything. What was a week of photography, workshops, and relaxation became stressful, instantly. My husband saw my stress and suggested a road trip through Oak Creek Canyon to Slide Rock State Park. Water in nature always calms me and the brisk March afternoon meant we had the place to ourselves.
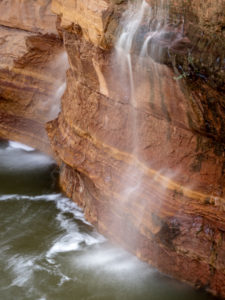
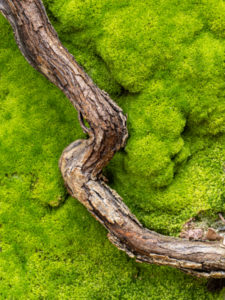
We hiked down to the creek noticing a waterfall we didn’t remember on our last visit in October. Since it was a cloudy afternoon, I used the Singh-Ray Bryan Hansel Waterfall Polarizer to blur the water. Next, we found moss under the bridge too. The contrasting textures from the exposed tree root and bright green moss drew me in. Therefore, it was time for the macro lens. After several different compositions, I used the 60 mm macro lens for a close-up image instead of capturing a 1:1 macro image.
Olympus OMD1 MII, 60mm, .6 sec, F/10, ISO 200
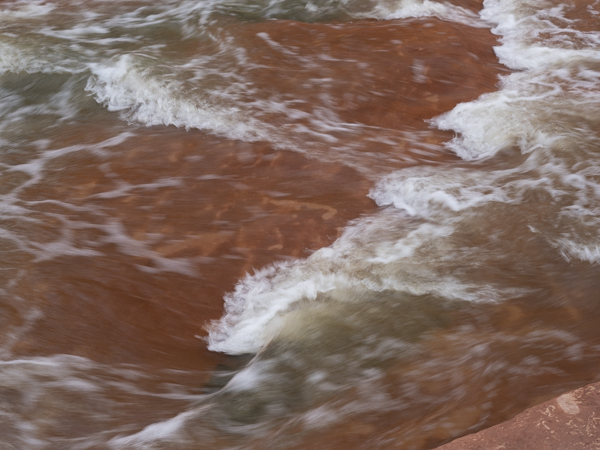
Next, we walked down the west side of the creek and I noticed the ripples in the water. When photographing patterns like these, it takes me a few attempts to find the right shutter speed. Let me take you through my process. In the images below, number one is with a shutter speed of 1/30 sec., just slow enough to look blurry. Image number two used a shutter speed of 1/3 sec. creating an abstract image about the ripples. That was what I wanted: the right shutter speed to tell my story. Lastly, I adjusted the composition. Image number three used a shutter speed of .4 sec. and the blurred water ripples lead the eye through the frame.
1) 1/30 sec.
2) 1/3 sec.
3) final image – .4 sec.
Our short trip to Slide Rock State Park was a success. I walked away with a two photos I loved and two more that I really enjoy. That’s a successful shoot to me and to think the day started out stressful.
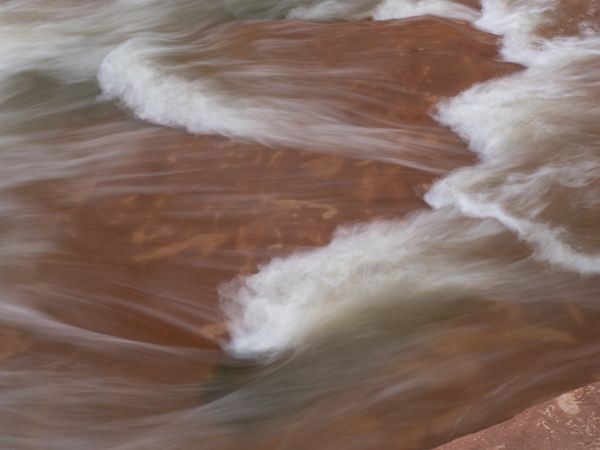
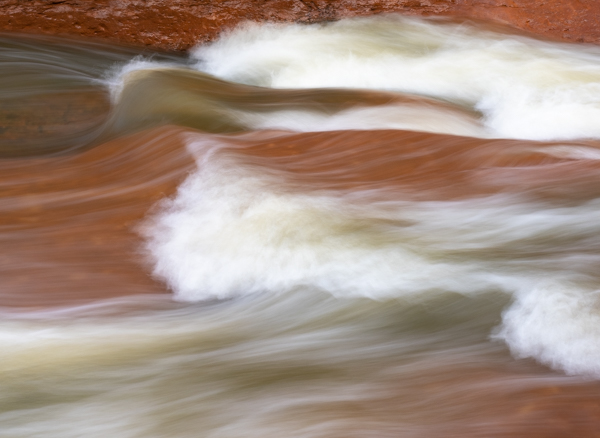
After my sabbatical studying water, I spent many days using my variable ND filter. ND filters, otherwise known as “neutral density” filters attach to the front of your lens and darken the exposure. So, on bright days, slowing the shutter to capture “milky” water is possible. My first ND filter was a variable ND filter, allowing 1-5 stops darkening. Recently, I purchased the Singh-Ray Mor-Slo ND filter with 15-stop darkening and love it. These filters do require a little practice since focusing is done before you screw on the filter. Otherwise, the learning curve is short and here are a few examples from my recent Watson Lake workshop.
Image Left: In mid-day light without any filters with exposure f/16, 1/125 sec and ISO 200. Image Right: With the same light, I put on my Singh-Ray Mor-Slo 15-stop filter with exposure f/16, 8 minutes and ISO 200.
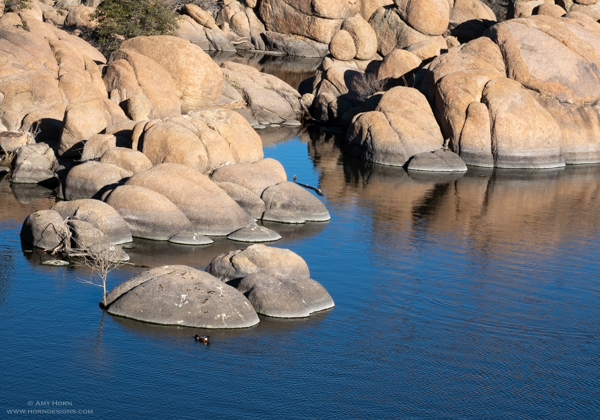
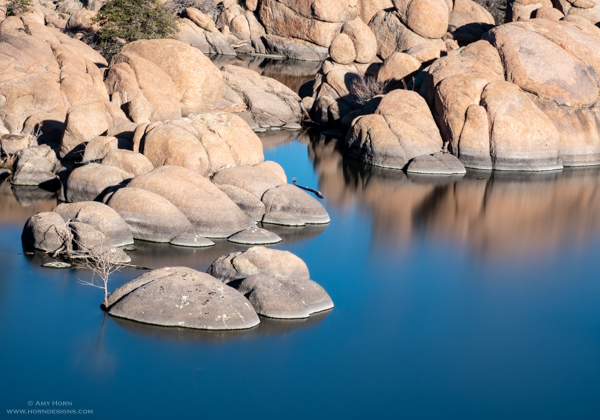
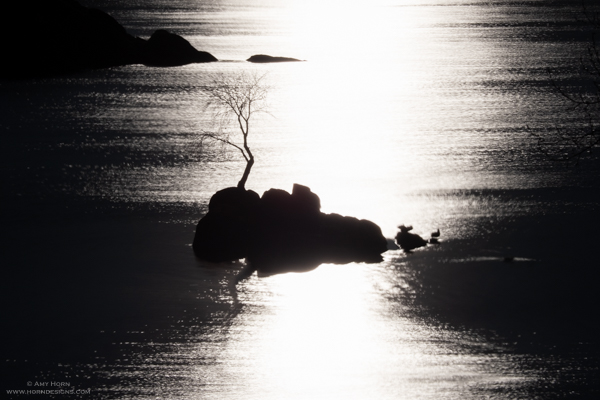
Something to try: capture images in black and white to add drama to an image. Check out these two images shooting straight into the sun.
Image Left: In morning light without any filters with exposure f/16, 1/8000 sec and ISO 200. Image Right: With the same light, I put on my Singh-Ray Mor-Slo 15-stop filter with exposure f/16, 8 seconds and ISO 200.
If you are looking for a change with your water photography, consider a neutral density filter, but most importantly, have fun. And, if you are interested in a Singh-Ray ND filter (or any filters), use code Amy10 for 10% off their filters at https://singh-ray.com/.