After our second annual trip to the Boundary Waters, I wanted to share how I kept my camera safe, dry and easy to access through canoeing and portaging. Boundary Waters Gear can be simple if you think through what you really need. If you aren’t familiar with the Boundary Waters, check out my previous post here.
On the Boundary Waters, we carry everything: food, tents, clothing, etc. Each day we packed up camp, paddled and portaged most of the day, then chose a new camp. During the week, we paddled and portaged about 50 miles. With this schedule, my gear needed to be light, accessible and water safe.
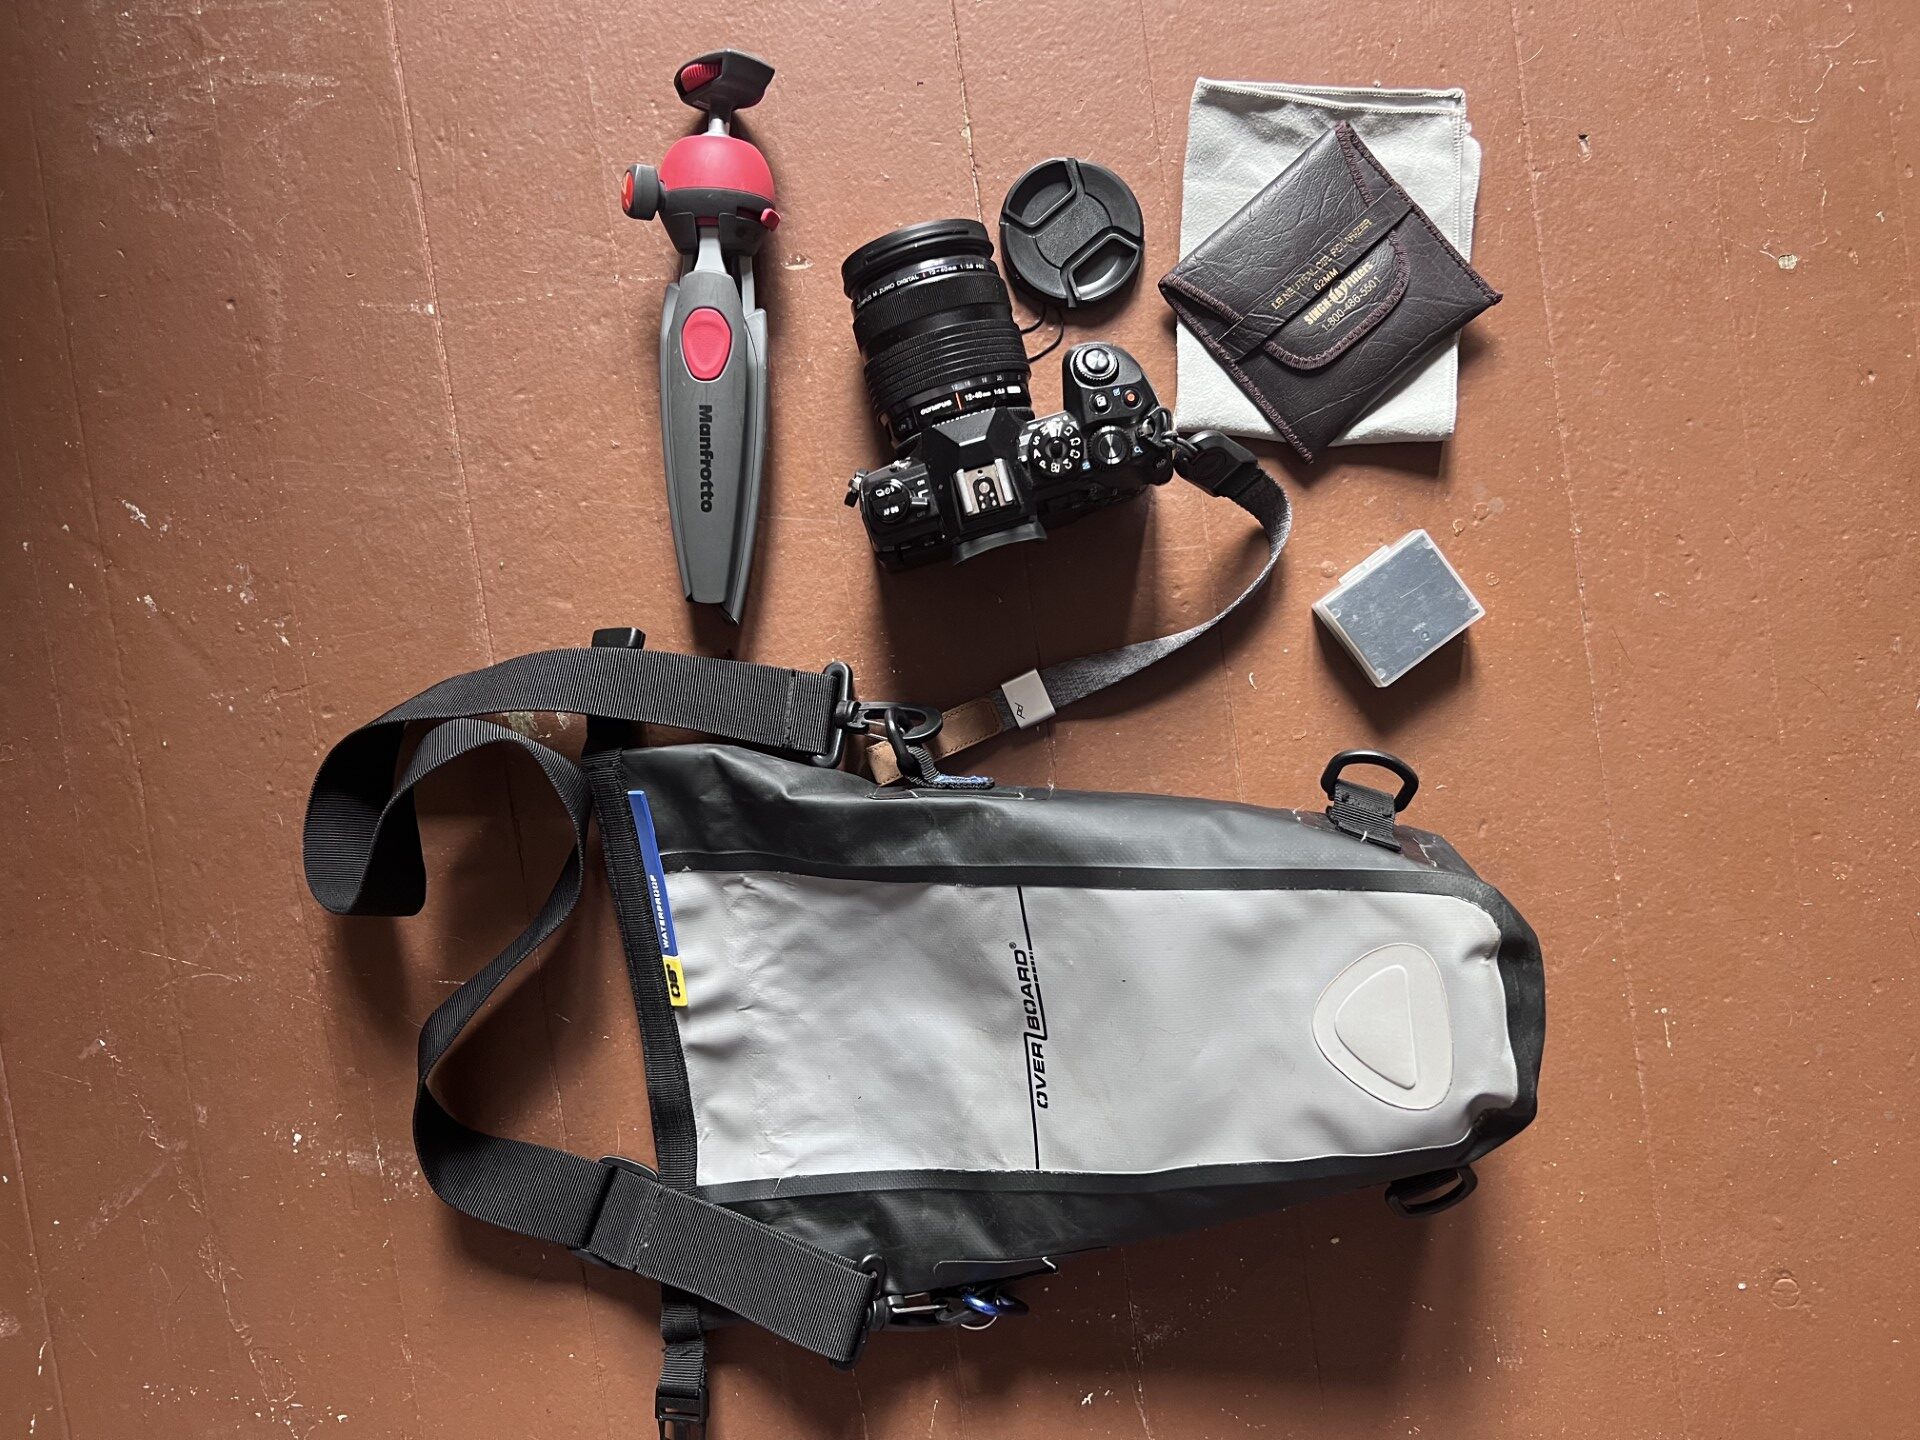
My camera was the Olympus OMD1MII with the 12-40 f/2.8 lens. I chose this lens because it was light and captures great close up (wide angle macro) images too. In addition, I purchased a lens cap leash – last year I dropped a lens cap and lost it in the water. A long lens would have been great for birding, but not worth the weight in my opinion.
Gear
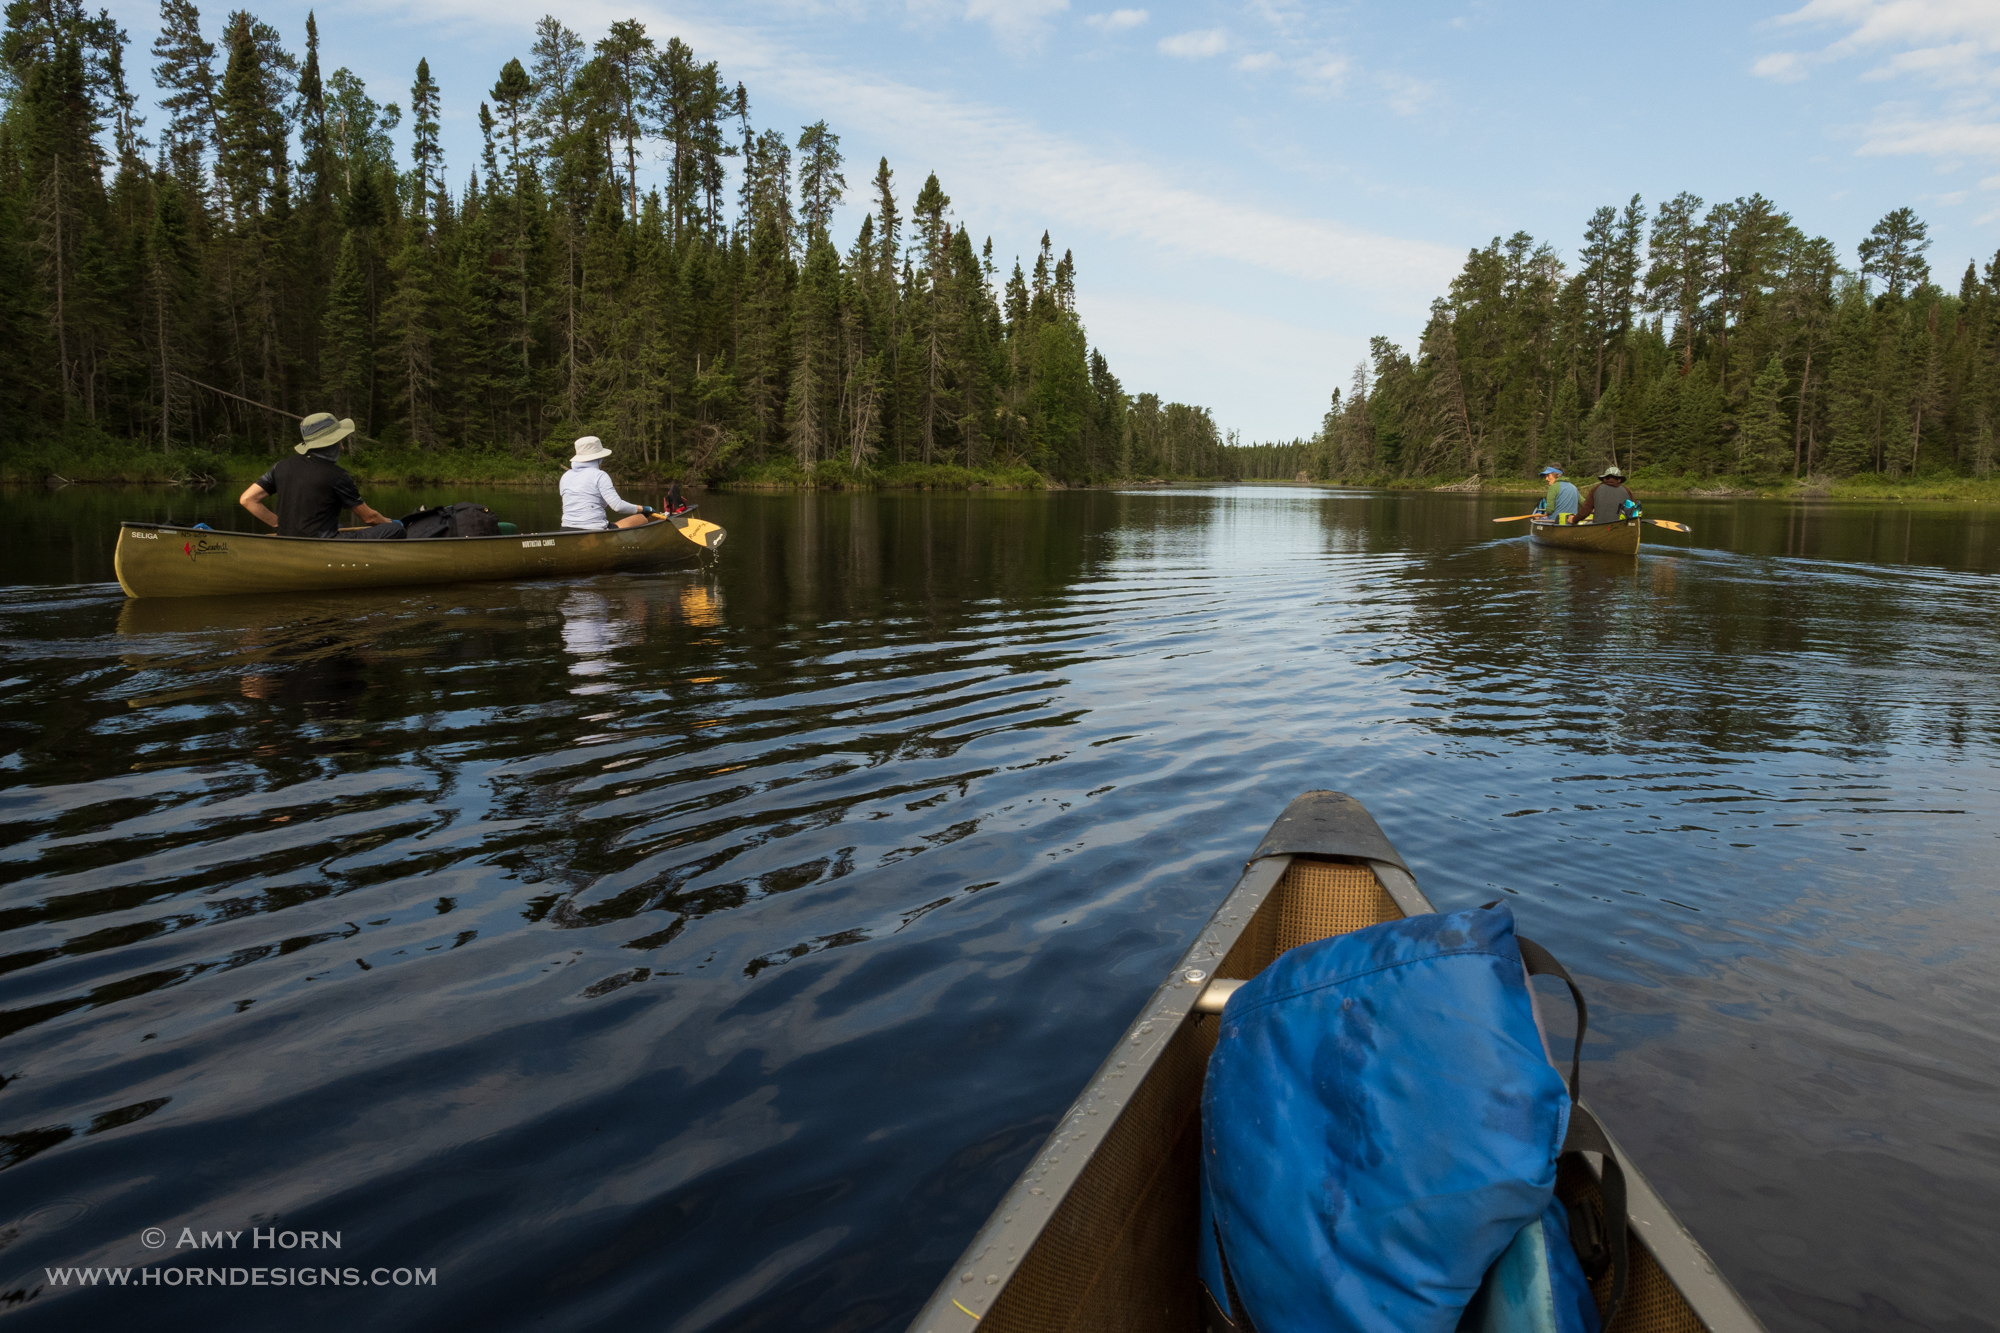
The Manfrotto mini tripod was perfect for sunrise and sunset shoots and a Singh-Ray Circular Polarizer completed the setup. Of course, I took an extra battery. All of this fit into my Overboard Camera Dry Bag (https://amzn.to/3qpLR5o). The shoulder strap on the dry bag made it easy to clip onto the boat or wear over my shoulder during portages. See the photo with my camera dry bag and the large 60 lb Duluth bag of gear and food? This was captured at the start of a portage. So, I could easily open the bag and grab photos whenever needed.
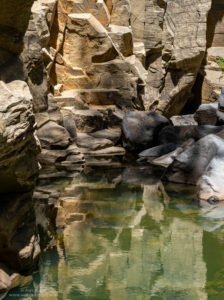
In places like the Boundary Waters, I don’t want the gear to take over from the fun of the trip, so I kept it simple. Below are a few more images captured on the trip.
The question asked most about our trip to Minnesota’s Boundary Waters was, “How were the mosquitos?” Well, I have to say, they enjoyed our visit! The mosquitos were thick at times, but we were prepared and dealt with them. I knew very little about the Boundary Waters, so this travel blog shares my new knowledge of the area and our back country adventure.
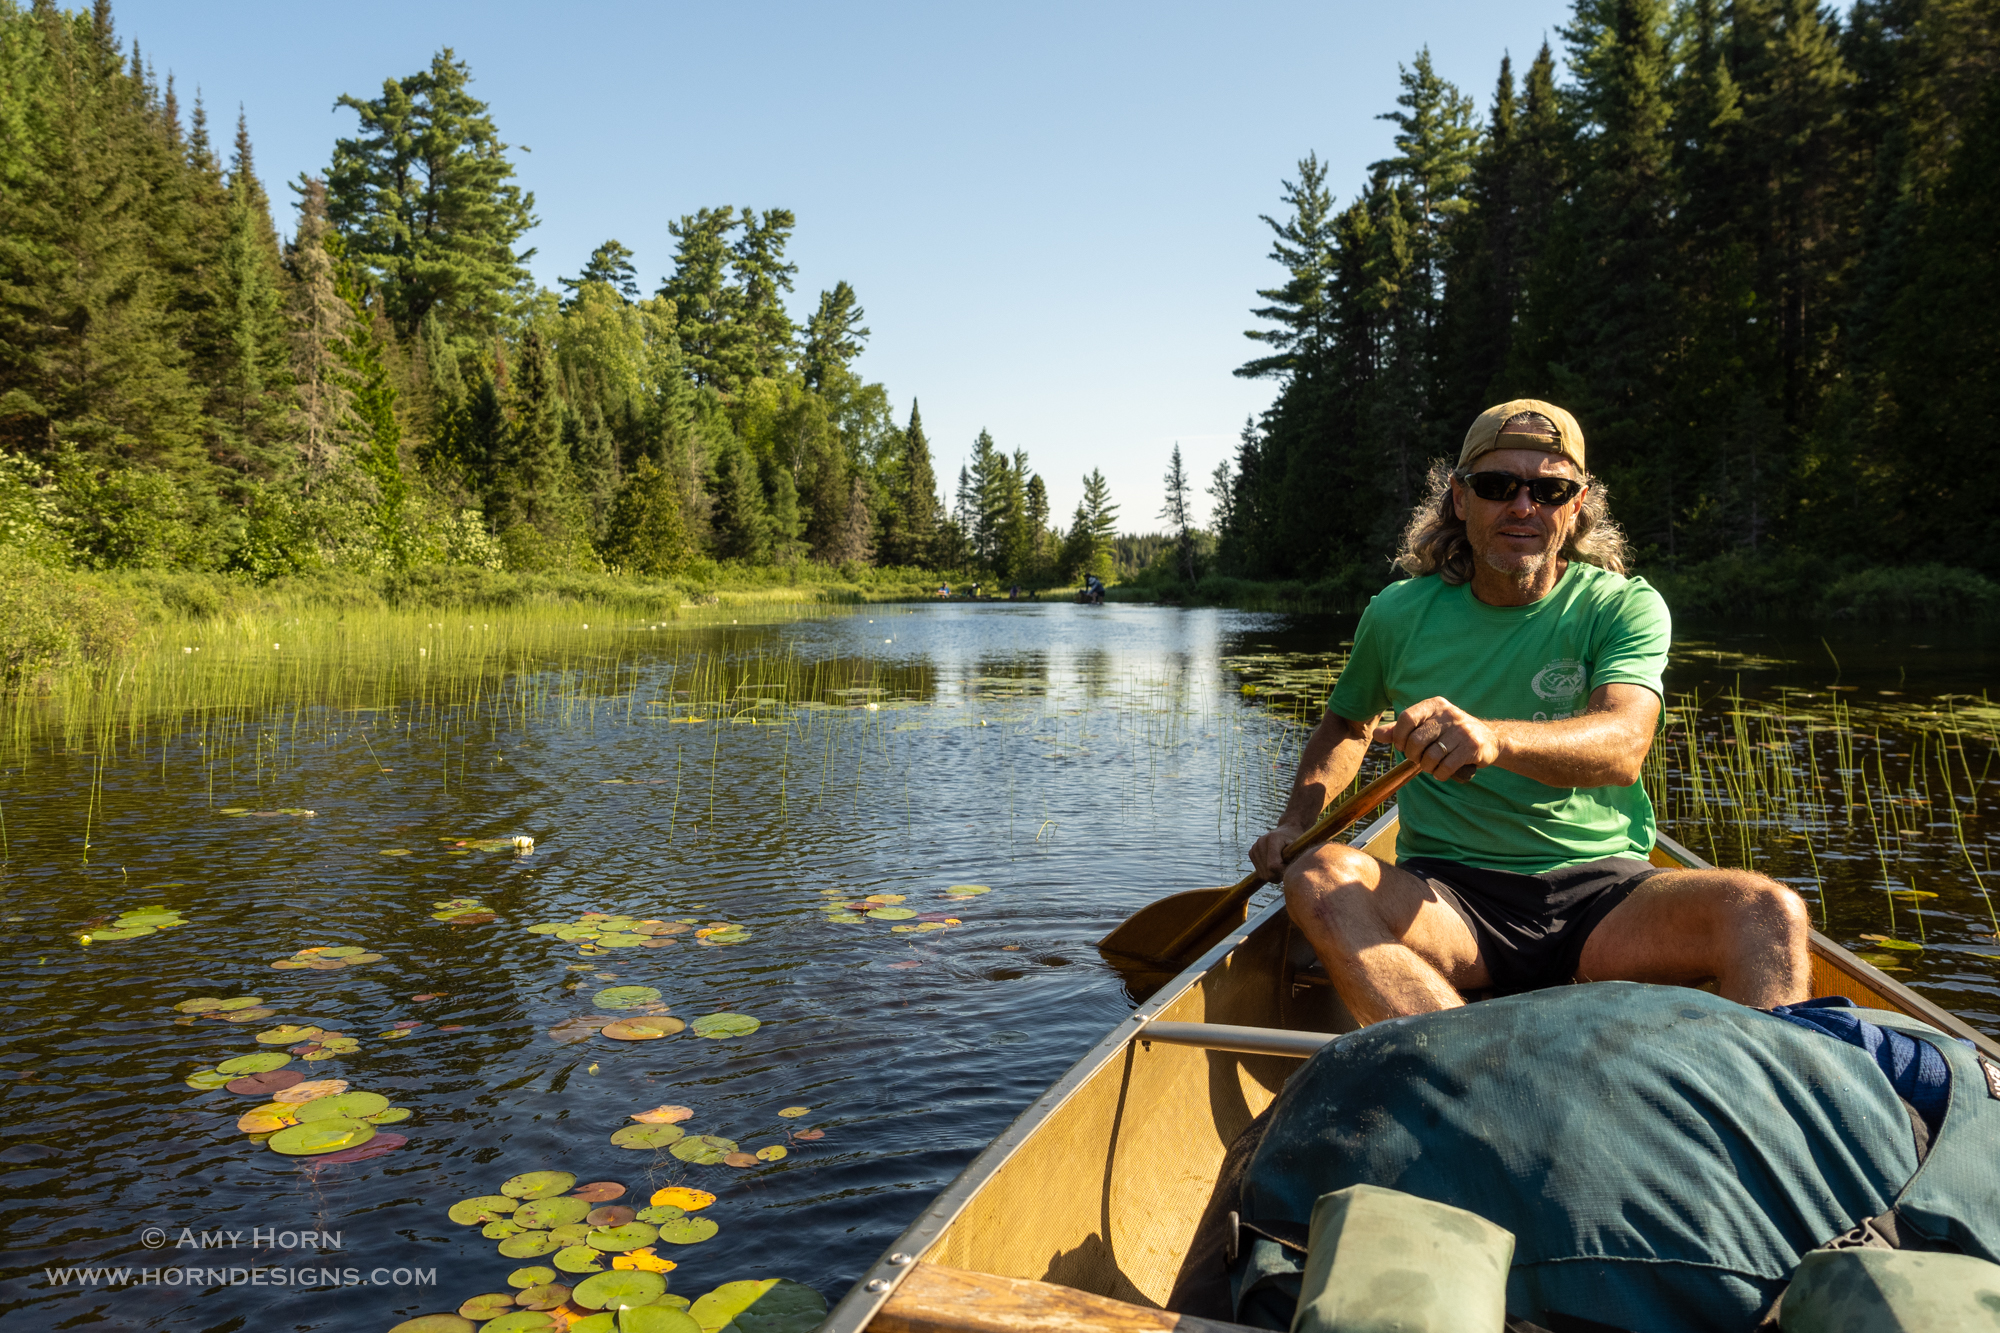
According to Paul Vincent, the Boundary Waters Canoe Area (BWCA) is one of America’s most remote and cherished wilderness areas accessible primarily by canoe. It extends 150 miles along the U.S.-Canada Border, with over 1,100 lakes and 1,500 miles of canoe routes. It was hard for me to imagine until I saw it firsthand. (Explore Minnesota) In the large lakes, the water is so clean, that it is drinkable without a filter.
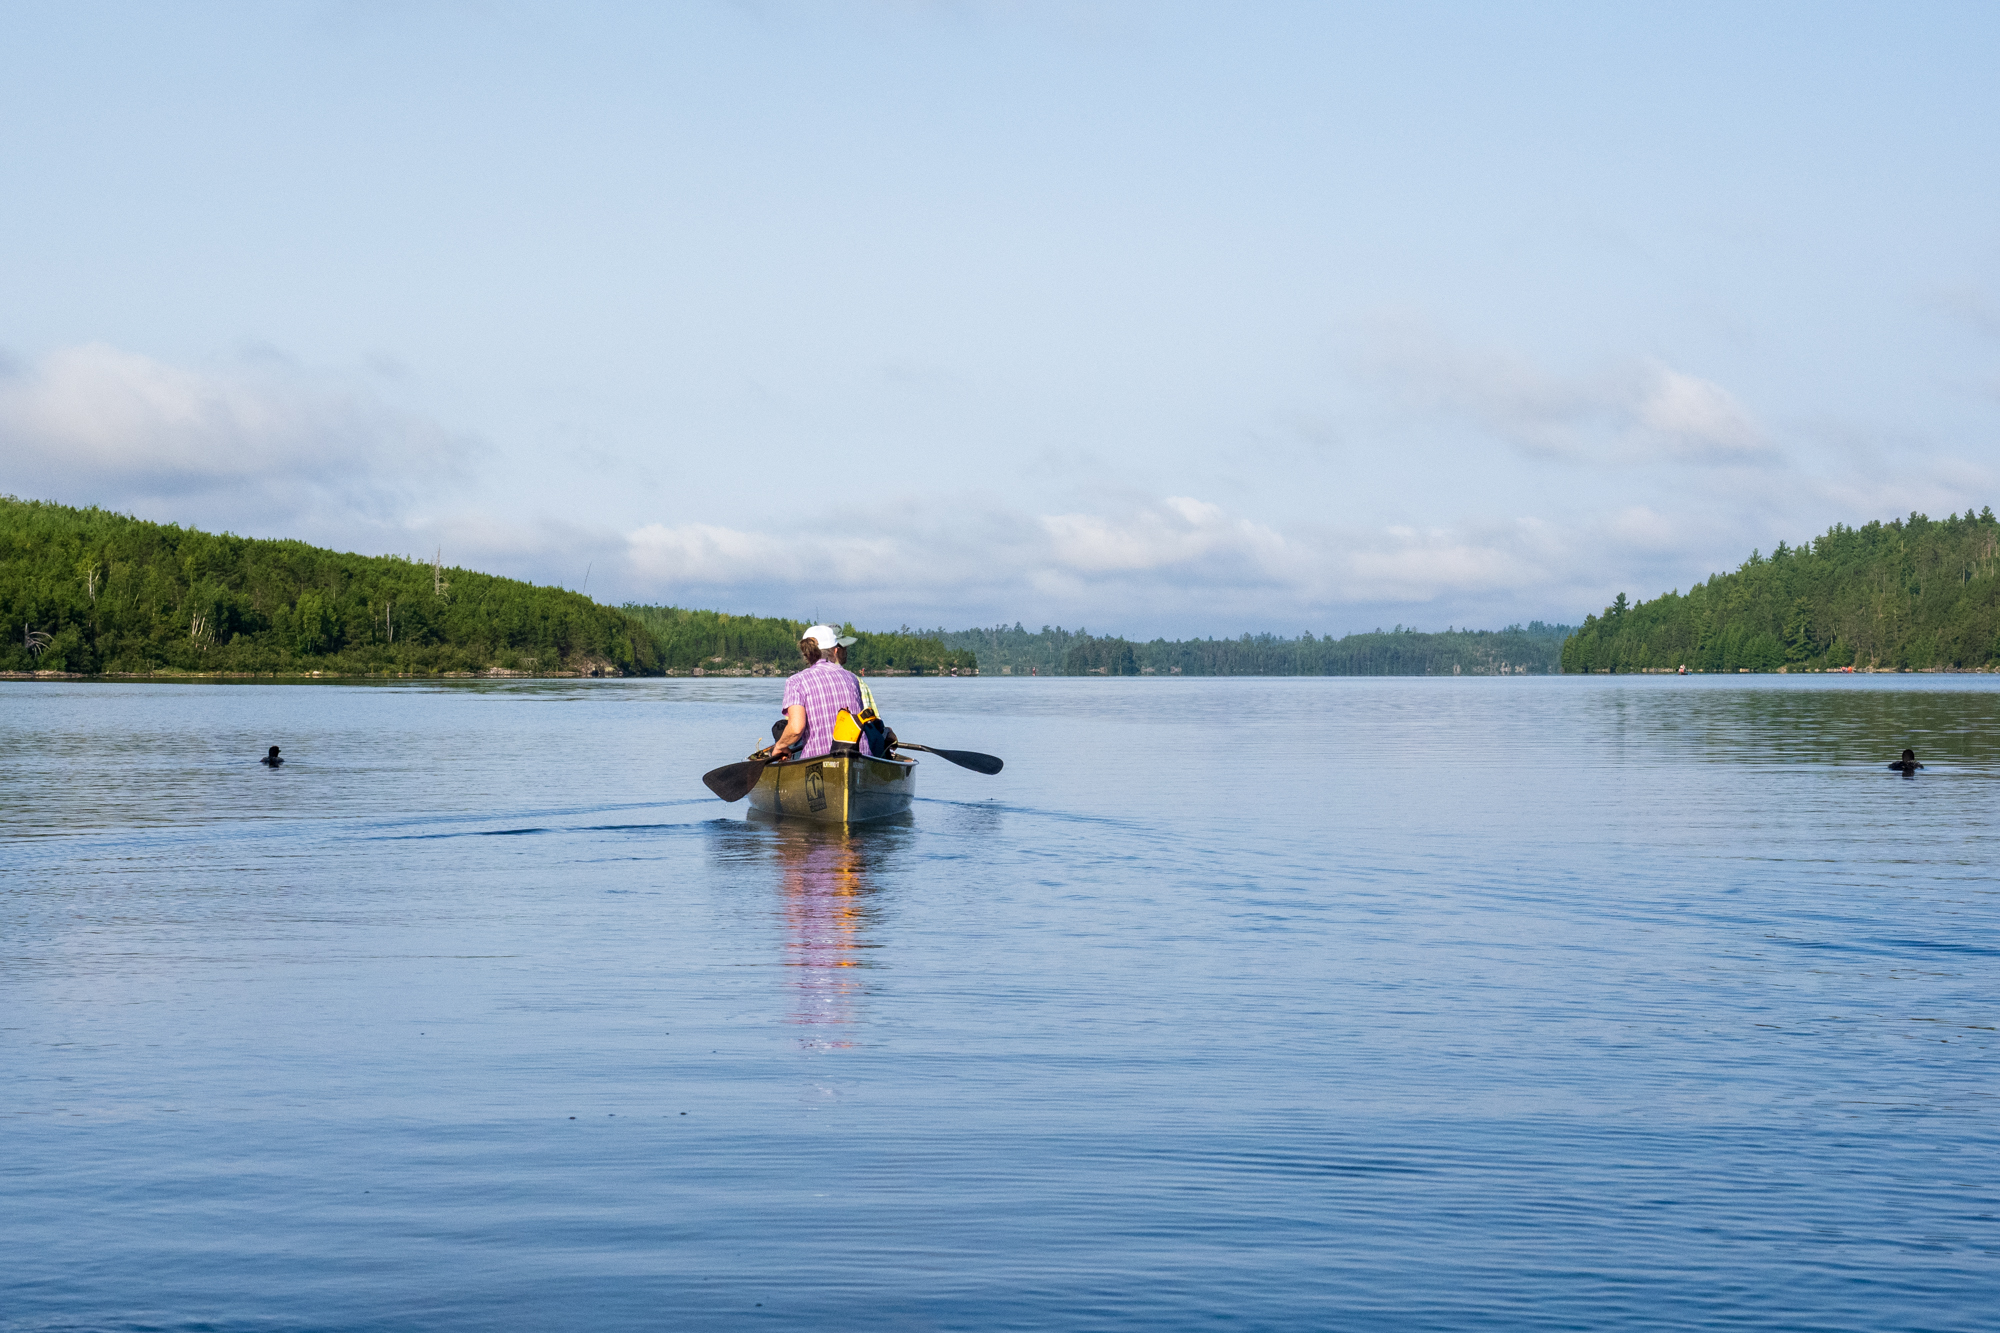
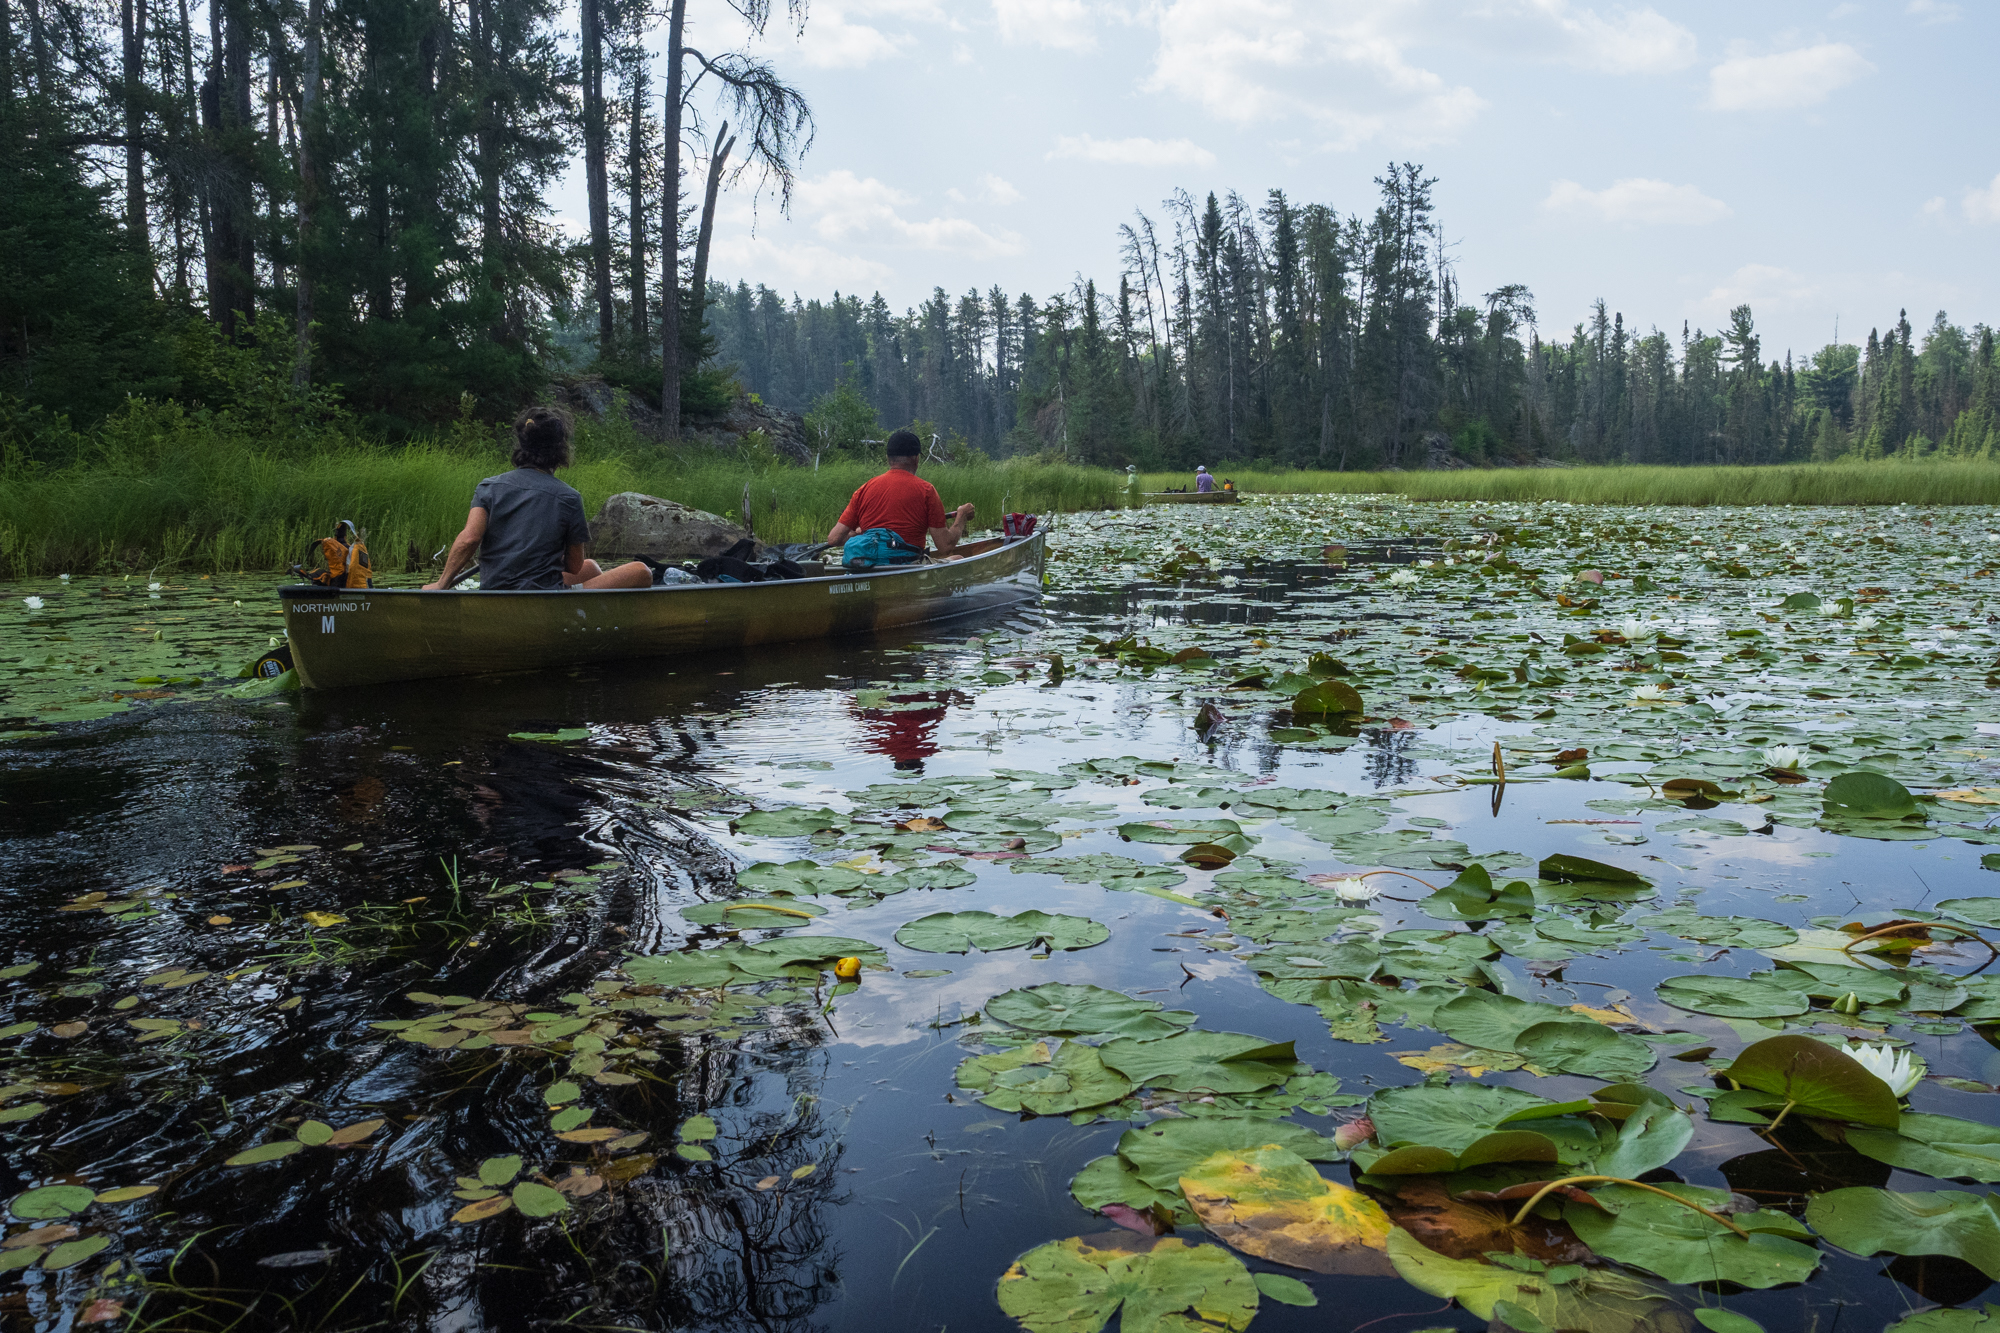
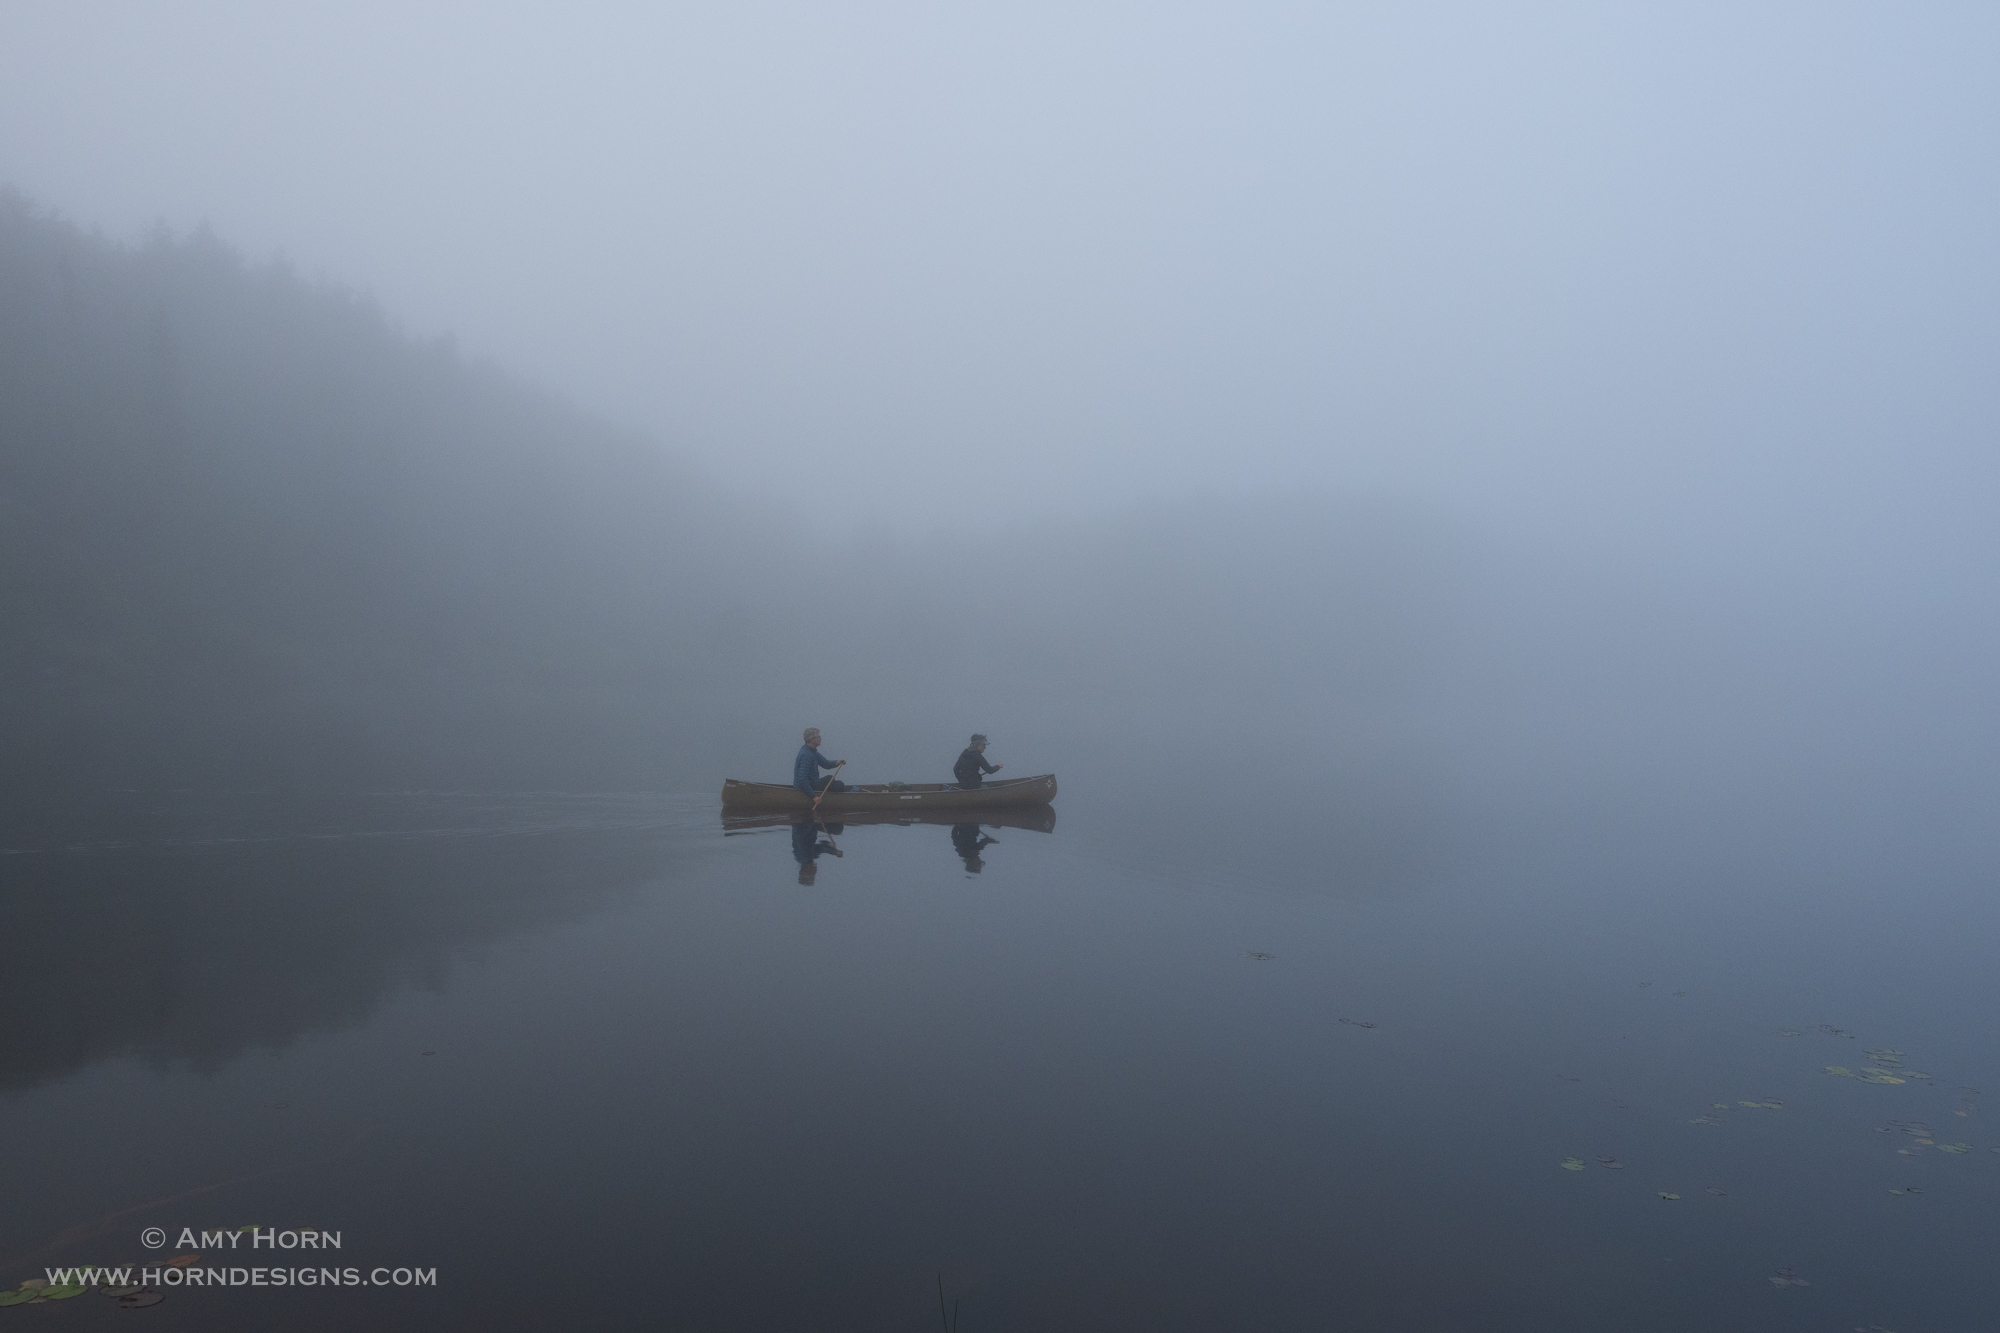
Rod and Amy Canoeing in the Boundary Waters
Preparation
Our good friends (Gretchen and Ron) have extensive knowledge and experience in the BWCA, so we followed all their gear recommendations. We brought one wet outfit and one dry outfit for the 6.5 days with additional waterproof gear/warm layers. The clothes were pretreated with Permethrin to discourage biting bugs and it worked well. We also acquired an ultra-lightweight tent, sleeping bags, and chairs to keep us comfy at camp. Of course, I brought a camera, so I bought a waterproof bag (OverBoard Waterproof SLR Bag) that clipped to the canoe or hung over my shoulder. The easy-to-access bag kept me shooting on land and water. Lastly, an outfitter provided us with canoes and packs.
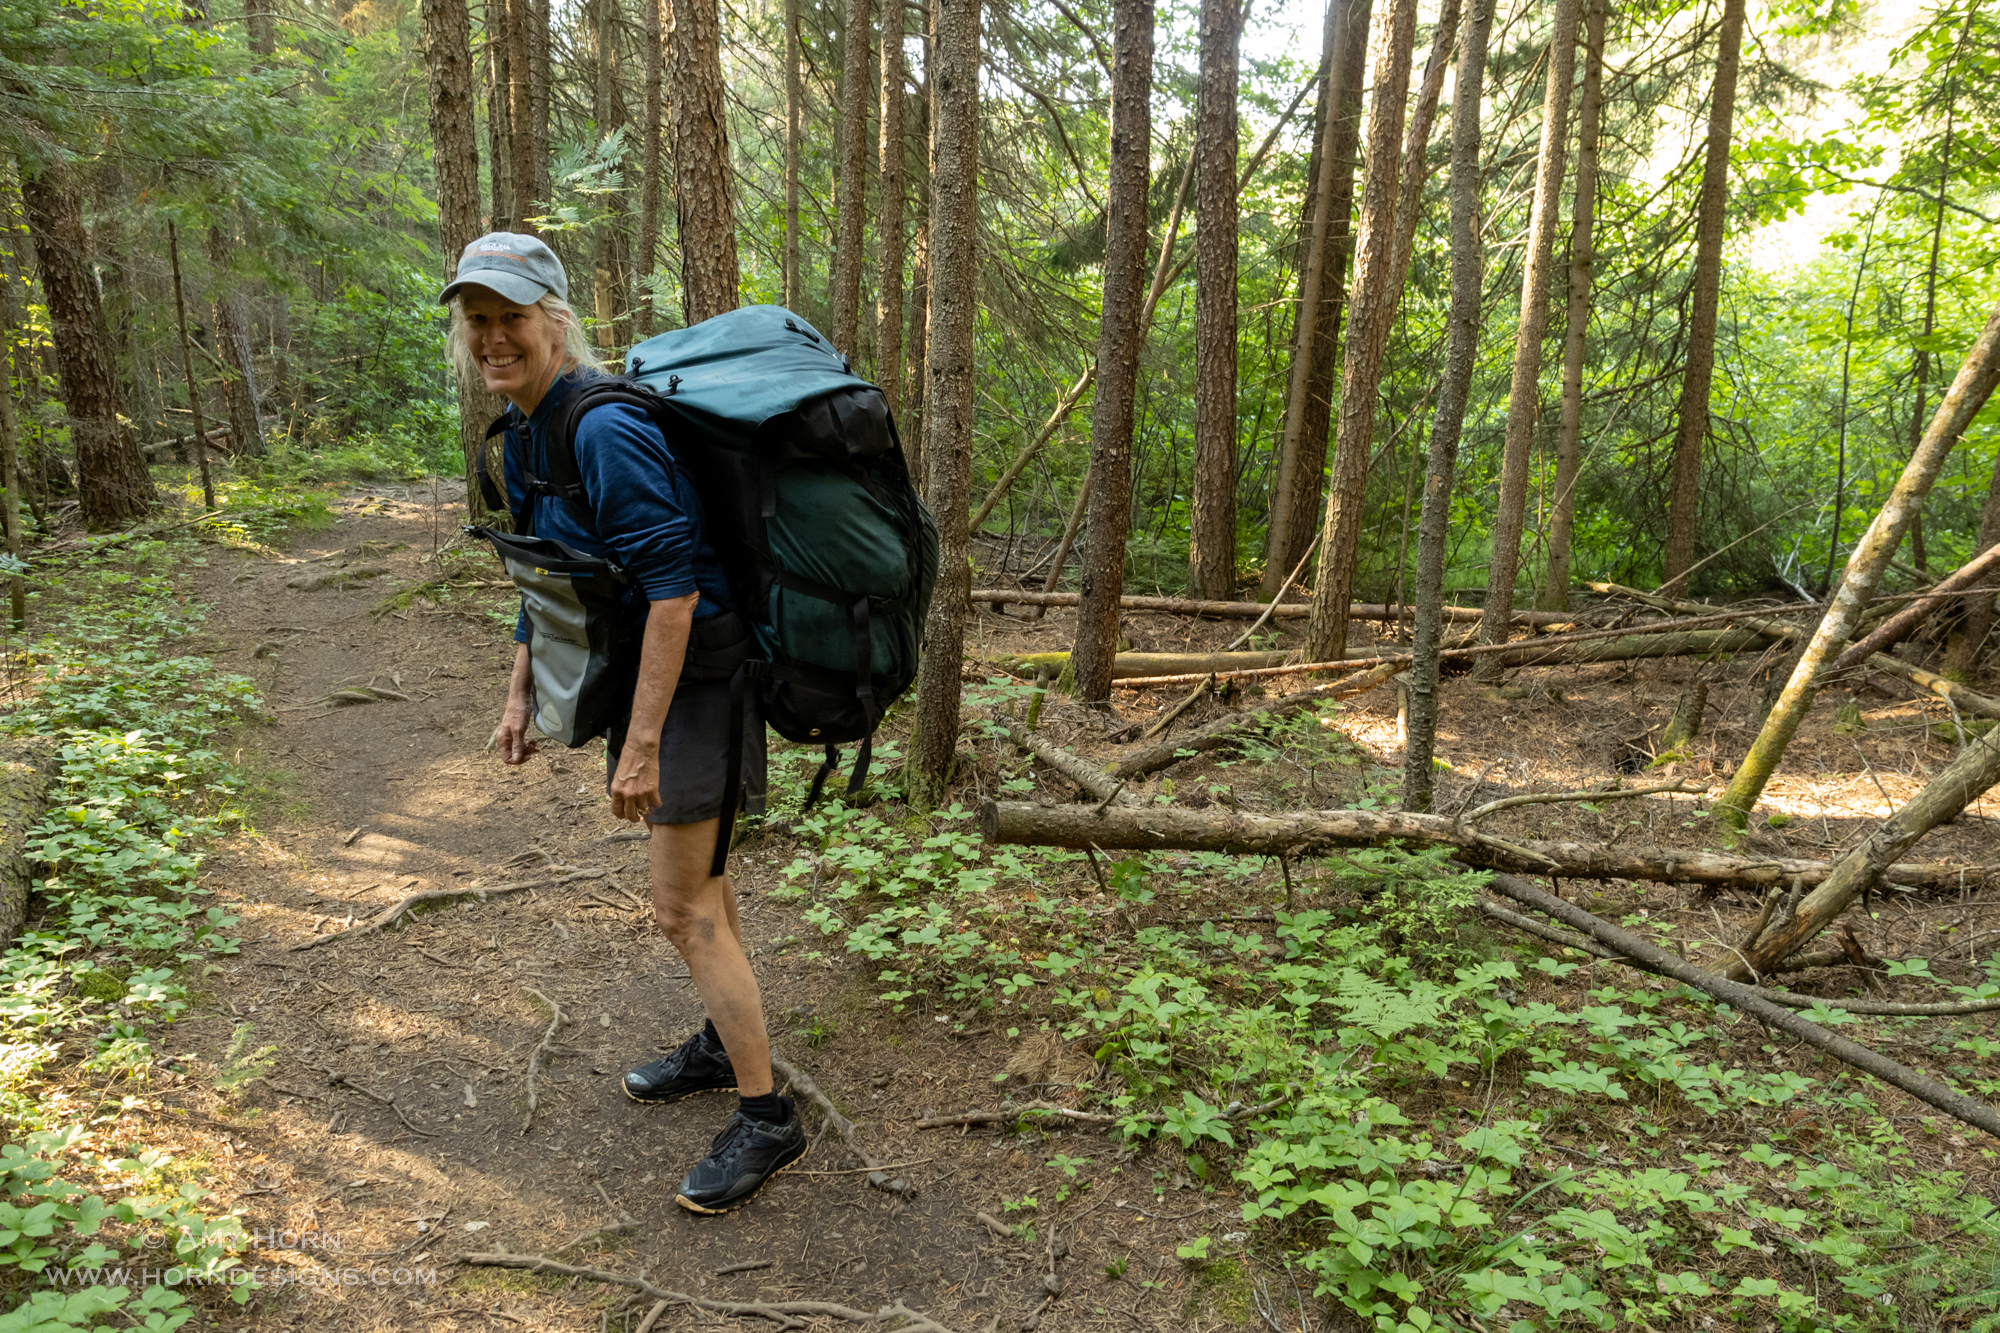
Our group included eight people with four canoes, and each canoe carried two people, with all their gear (personal gear, tent, sleeping bags) along with a portion of group gear (food, stoves, tarp, pans, etc). We carried food, a tarp, and the pancake griddle pans as our group gear. This made for a heavy pack. When I first put it on, I started falling backward. Rod caught me and expressed concern about whether I would be able to carry it all. We estimated the pack was 60 pounds. After cinching down the straps and leaning forward, I was ready to go.
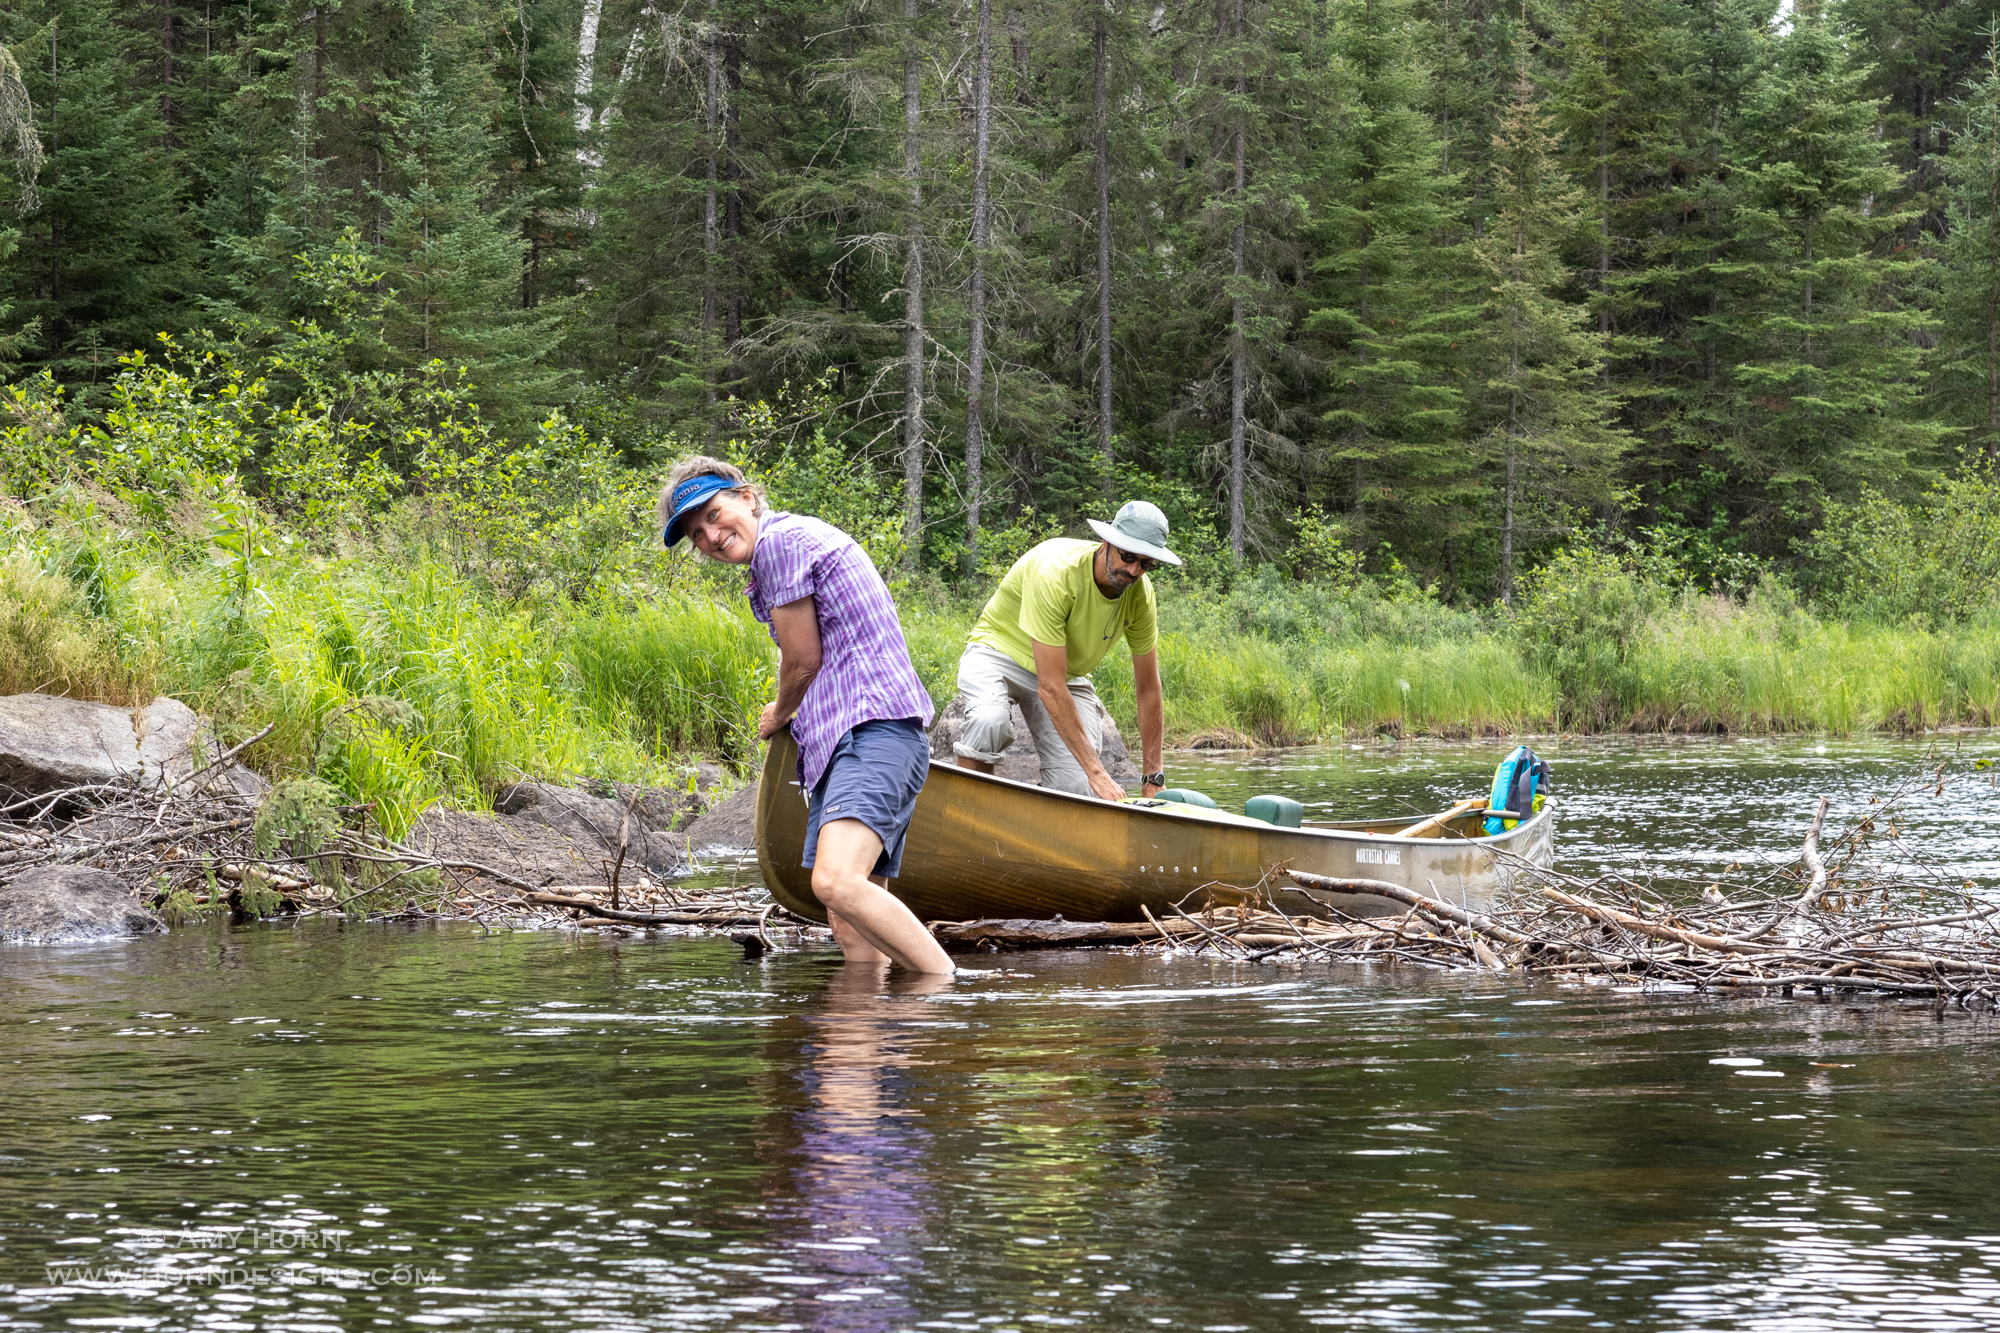
Rod steering the canoe.Gretchen & Ron passing over a beaver dam.
On the Water
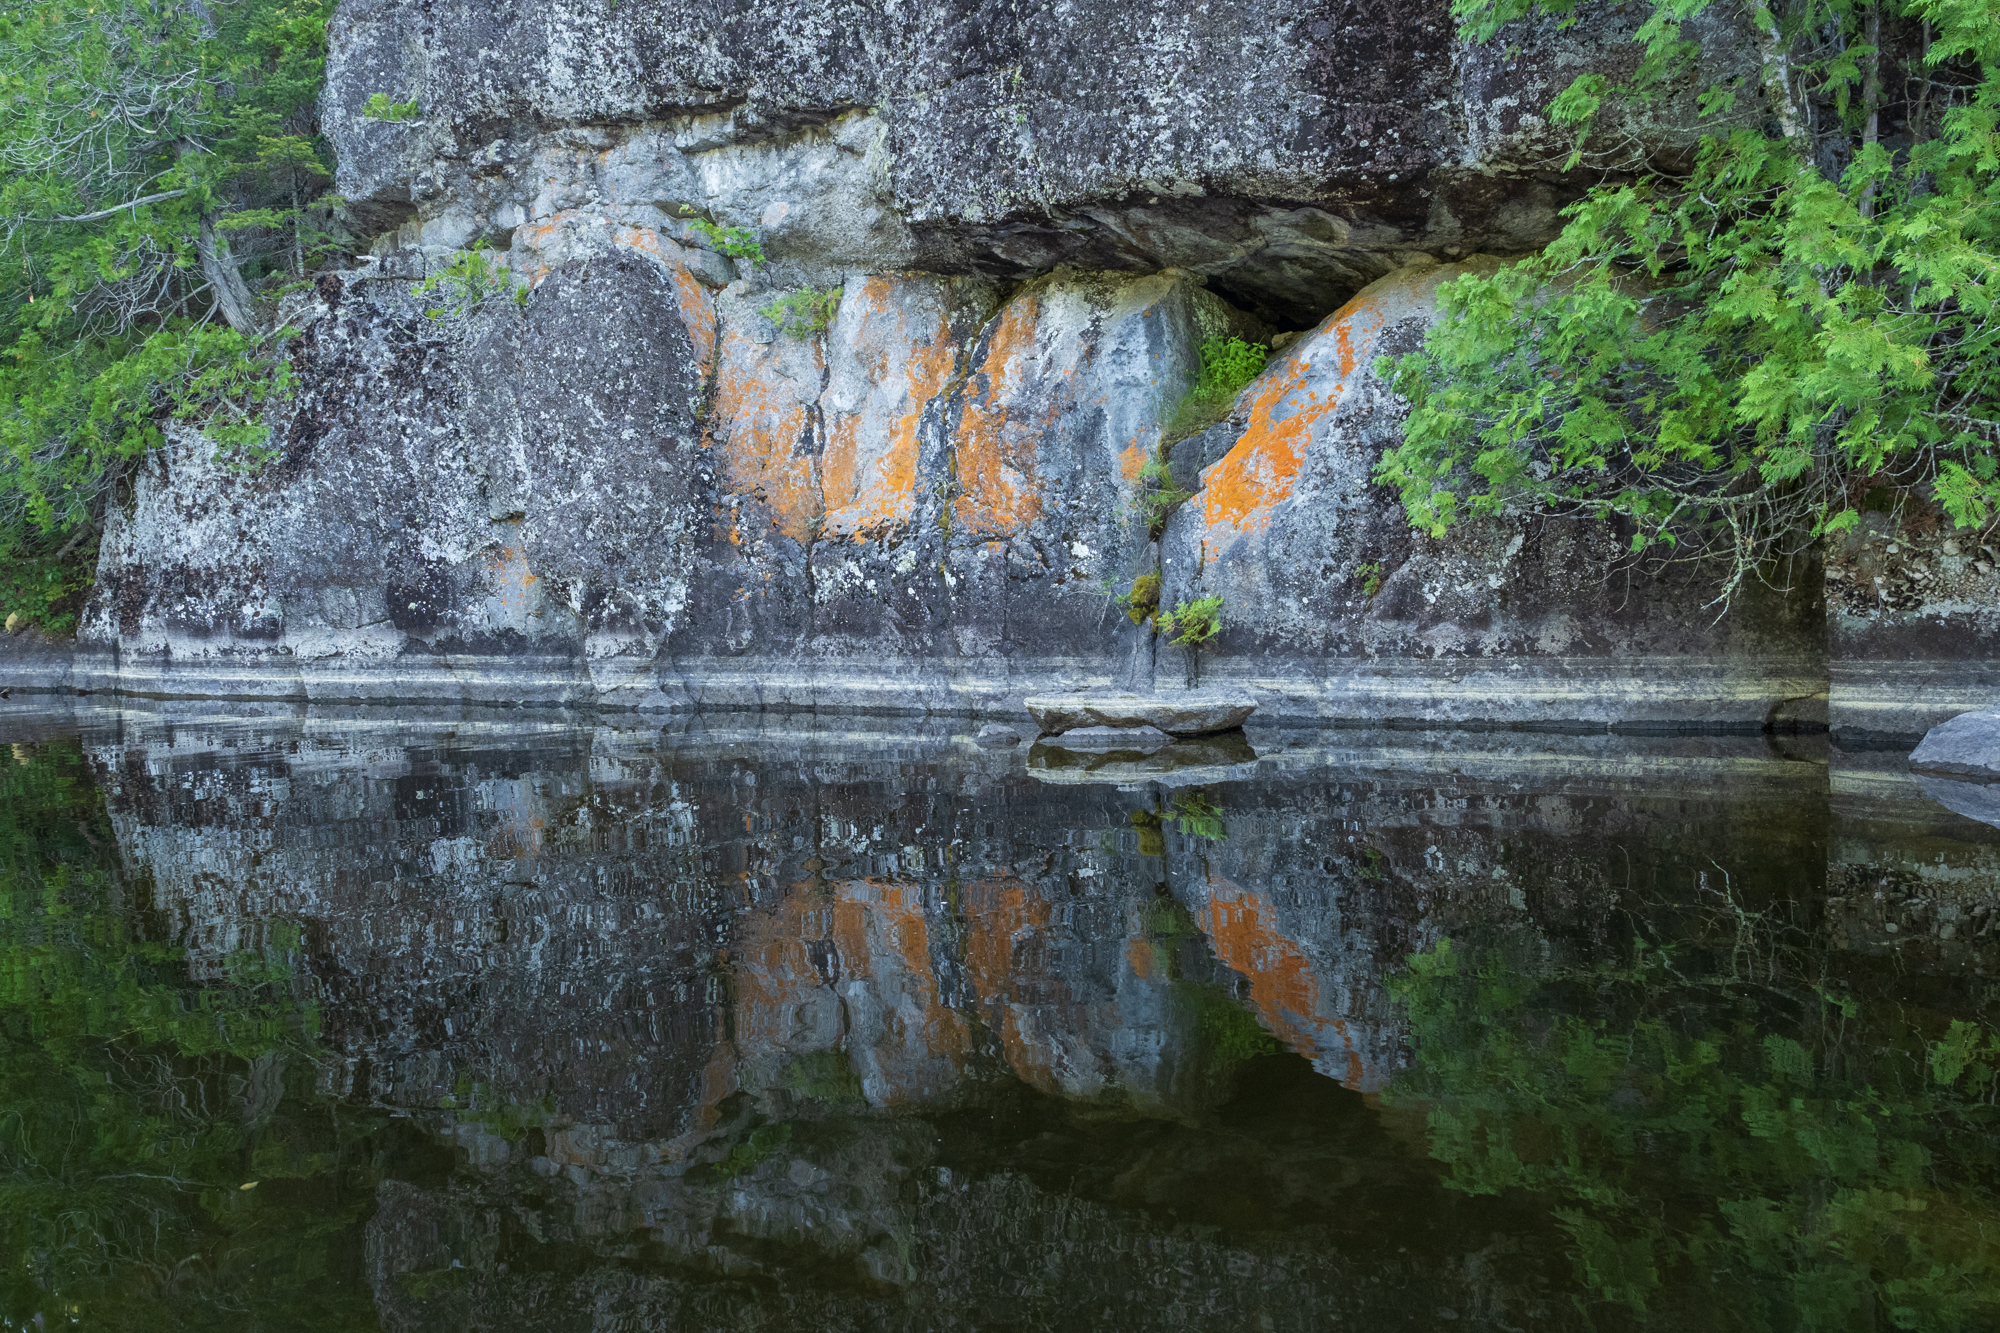
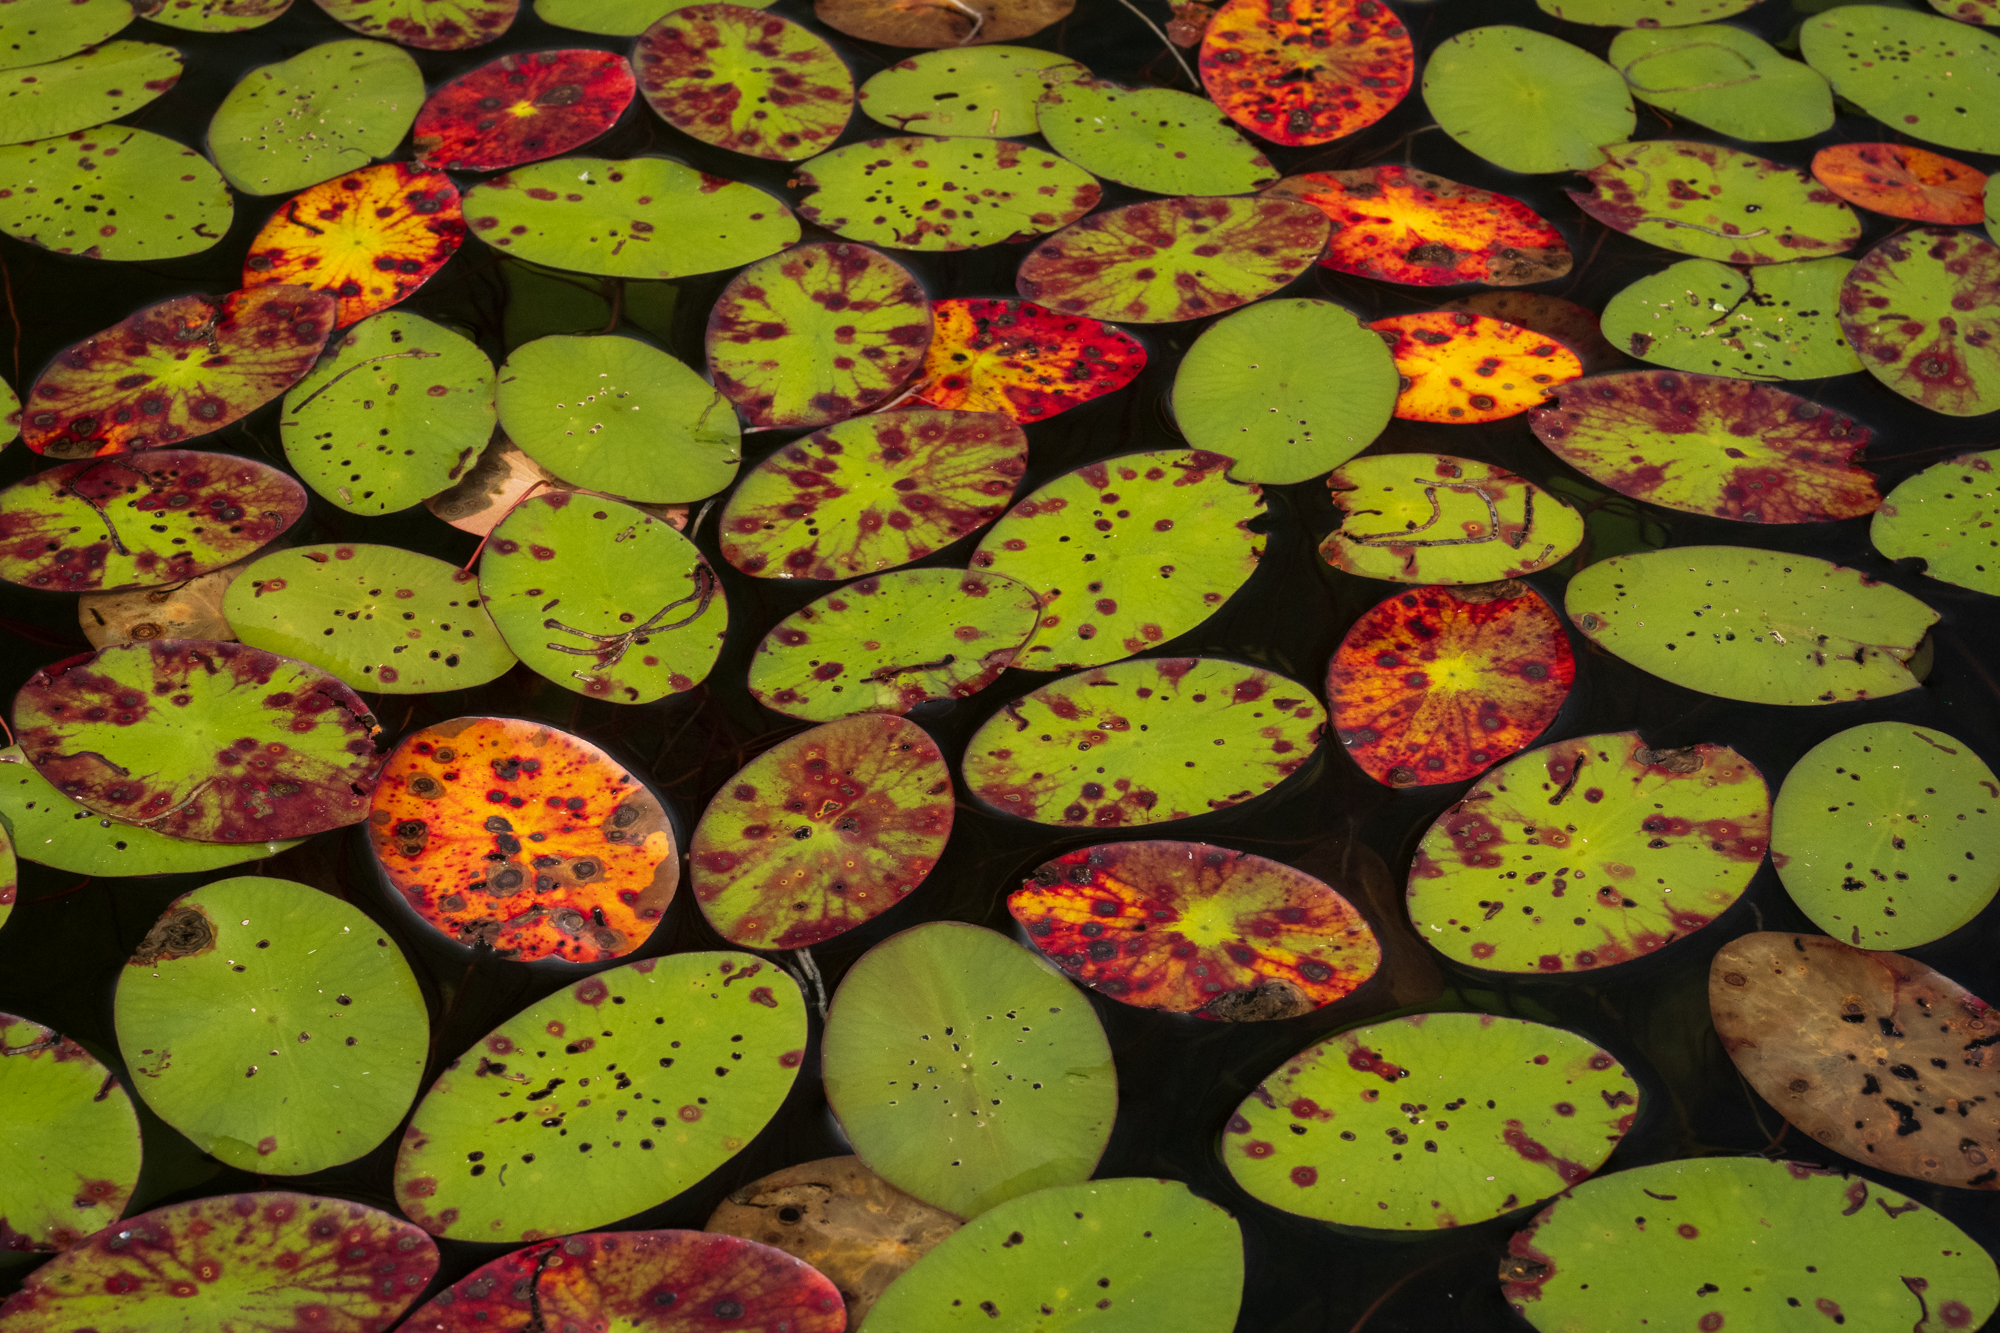
We put in at Baker Lake, a small quiet lake with lily pads, flowers, and towering trees along the shore. An amazing sight to see. After a mere 2000 feet of paddling, we got out of our canoes to portage. Portaging consists of carrying your gear (canoe too) across the land to get to the next lake or river. At this portage, we decided to walk the canoes through the stream and bypass the land portage. That put us on Peterson Lake.
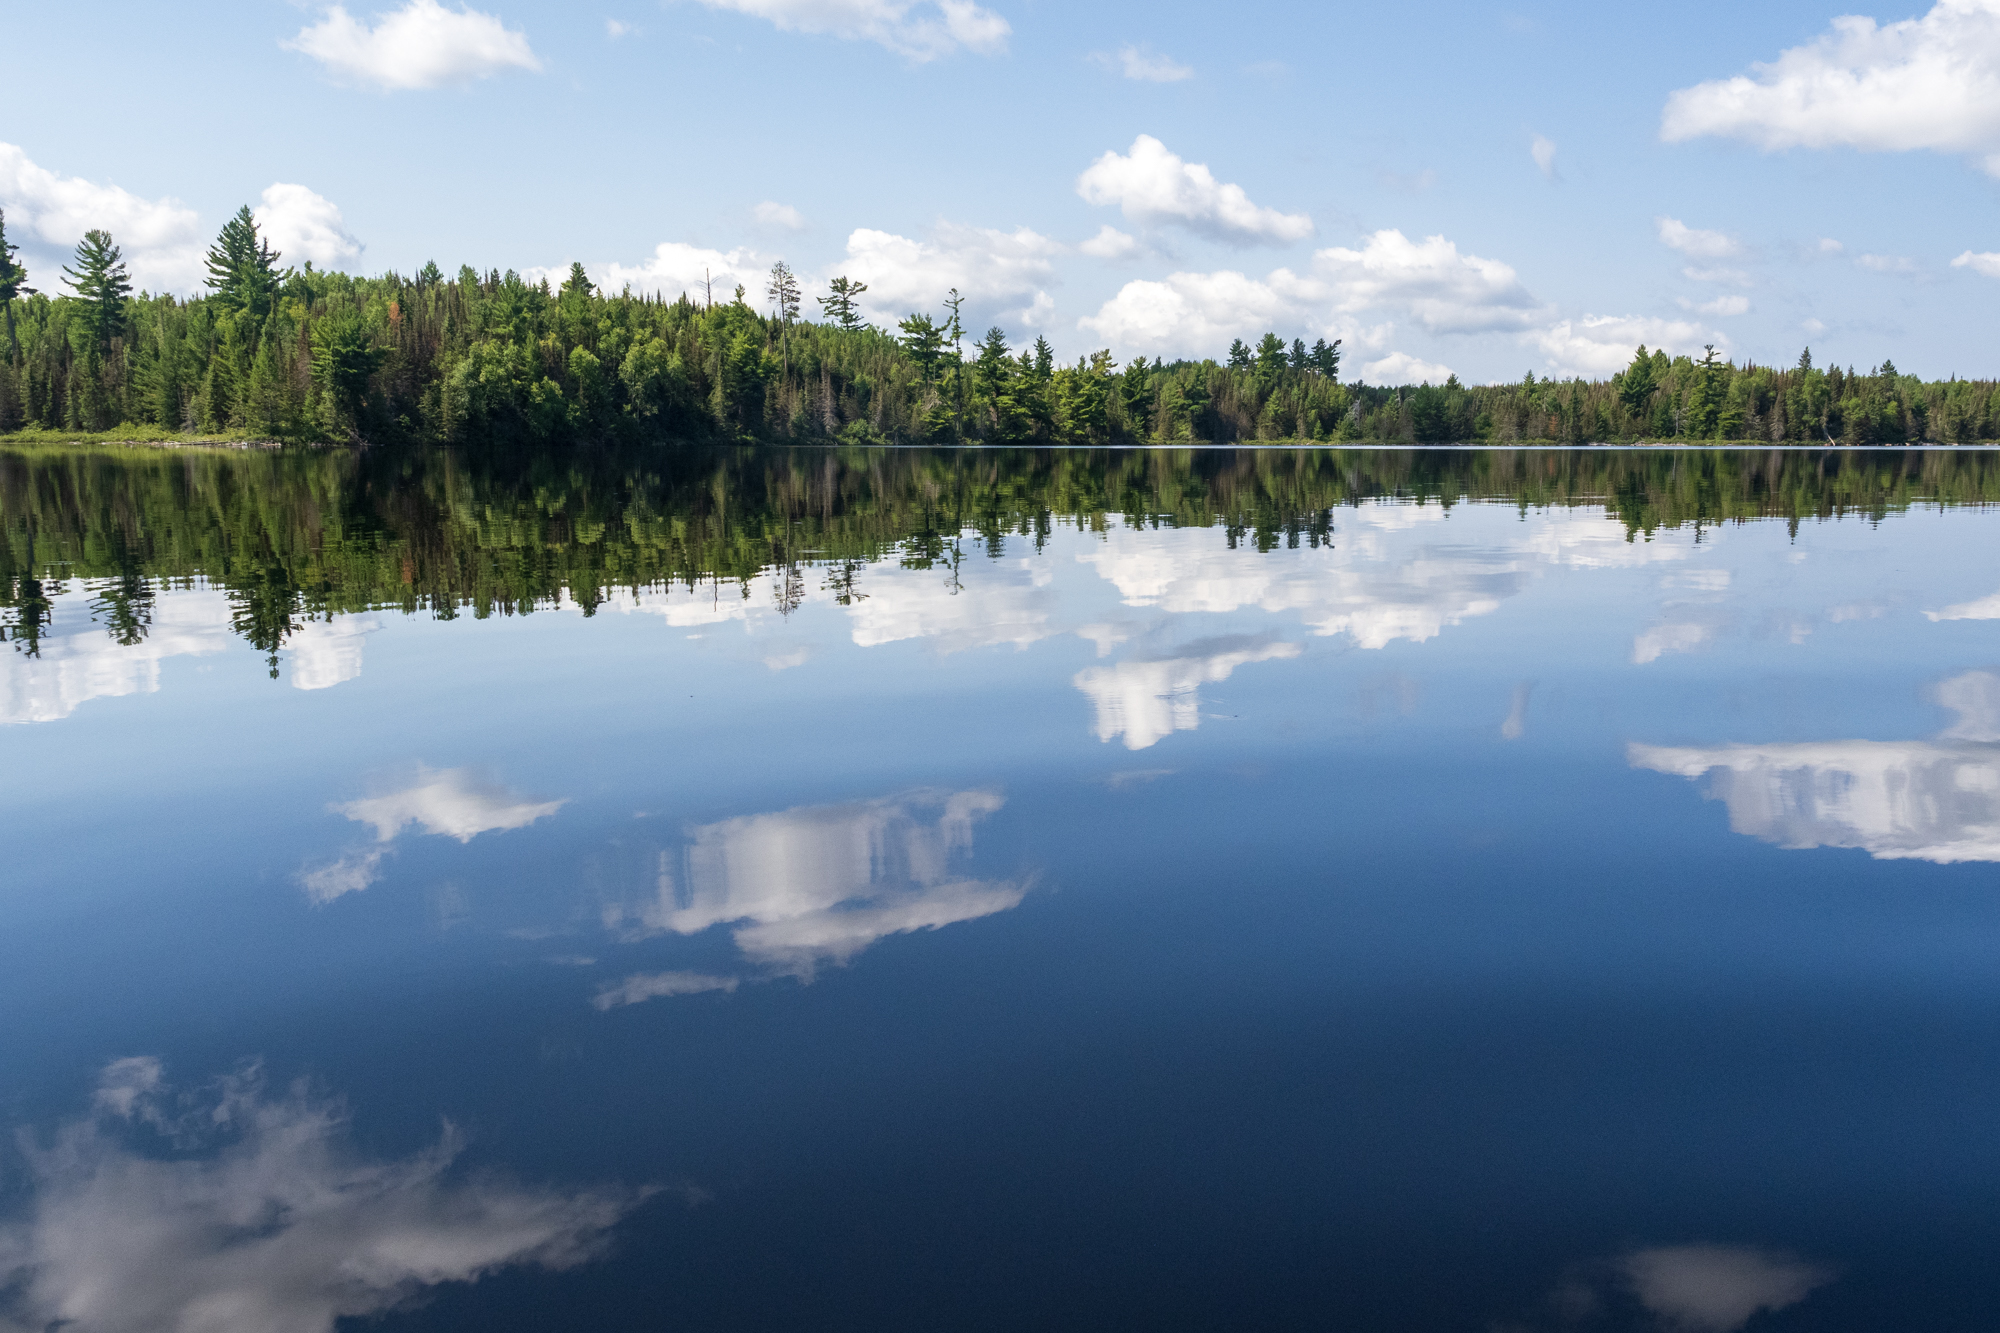
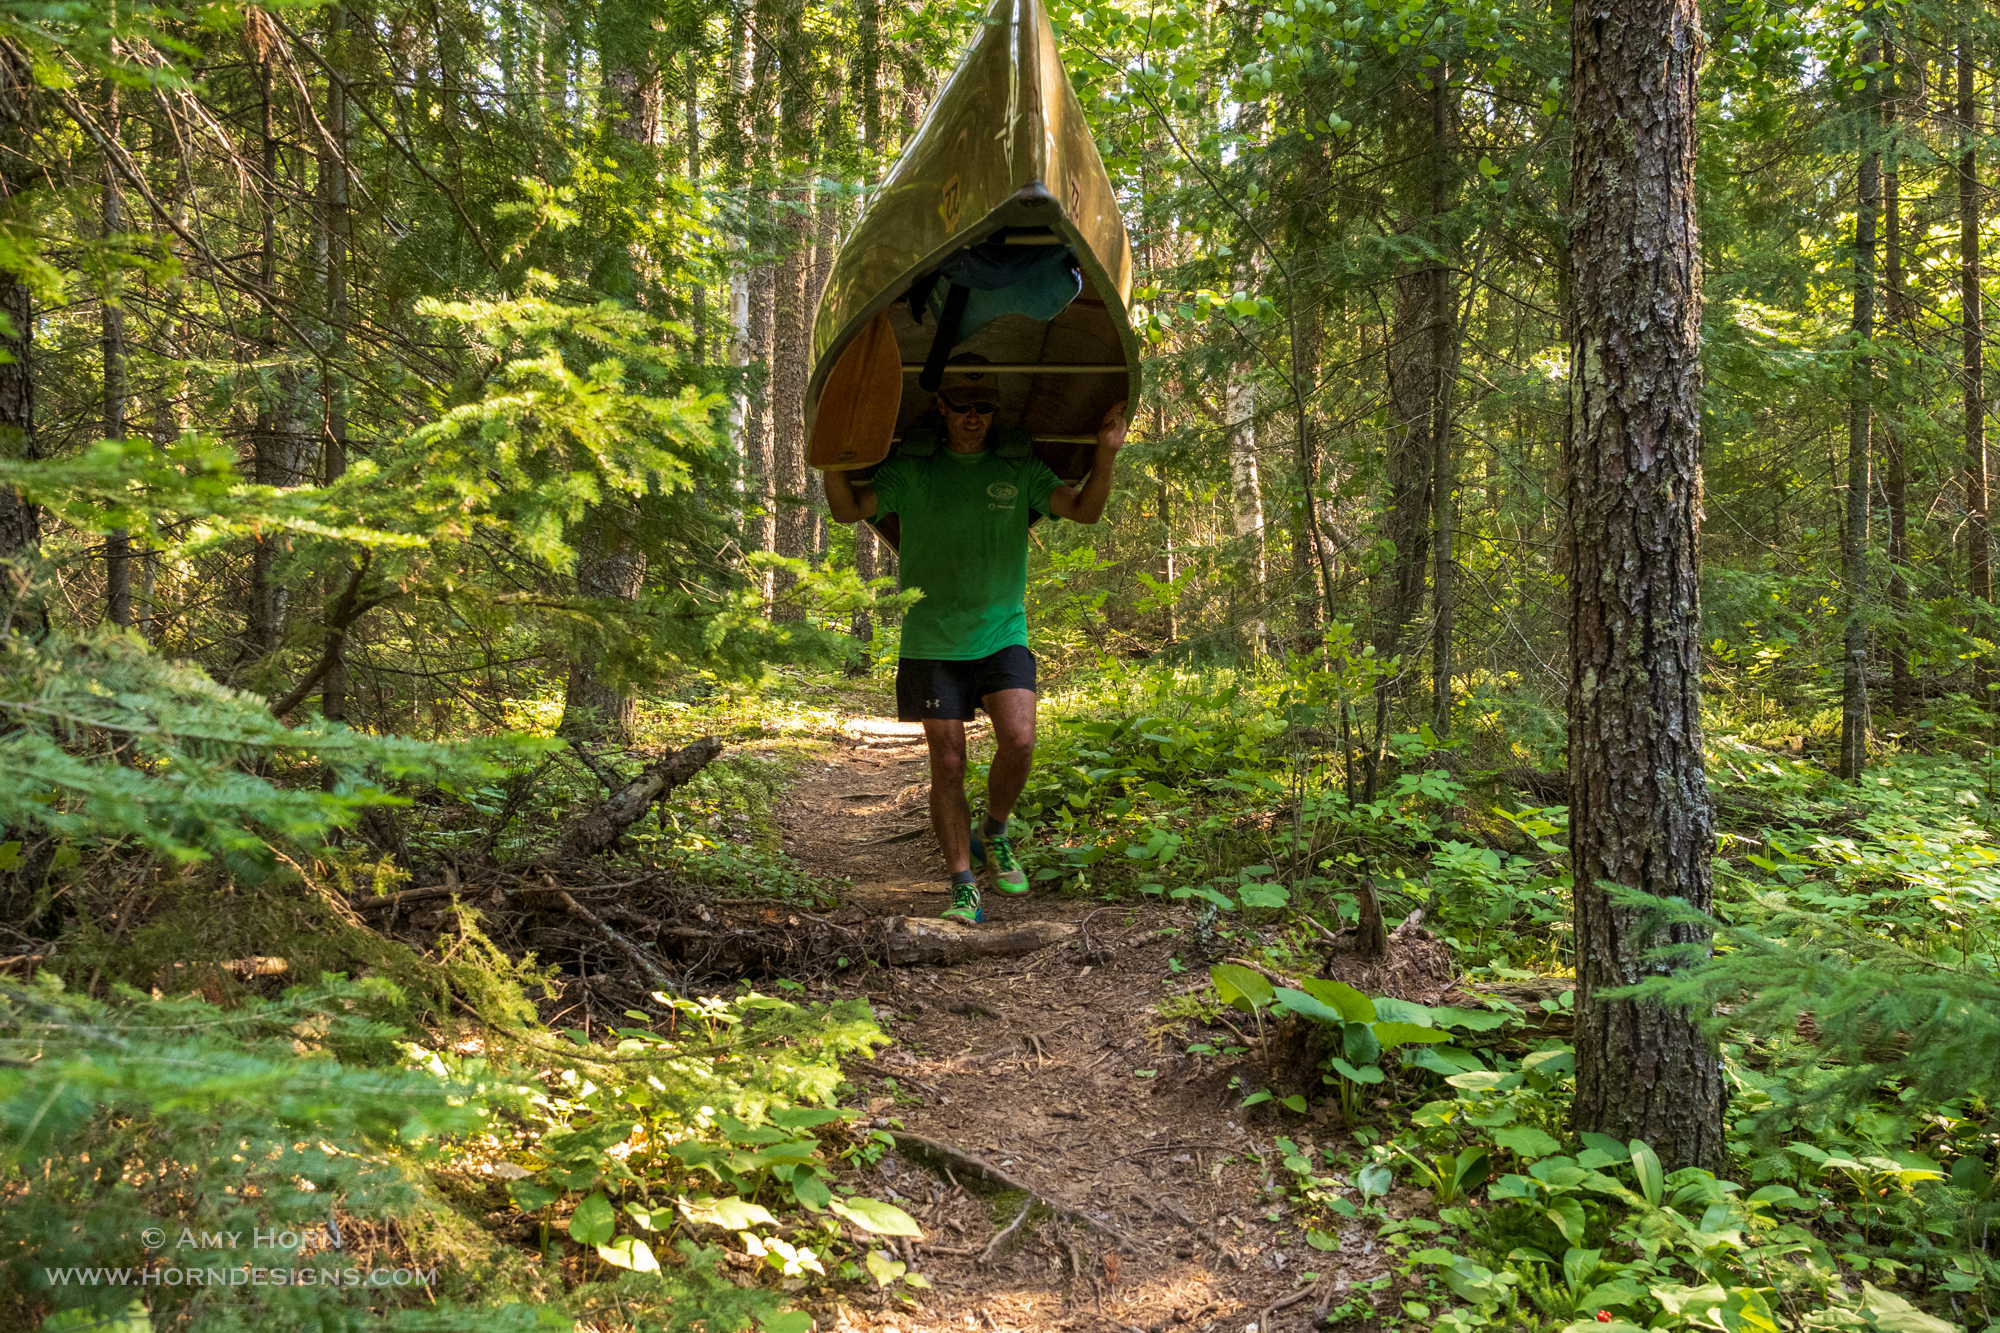
In such a short timeframe, we were immersed in nature where the only sounds came from loons, white-throated sparrows, eagles, paddles, and us. As we paddled, Gretchen and Ron taught us how to read the maps identifying approved campsites and portages. We floated past lily pads and dense forests, and occasionally, beaver dams caused us to exit the canoe. After two days, Rod and I were somewhat pros at portaging. He picked up the pack and put it on my back before we left the water. Then, he picked up the canoe, flipped it on his shoulders and we hiked to the other side. Our portages ranged from 25 feet to almost a mile and are measured in “rods” (unit of measurement). 320 rods equal a mile.
Amy’s heavy pack.Rod portaging.
Portaging
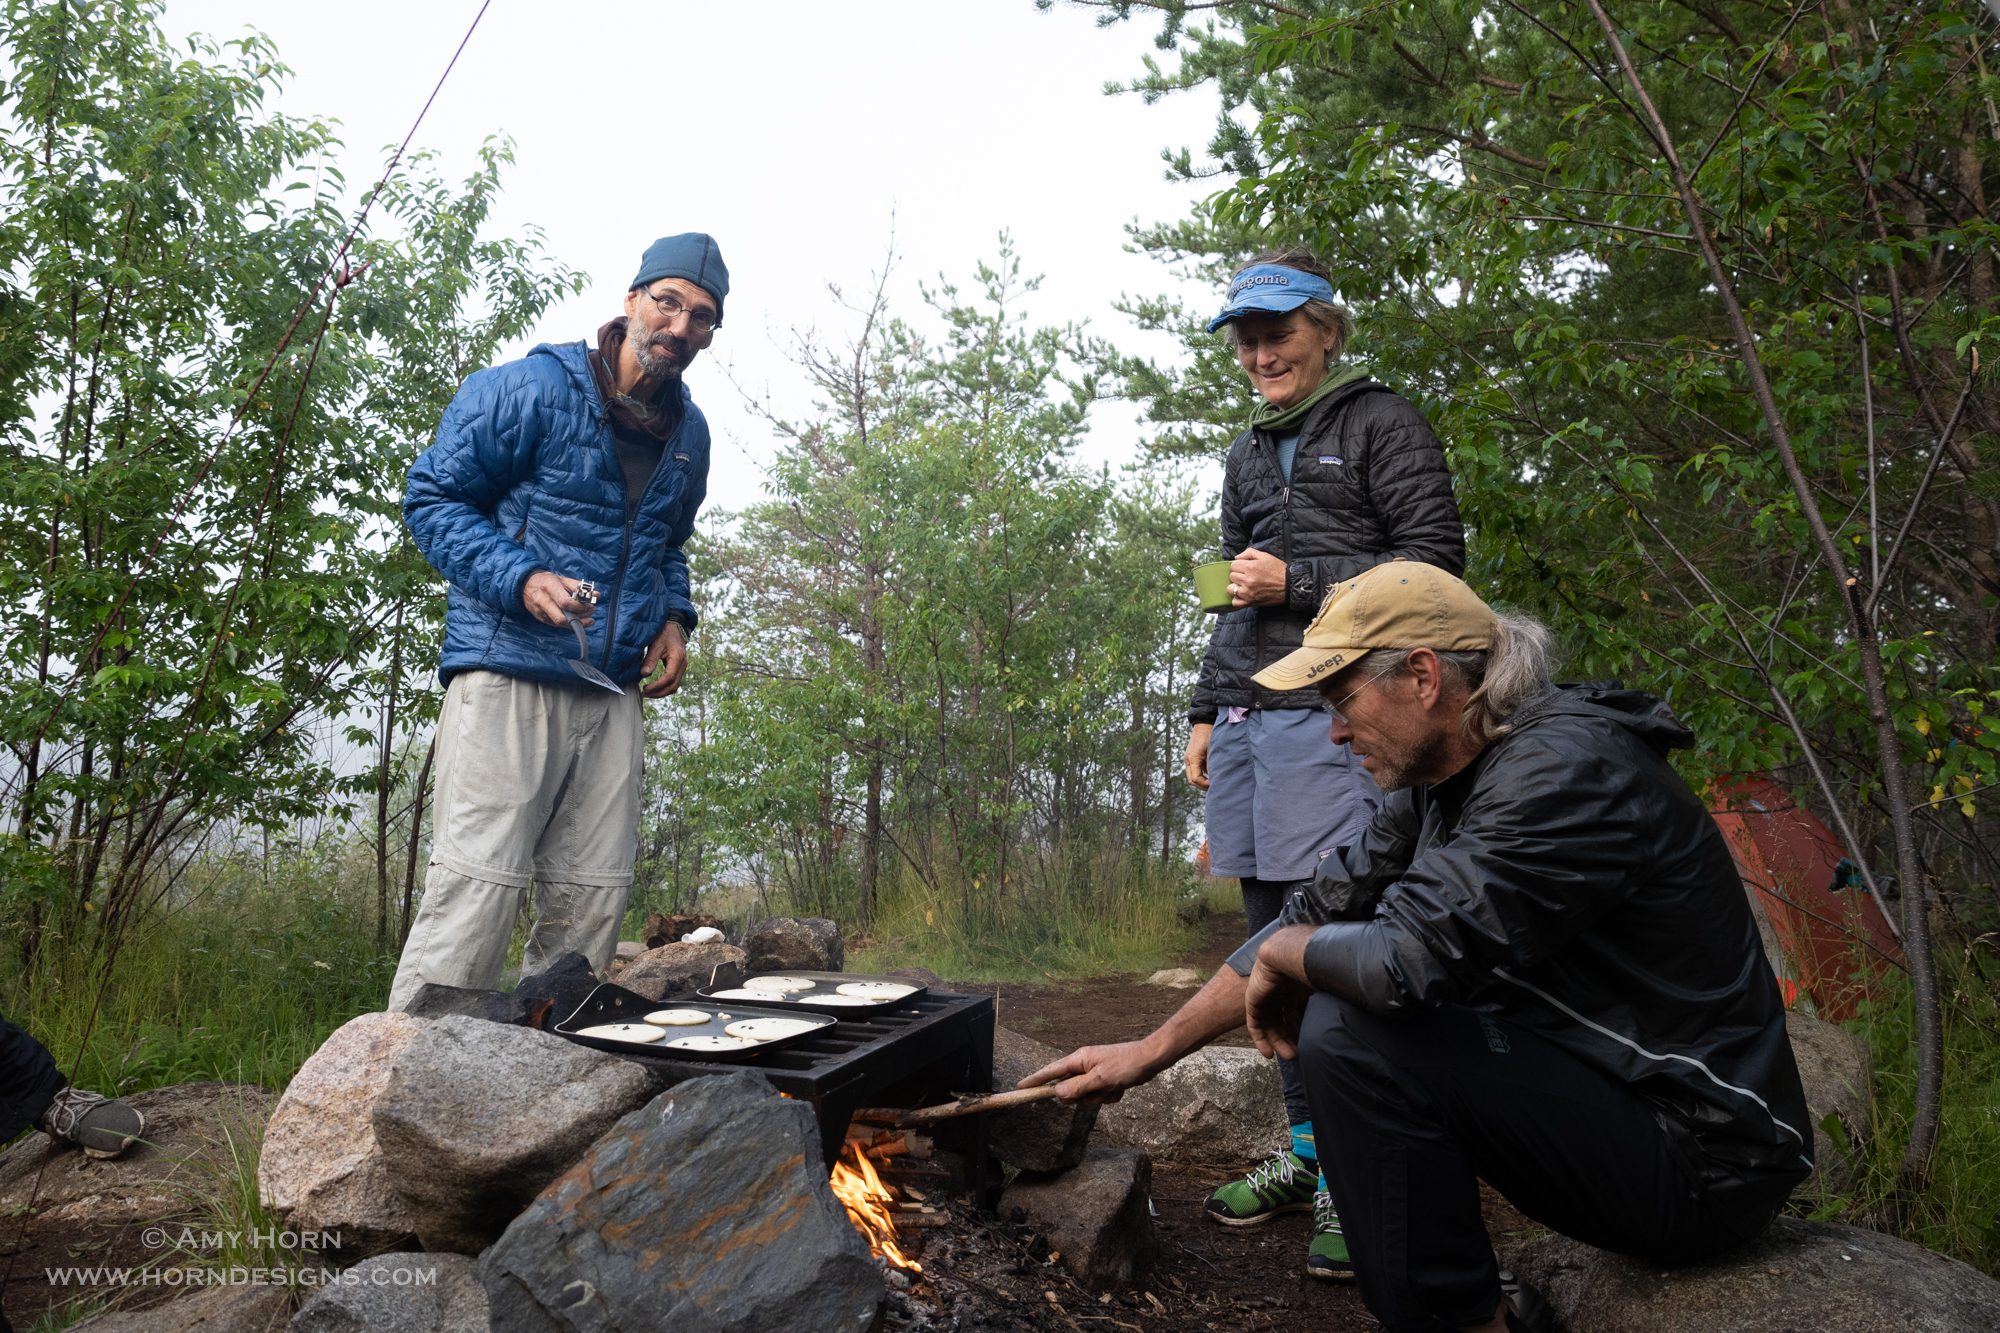
The best part of portaging was grabbing the wild blueberries, raspberries, and chanterelle mushrooms. On one portage, others in our group picked a bunch to use in our pancakes the next morning. We saw bear scat, moose footprints, leaches, swans, frogs, and turtles. On a few of the longer portages when I was hiking alone, I did sing out loud to avoid encountering any bear.
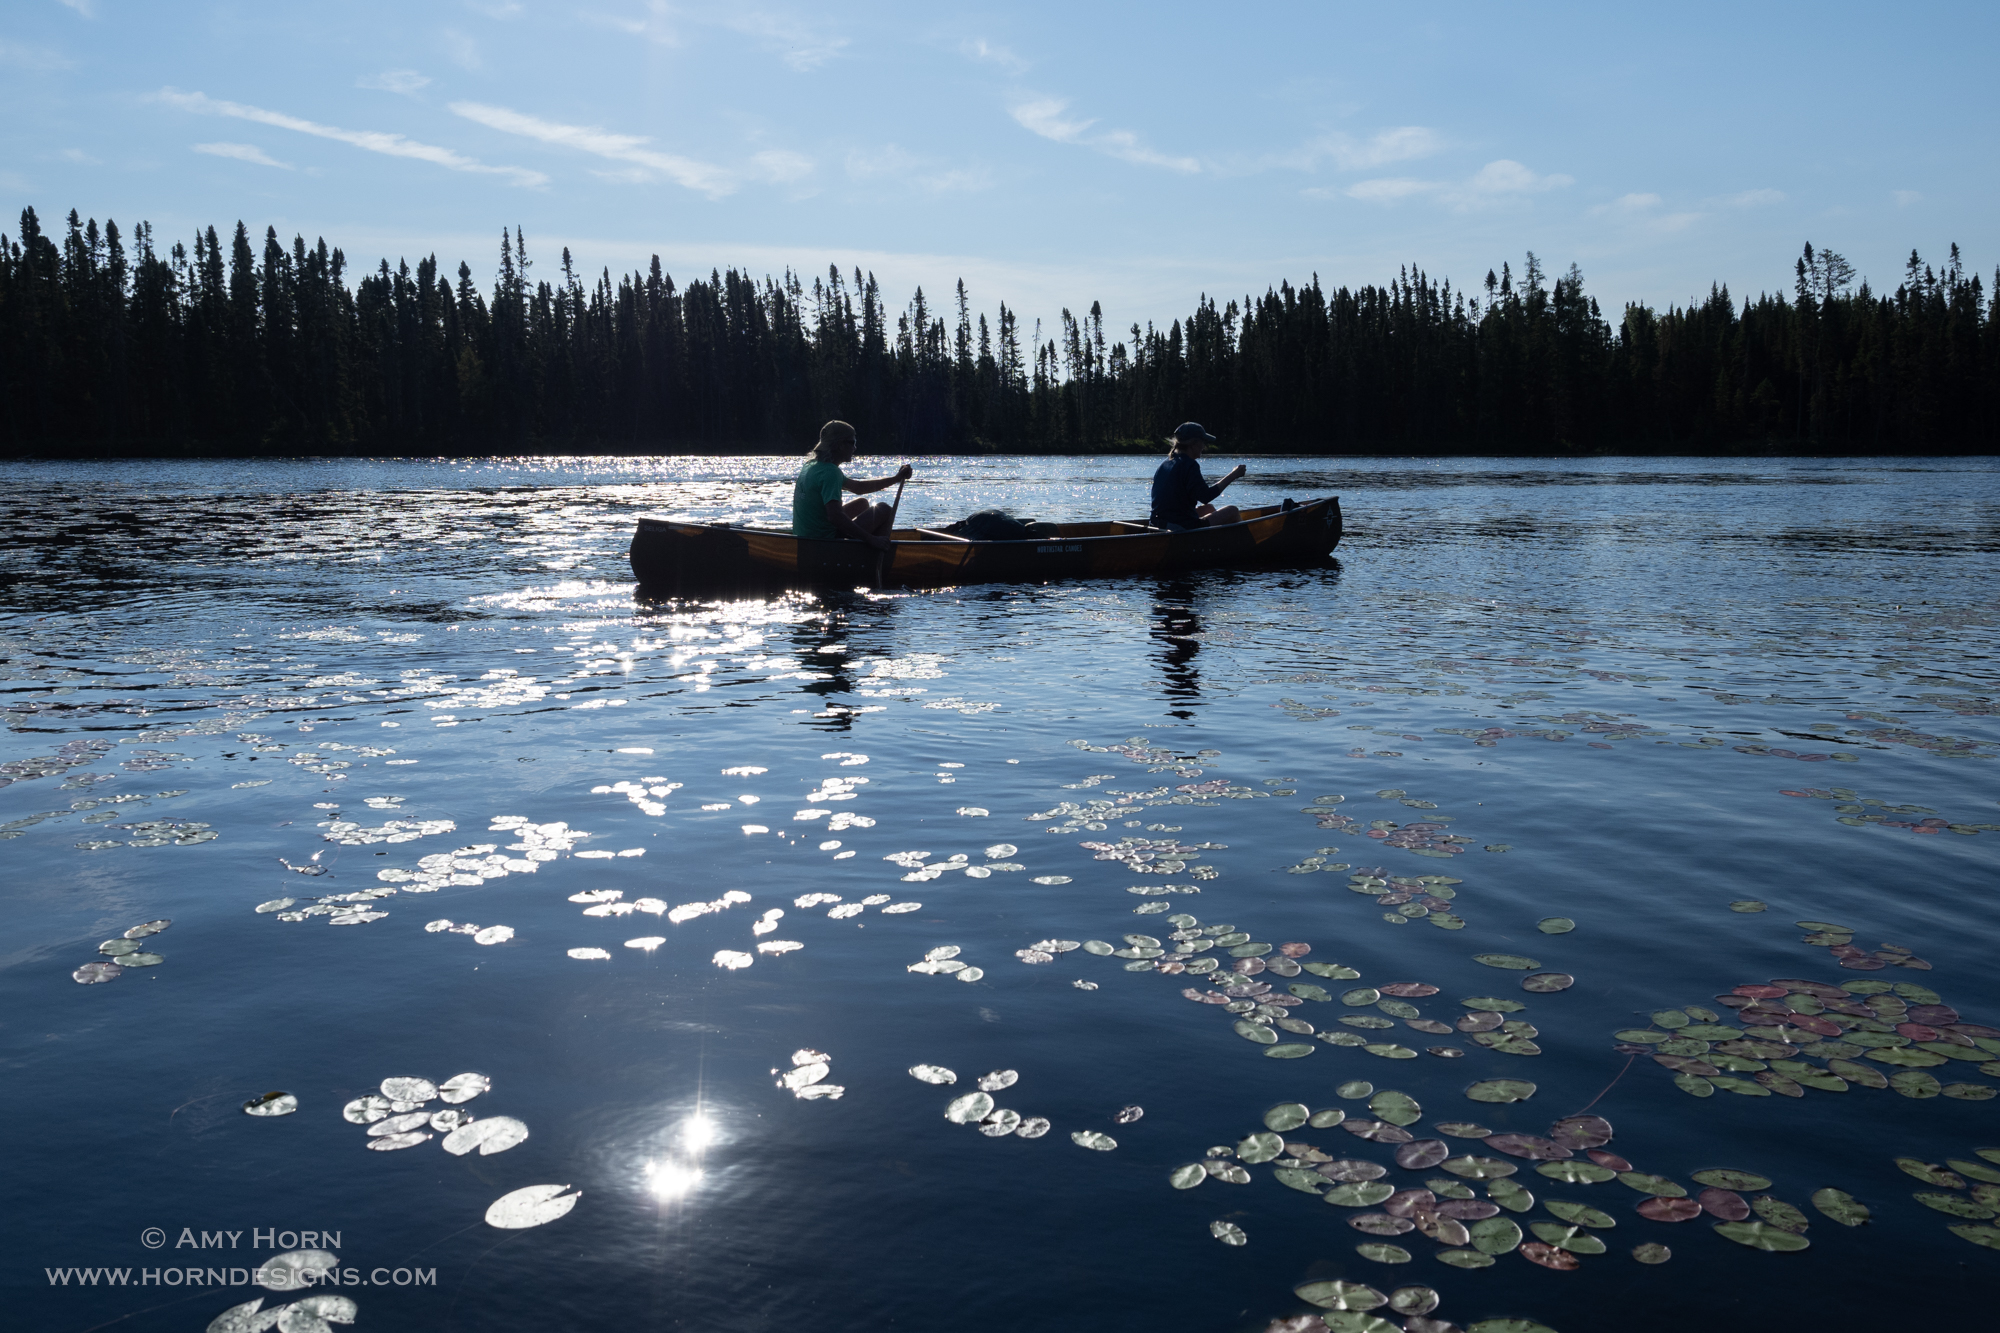
We paddled and portaged an average of 7 miles a day with a total of 40+ miles for the week. Although portaging got easier, I slipped once and fell on my back (pack). The pack was so awkward, I looked like a turtle and needed help getting up. Each day, we paddled to a campground for lunch. Sometimes we took a swim, then paddled more to a new campground to pitch our tents for the night. We passed some people on canoes, but most of the time it was just our group. We did encounter rain on several occasions, but we had the right gear, so it wasn’t problematic. It was all so relaxing.
Paddling through the reeds.Quiet morningSelfie! Amy & Rod
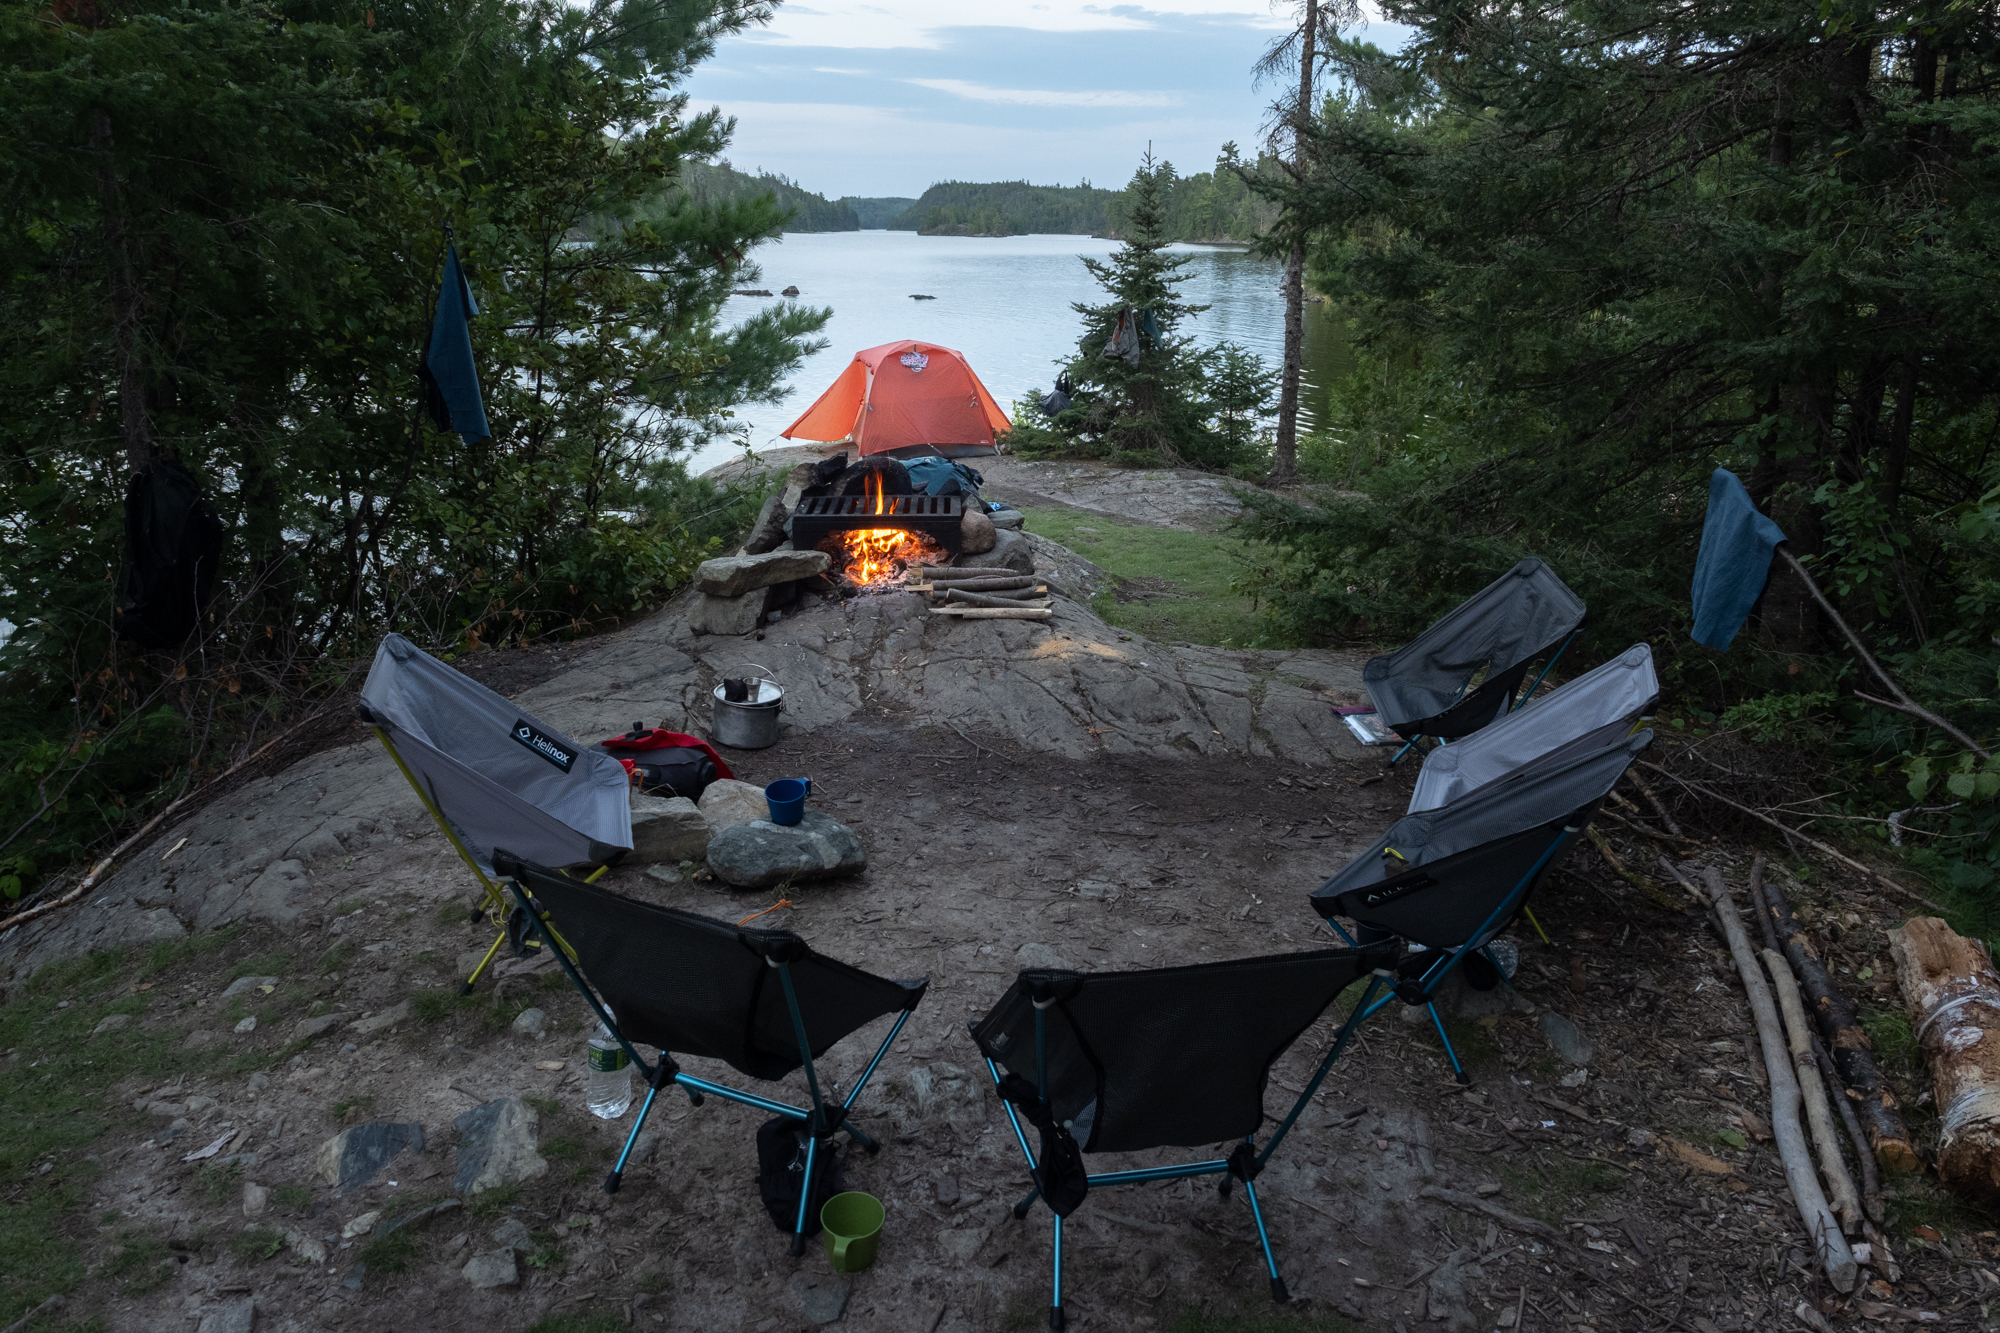
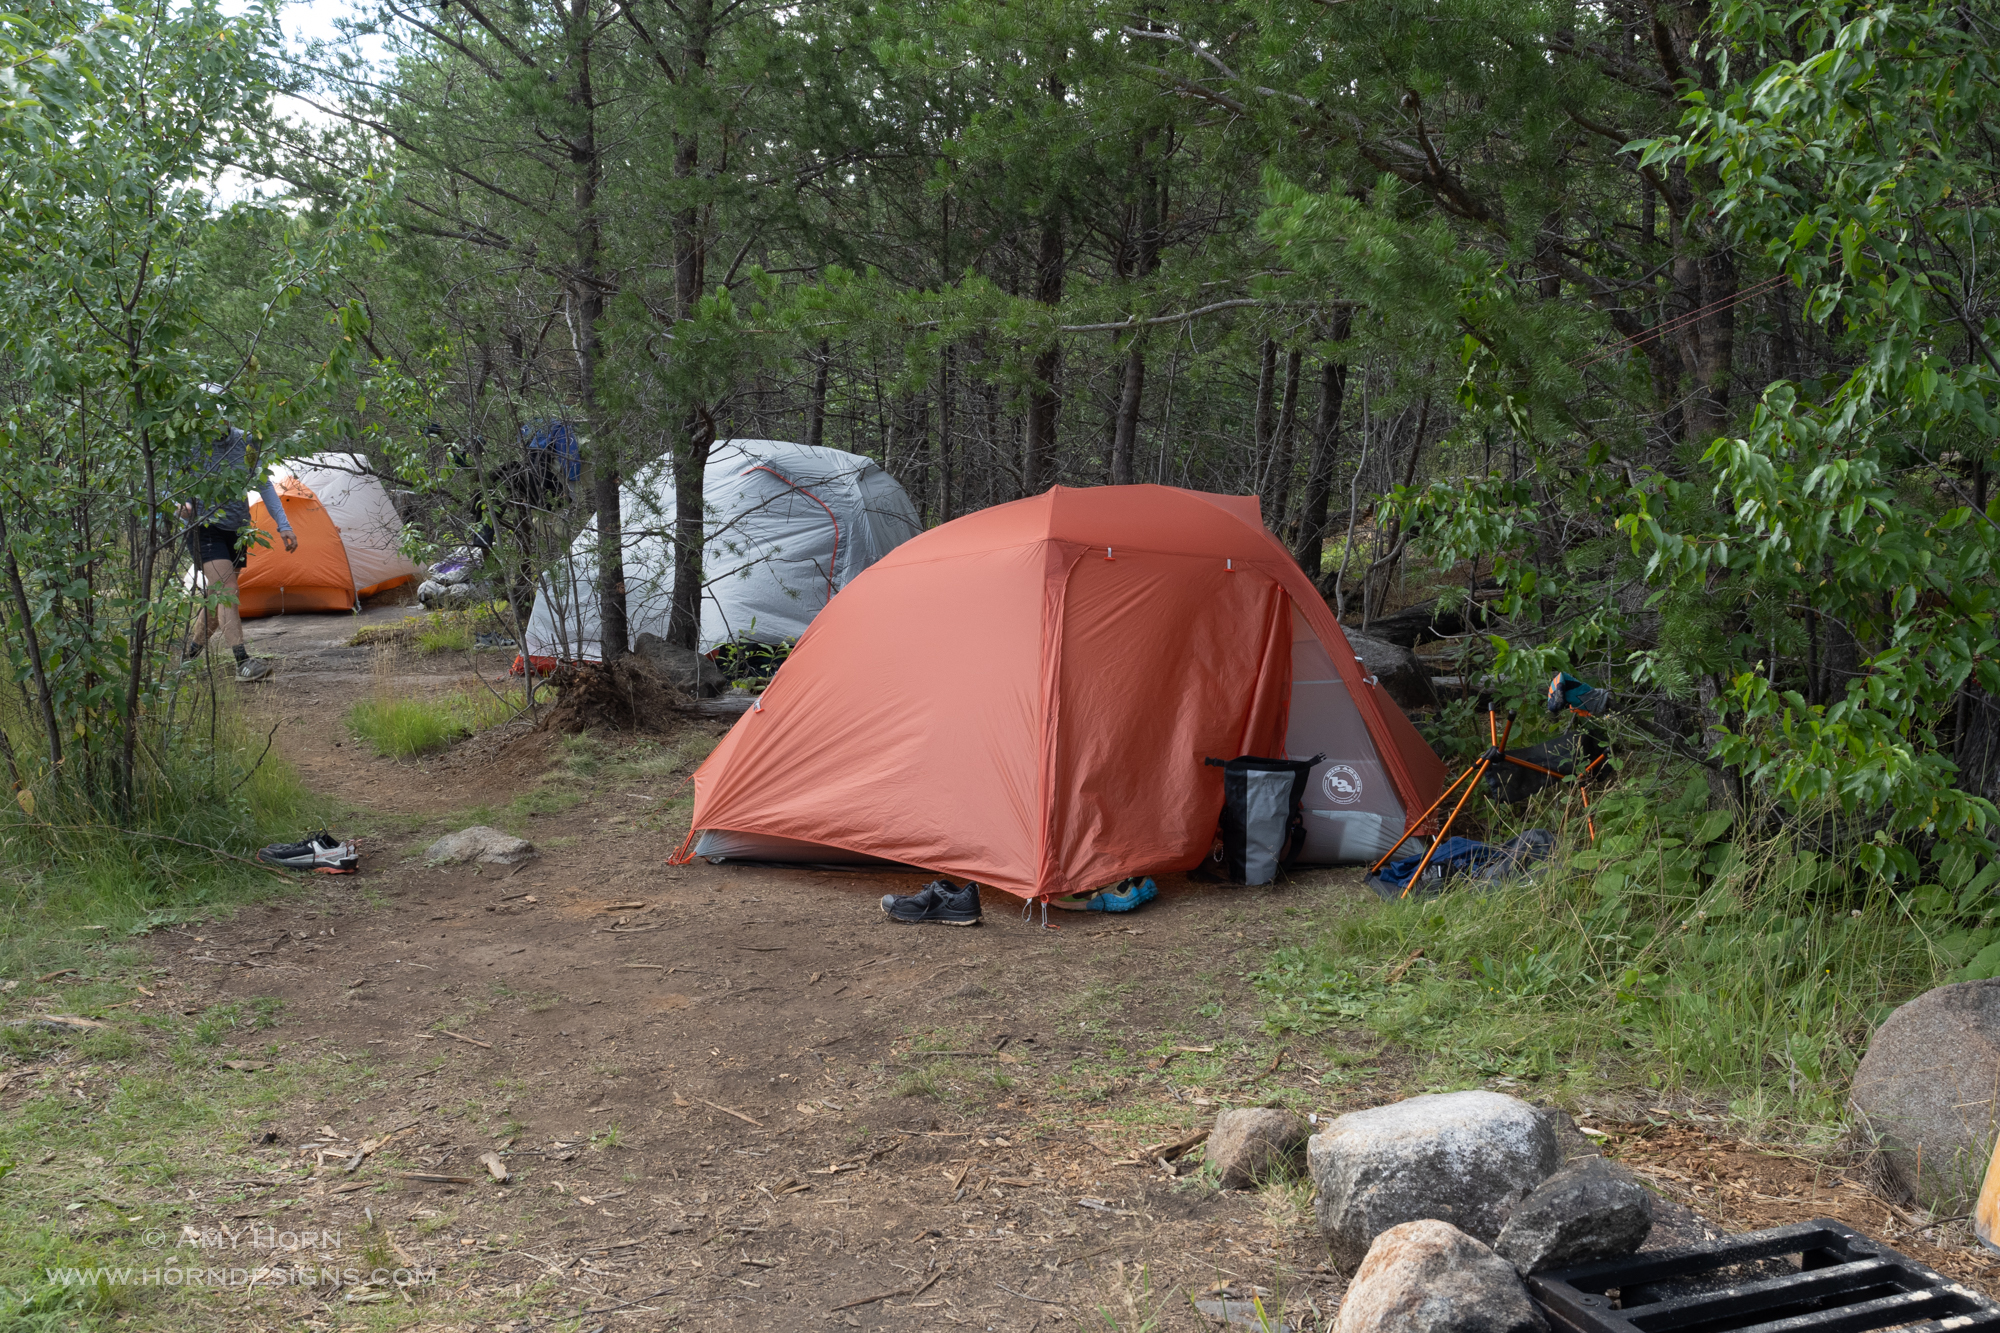
At Camp
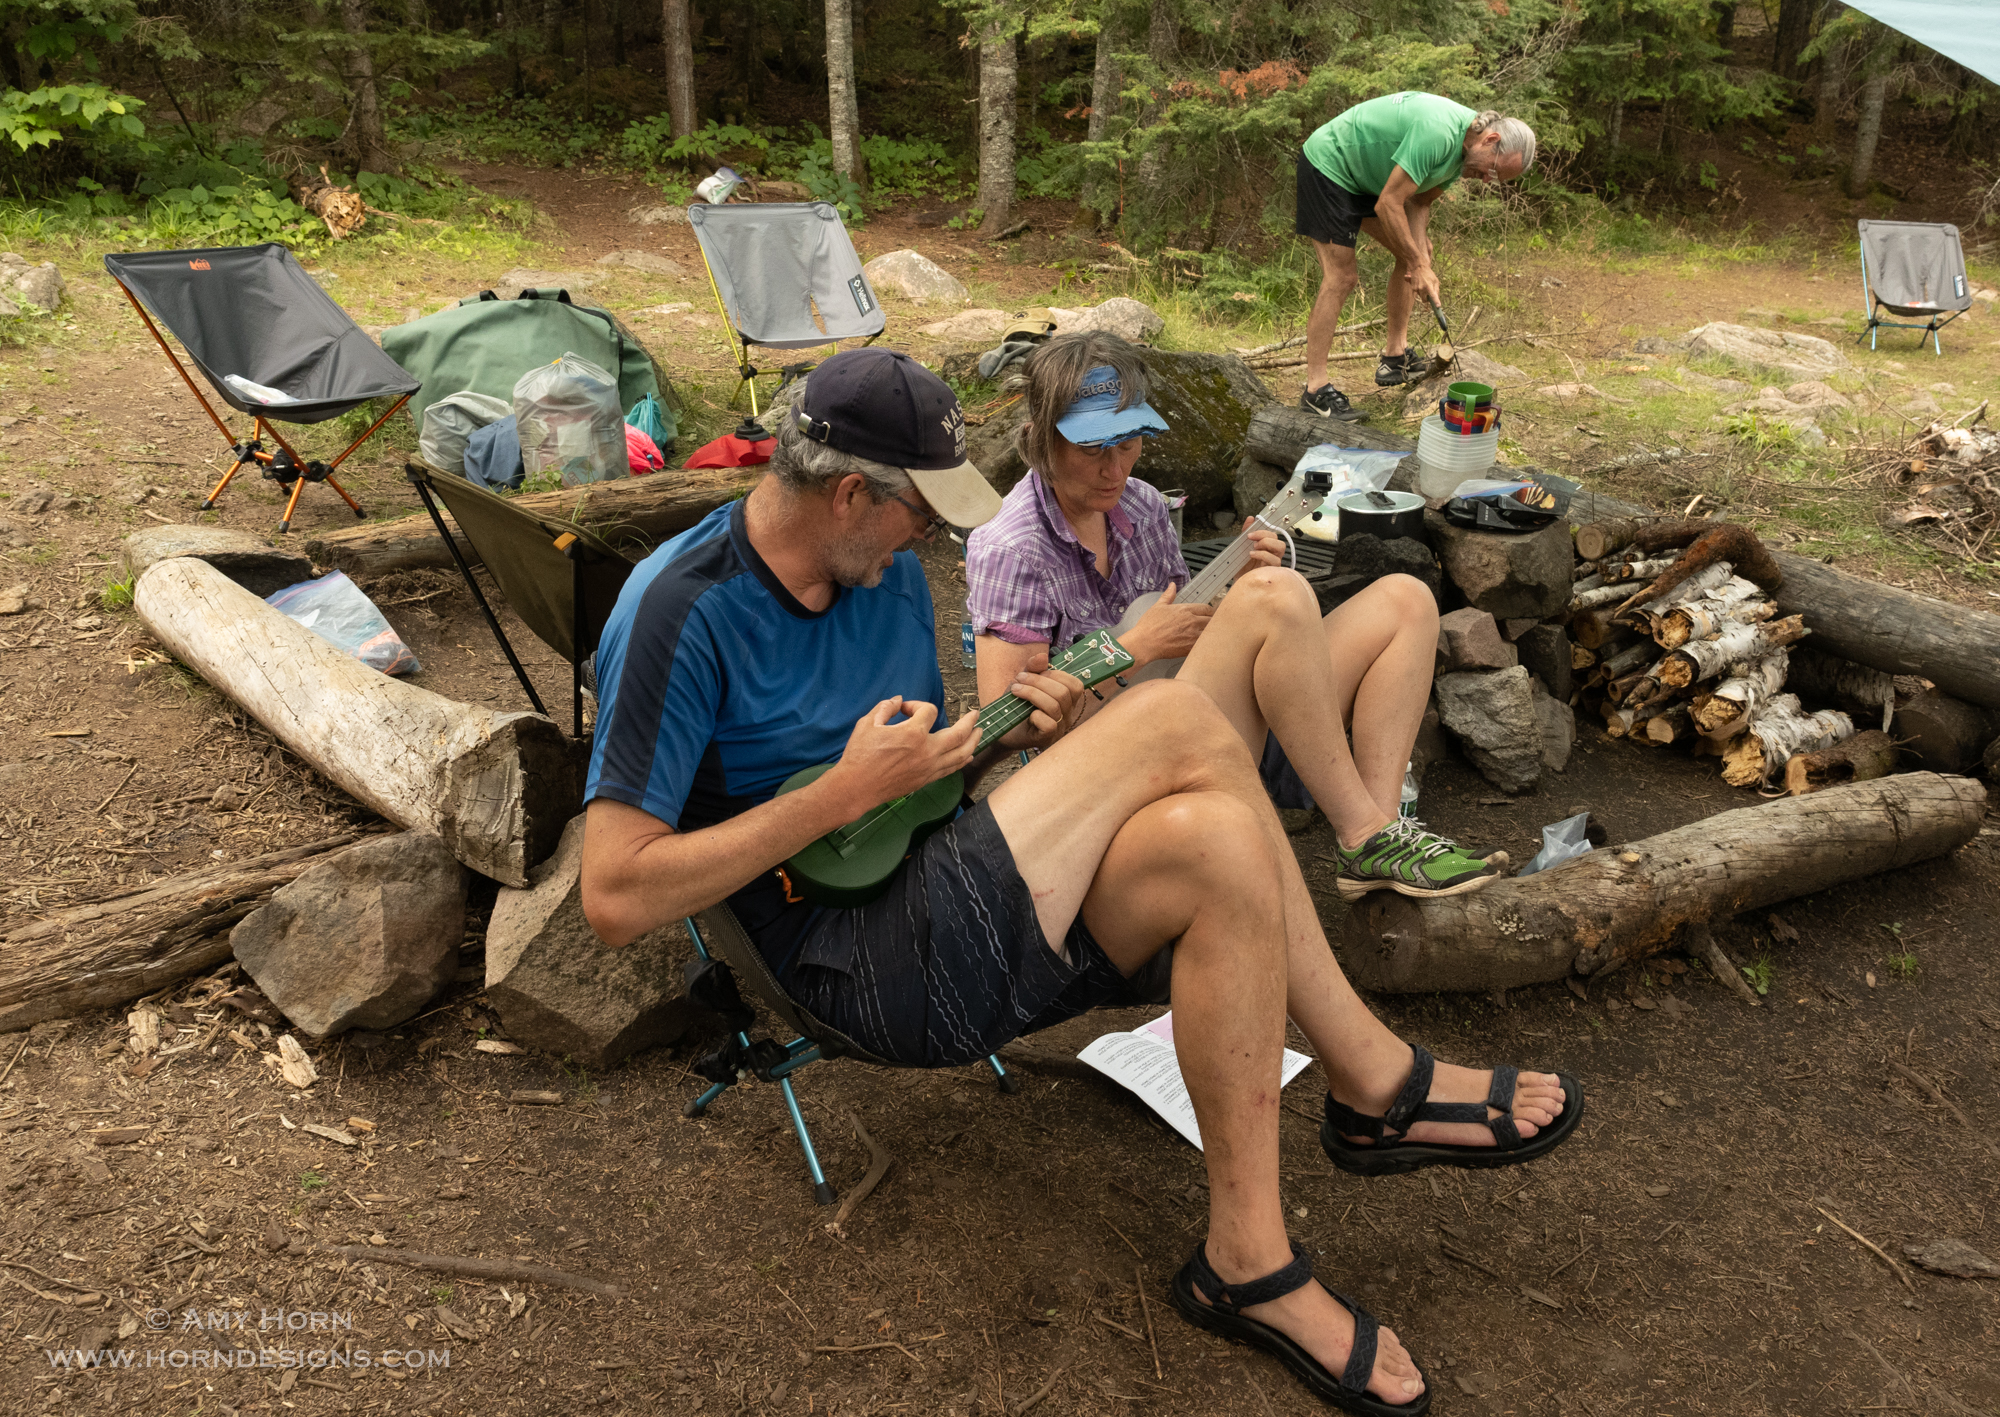
Each afternoon was an adventure to find a campsite. Camping is permitted at approved sites only and if you can’t find an open campsite on a lake, you portage until you find another site. Sometimes that meant you went to several different lakes because campsites are not found on all lakes. Once at camp, we pitched tents, set up the tarp, gathered wood, swam, played music, ate, and on our last night, we had a poetry slam. Gretchen challenged us to write a poem based on 5 given words. It was fun seeing the creativity put into each poem. We heard love poems, poems written from the perspective of a swan, from the mosquito perspective, a haiku, and my short and sweet poem sums up my week (bold words were required):
A canoe and paddle we did rent, to float the lake and pitch a tent. I hope that every son and daughter get to row on the beautiful Boundary Waters.
Amy Horn
Planning tomorrow’s route.Ready for rain.Cooking pancakes over the fire.Playing music.
Highlights
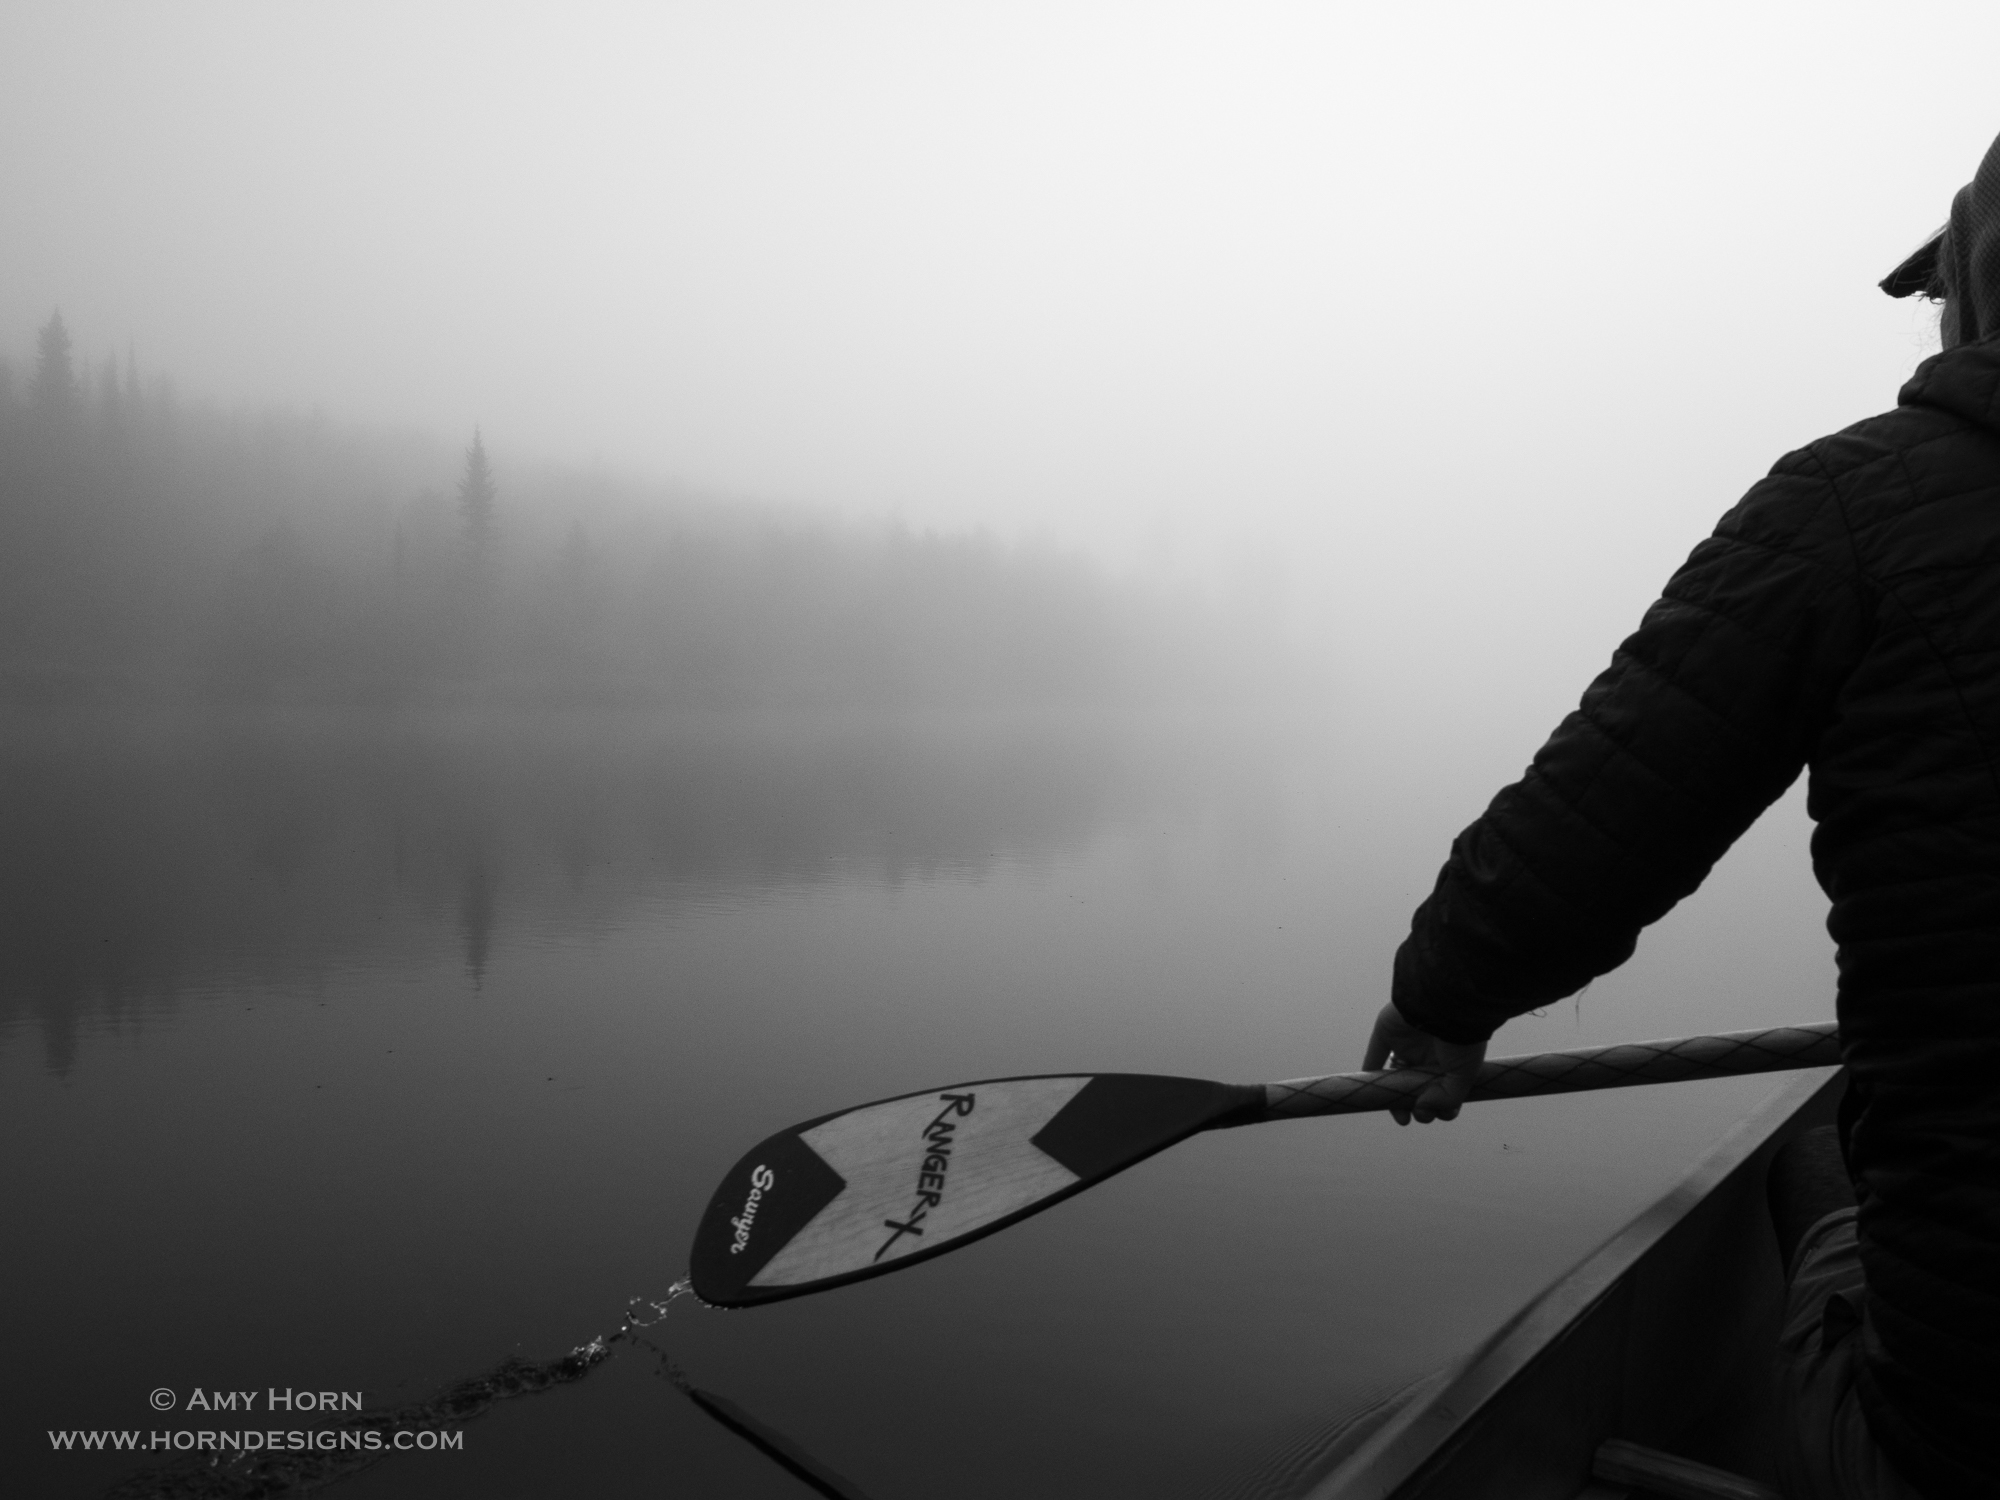
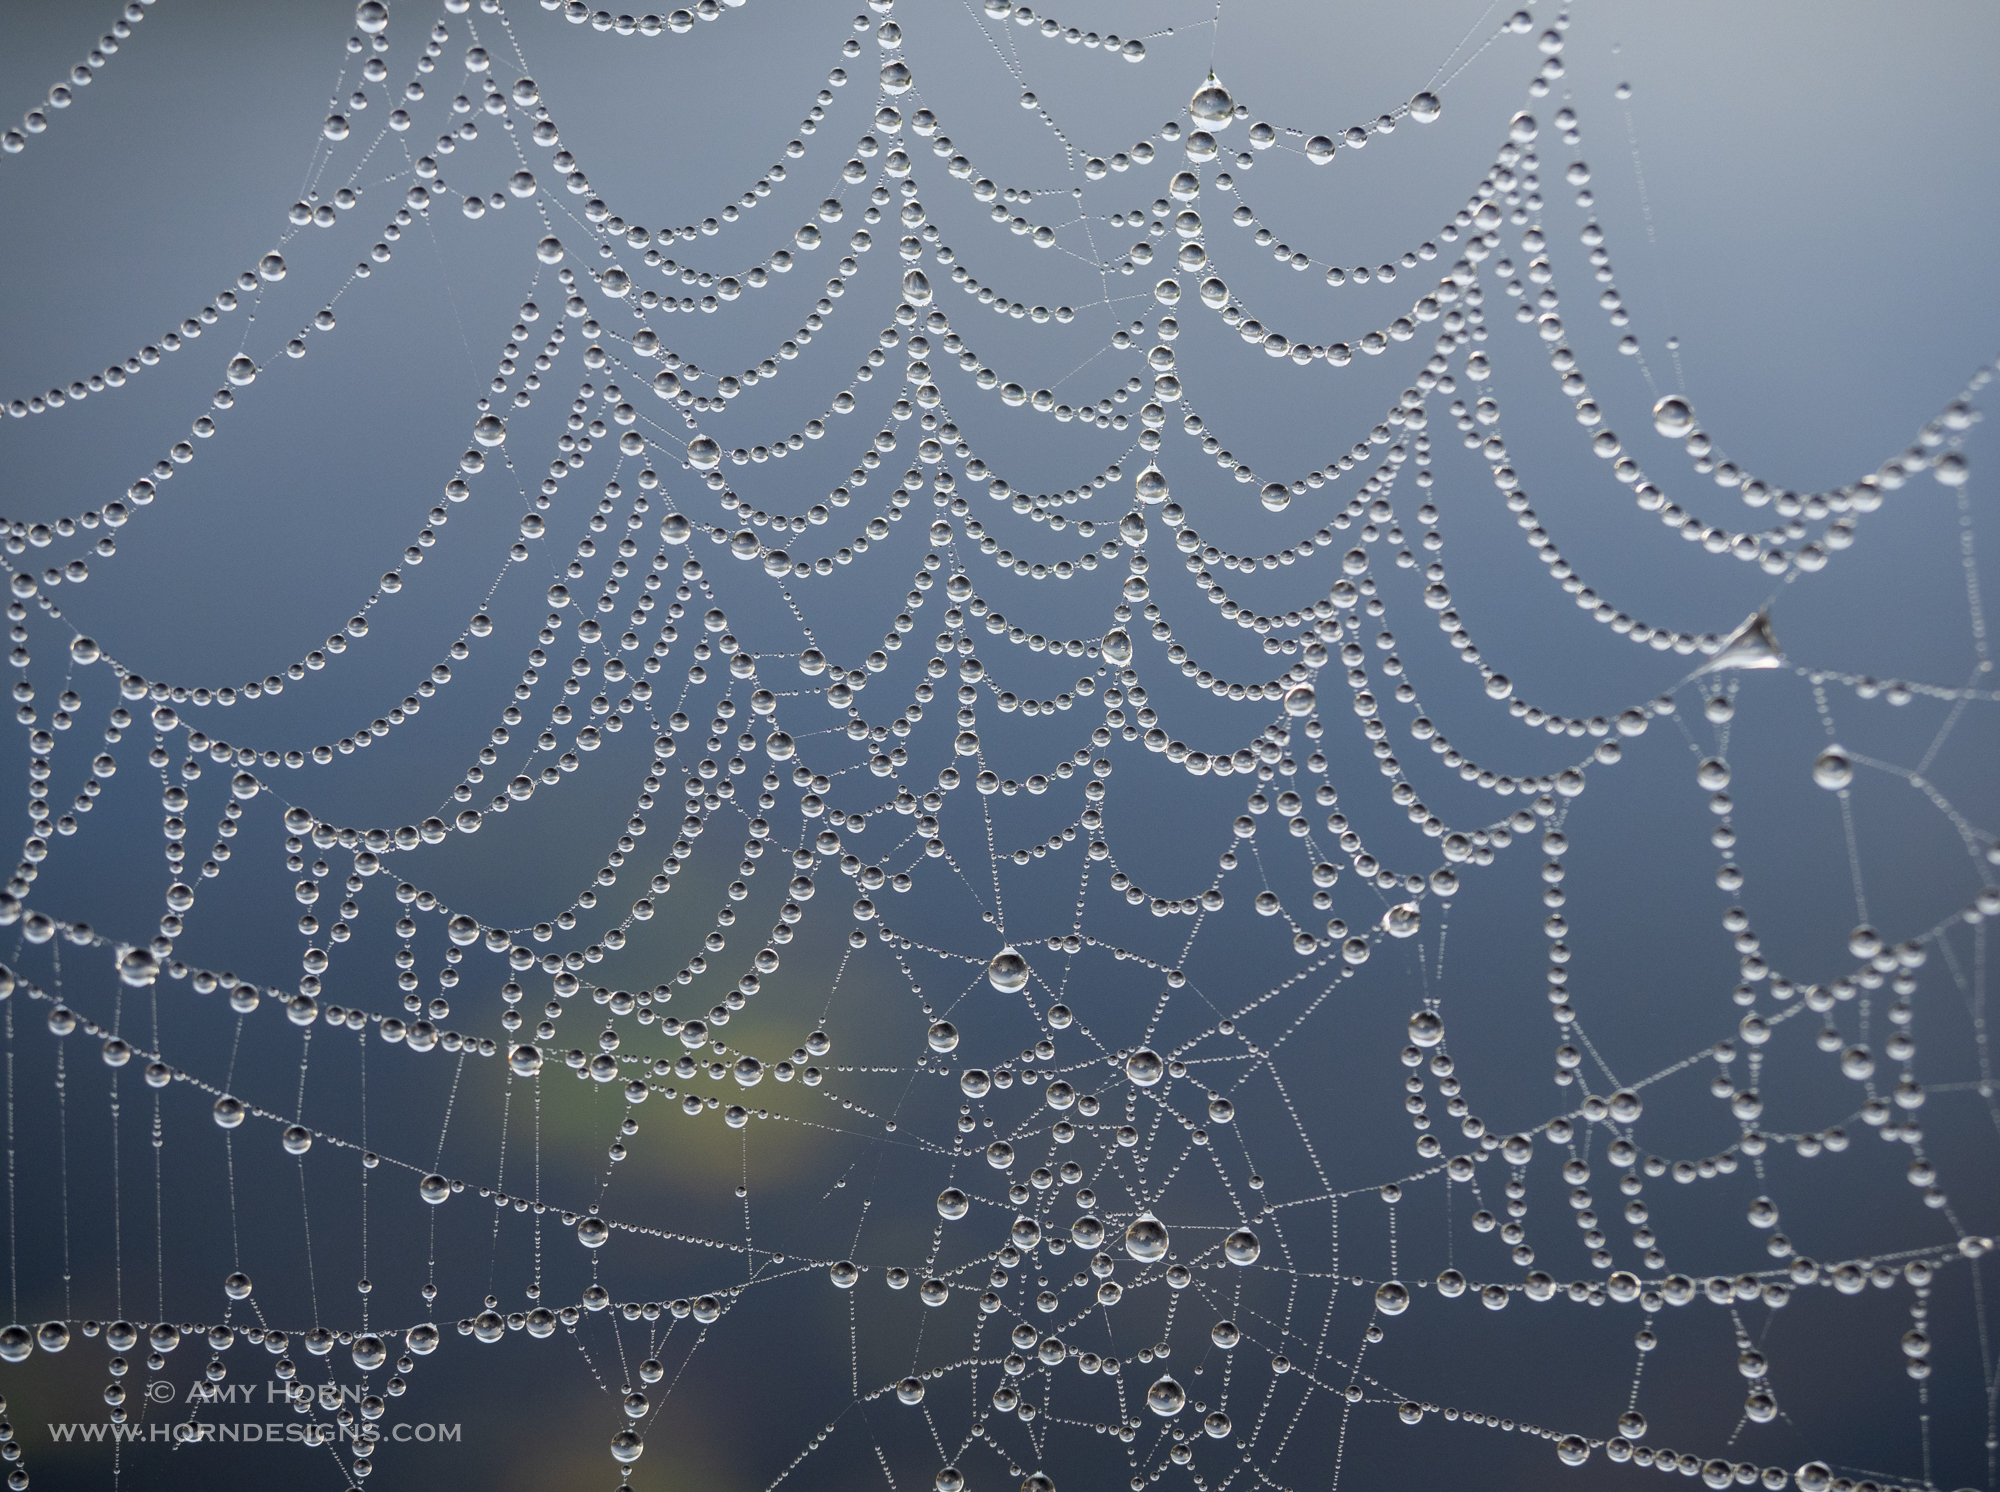
Besides the cool things mentioned above, my highlights of the week were many, but my favorite memory was the foggy morning. Before I could even ask anyone to get out in the water on the canoe, Neil and Gretchen offered. And then they had me “duff” (sit in the middle of the canoe) and took me out on the water. It was a magical morning – so quiet and still. When we returned to land, I photographed the dew on spider webs. I could have spent hours at this site.
It has been two weeks since we returned and all I do is think of returning. I didn’t think spending 6.5 days in nature without electronics would have such an impact on me. The BWCA is such a pristine area with fresh water so clean (big lakes only) you don’t need a filter to drink it. I didn’t know that was possible today. Let’s protect this area. The Boundary Waters is threatened by copper mining and if you would like to take action visit: https://www.savetheboundarywaters.org/.
Neil and Gretchen in the fogGretchen paddling through the fogFoggy morningTree snag and its reflection in the fogSpiderweb with dew drops
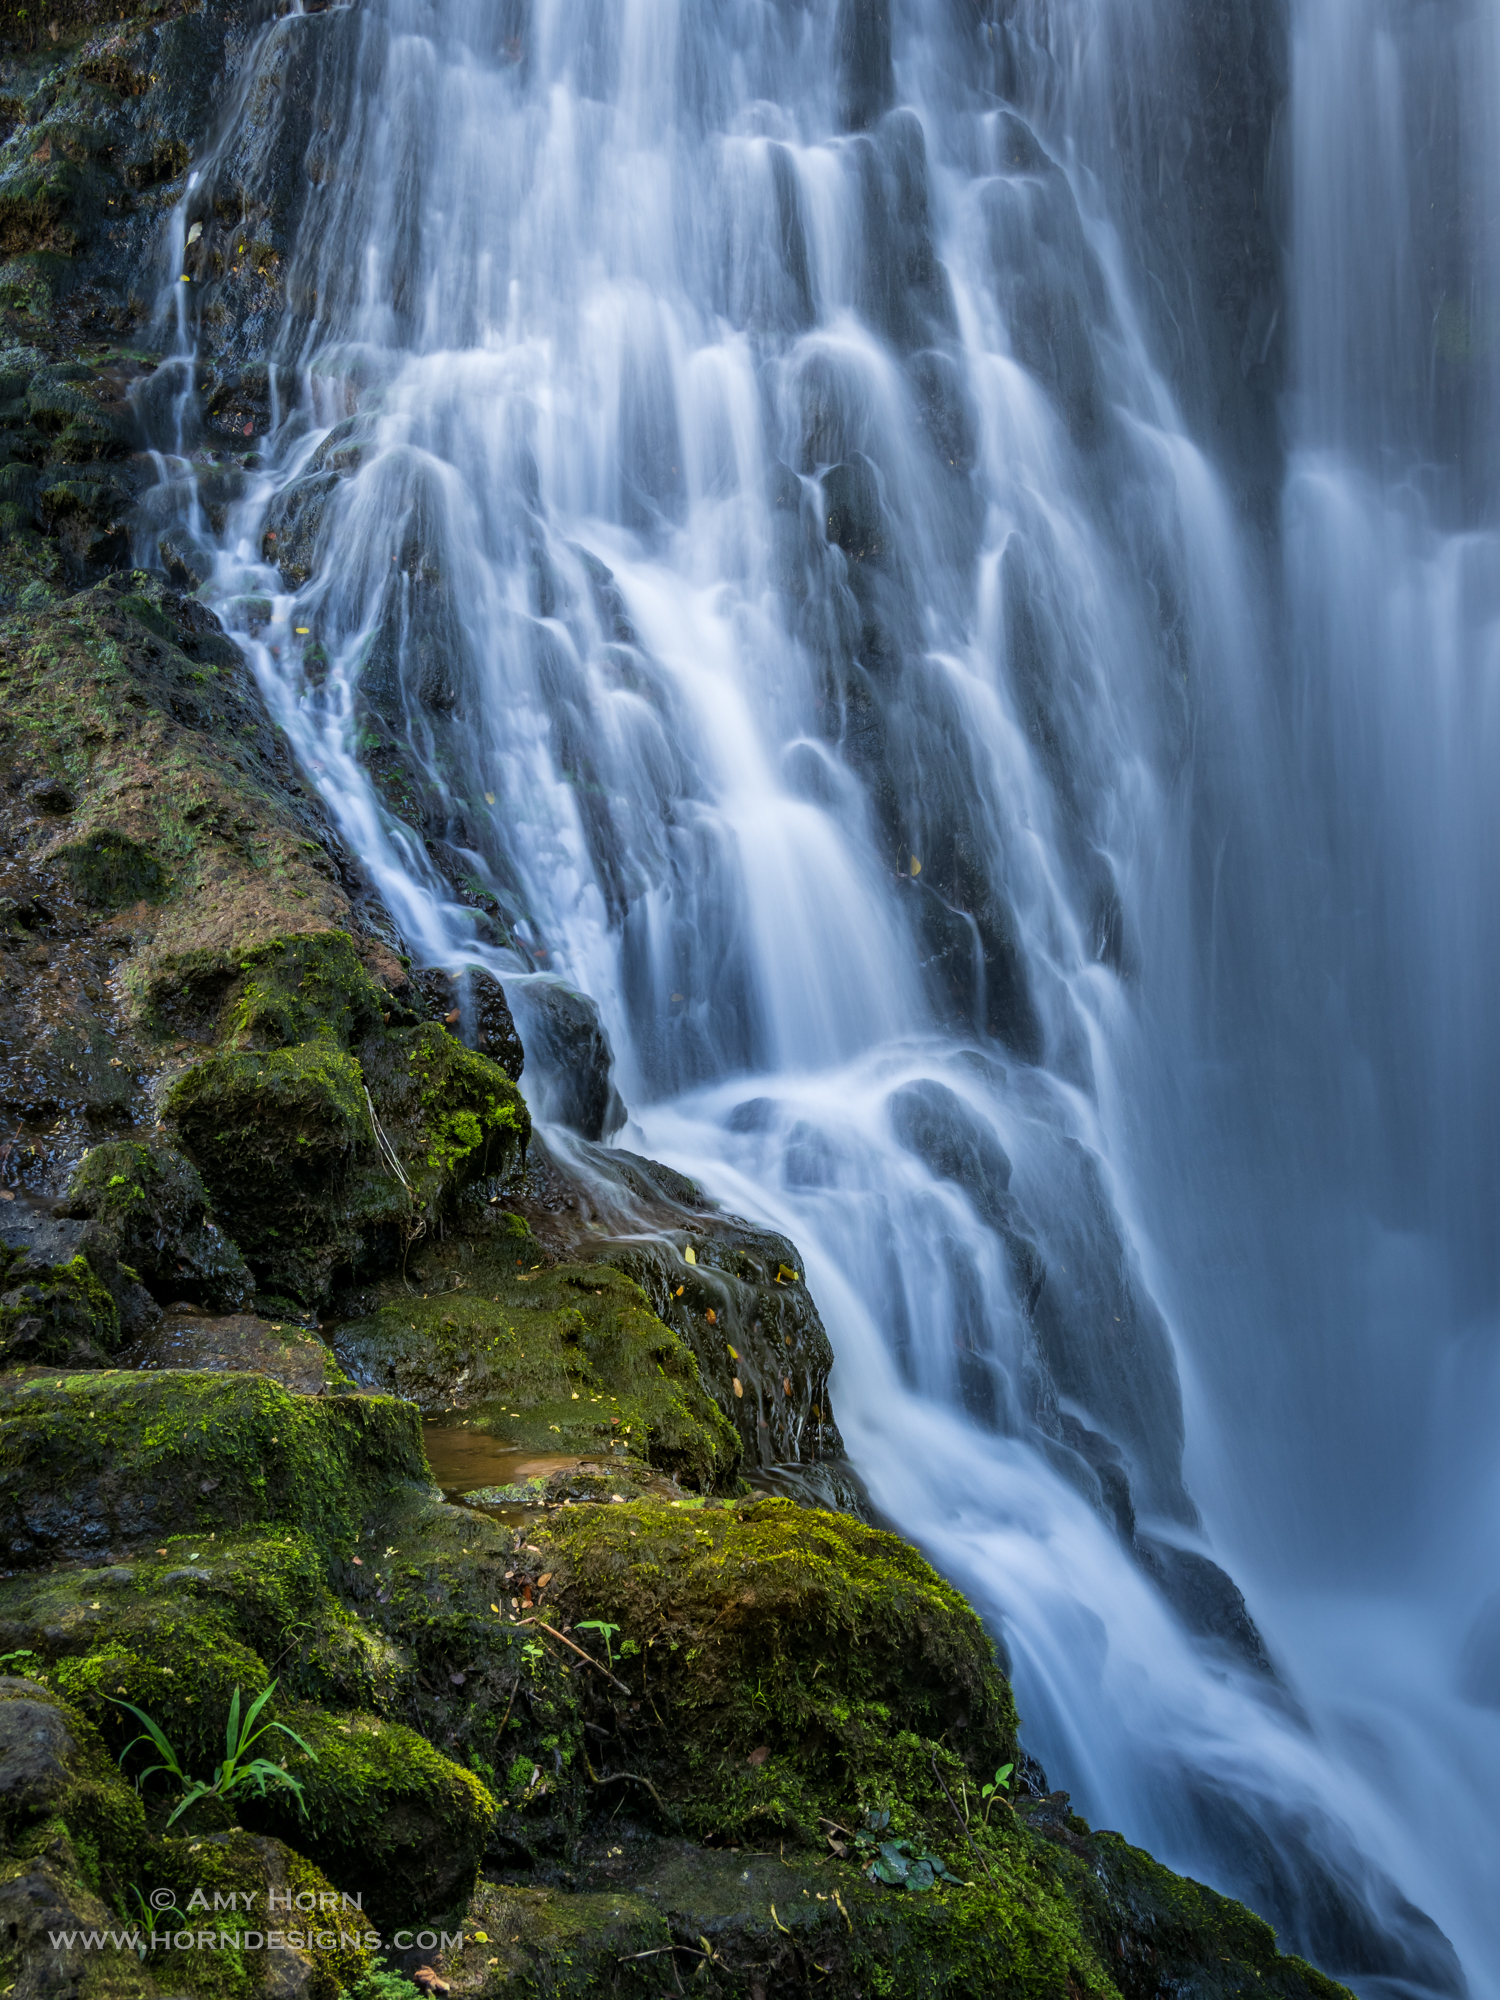
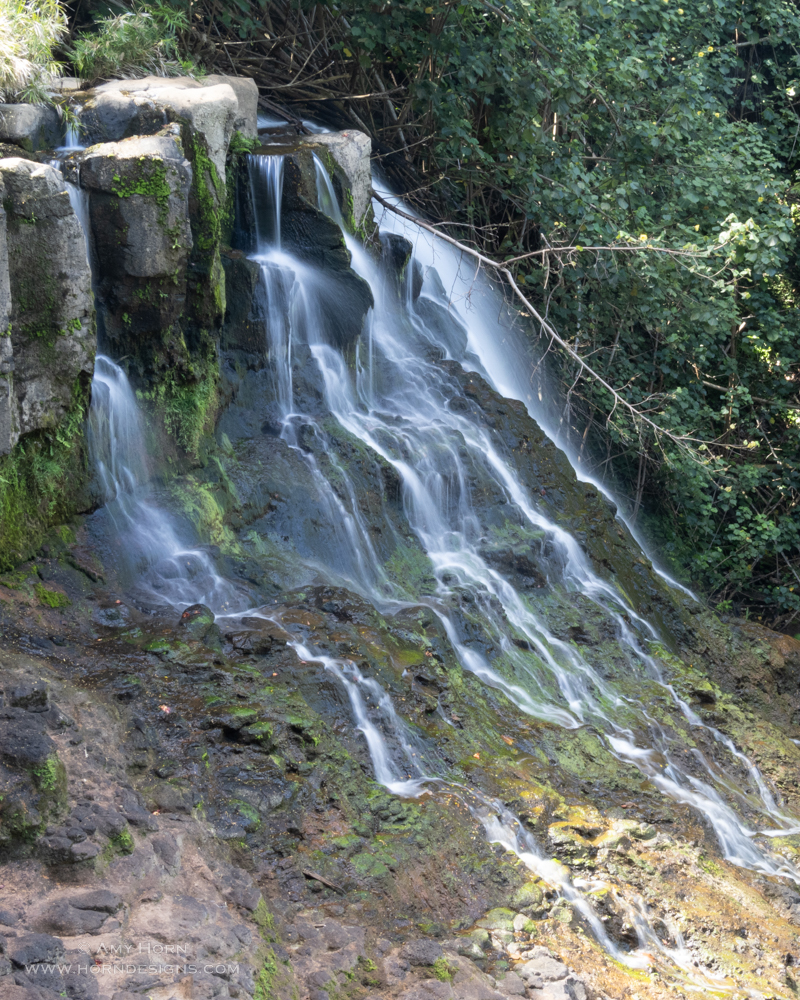
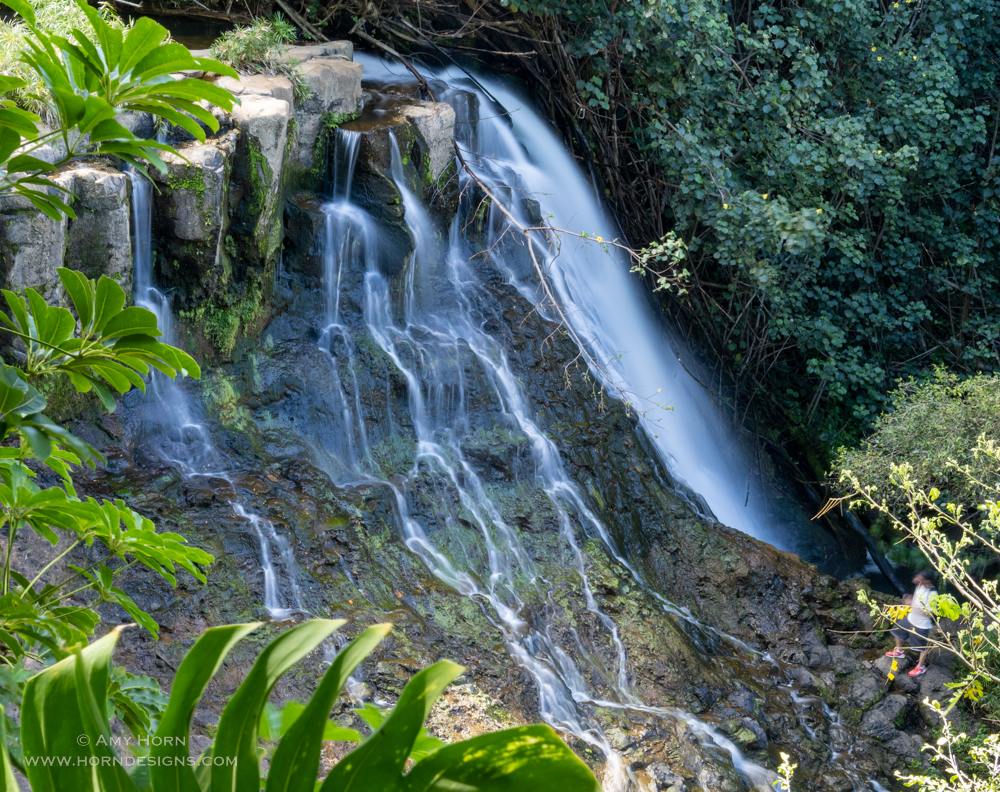
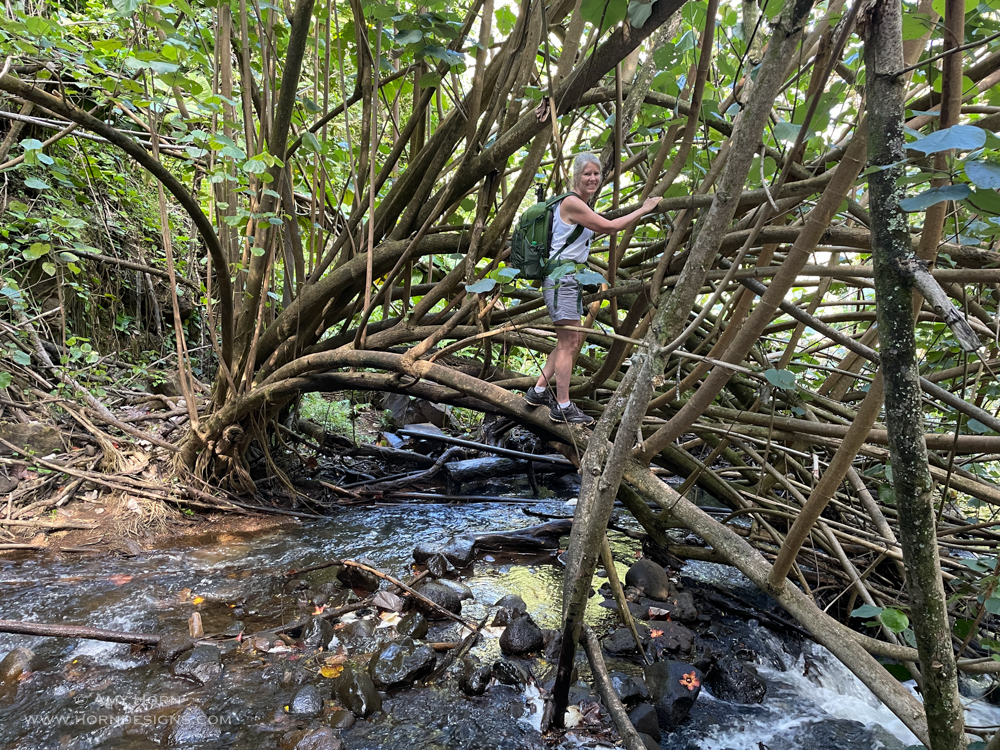
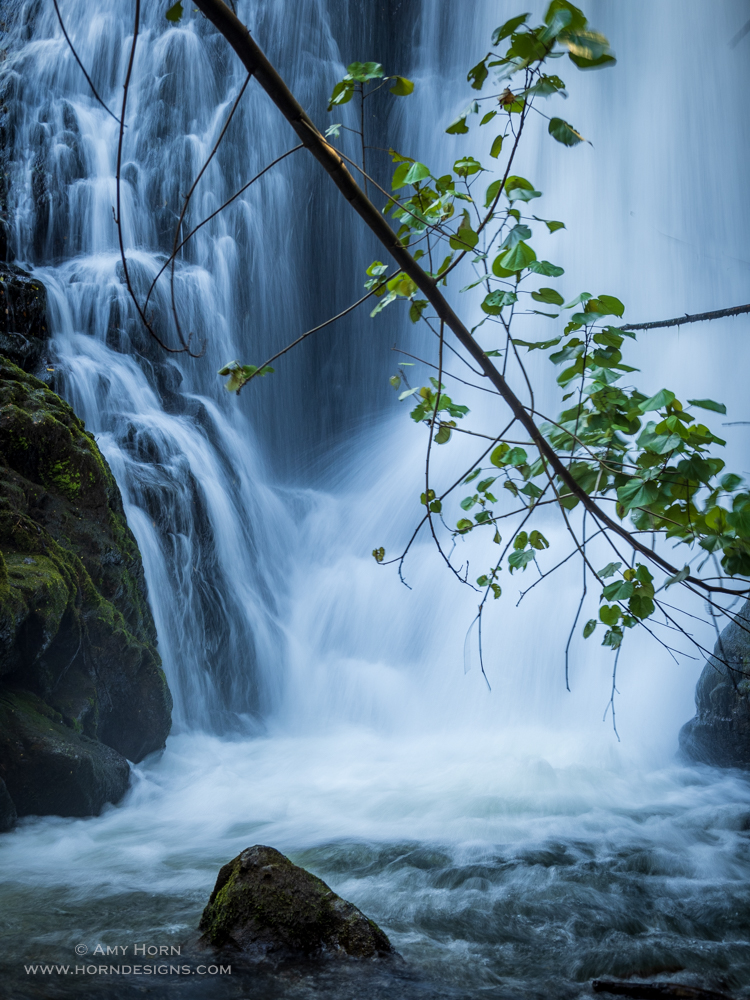
While on our 10-day Hawaiian vacation celebrating our 30th anniversary, my husband and I hiked to Ho’opi’i Falls, Kauai. Normally, we get up early for the best light, but our plans changed when we woke up to rain, so we ended up at Ho’opi’i Falls. With less-than-ideal light, it was important to find a good location that eliminated direct light.
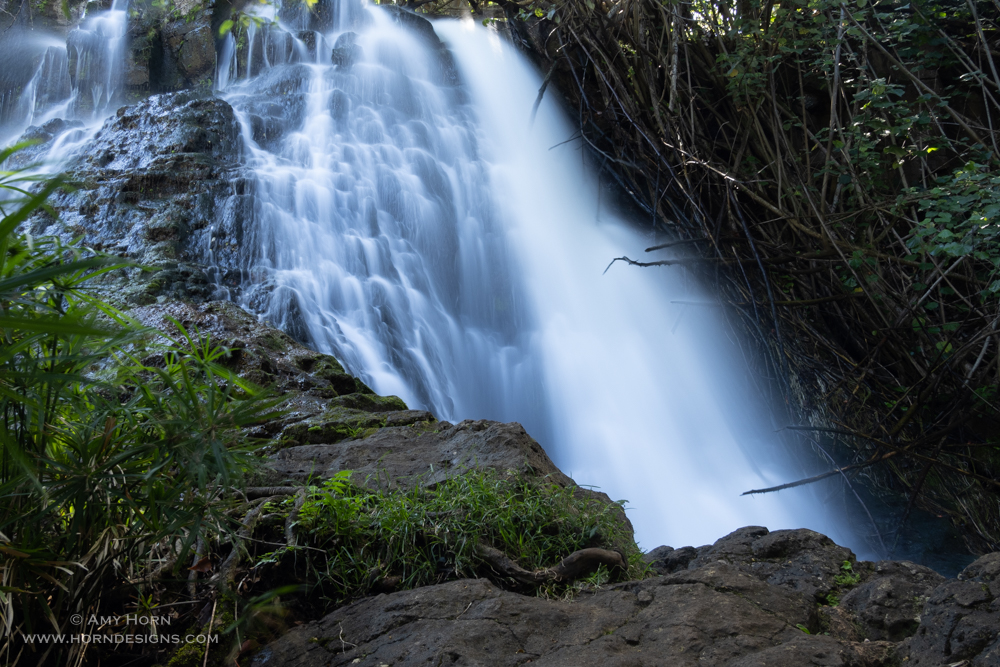
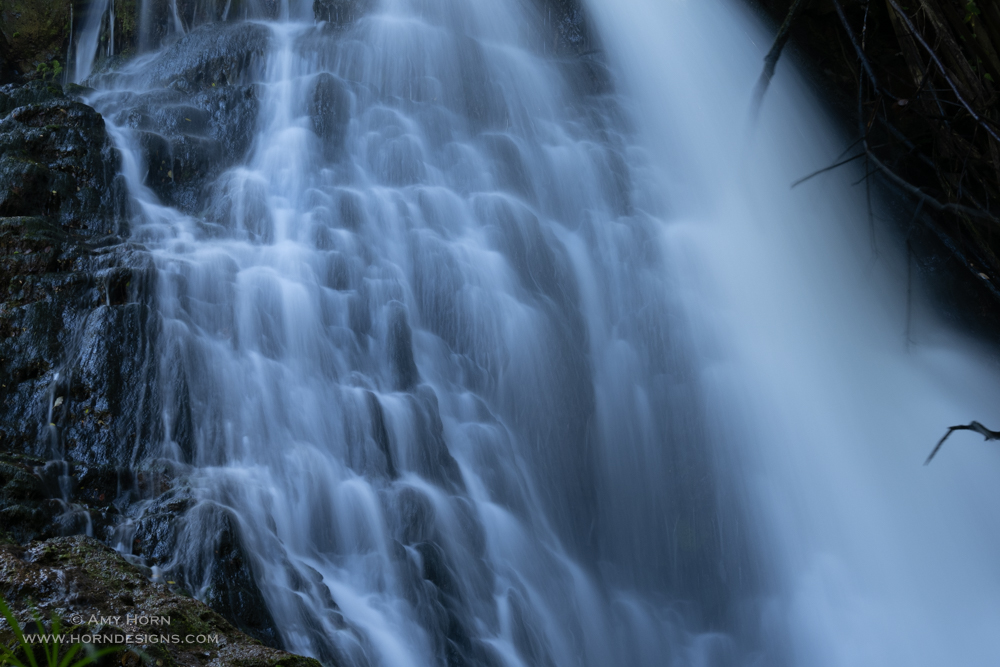
Here is my process as I found the best composition that day.
Waterfall in cloud coverAdded a foreground from close-up bushesDown at the water levelTight shot of just the waterFound a “bridge” to cross over for a better perspectiveImage from across the bridge.
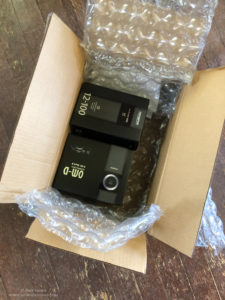
Most of you know I shoot with an Olympus camera system, well, now I’ve added the Nikon Z6ii. Before the Olympus system, I used Nikon gear but when I decided to switch to mirrorless, Nikon didn’t have a great camera, that’s why I moved to Olympus. There are many features to my Olympus system that still impress me like: focus bracketing, focus stacking, in-camera ND filter, focus shift, and starry sky focusing. Not to mention the smaller sensor doubles the focal length of each lens. So, when I head to Florida next month, I will take my OMD1 Mark III and 300mm F/4 lens which is an equivalent focal length of 600mm. And it fits in my camera backpack, along with an extra camera body and two more lenses. My Olympus gear is compact and of high quality.
But, I love cameras and found myself a little jealous when so many participants were shooting with the new Nikon mirrorless cameras, so I purchased the Nikon Z6ii, 50mm macro, and 24-70mm f/4 lenses. I still use my Olympus, but I am loving the new Nikon. But buying a new camera is not simple. Not only is there research before purchasing, but there are also a lot of extra costs involved. Here is a list of items I purchased in addition to the camera:
Shutter release
L – bracket
Tethering cord
Camera bag
Extra battery
Luckily, my Yongnuo and Godox flash units already work with Nikon.
You might be wondering why I purchased the Nikon? Well, to be honest, sometimes it is fun having something new! Frequently I shoot in low light and wanted the full-frame sensor for that purpose. Whether I am shooting night skies, events, or even extensive focus stacks, a full-frame sensor with less noise is always welcome.
What’s different
Compared to my Olympus, this new Nikon camera has a similar grip, and the menus don’t throw me off, so it has been an easy transition. However, the new focus bracketing feature is different. I’m still testing it, but mostly I notice the interval spacing is different. Setting a focus stack on my Olympus with an interval of 5 is a much larger spacing than the same setting on the Nikon. As I use the feature more, it should become more intuitive. I’ve used the internal focus bracketing feature and can’t imagine a camera without one.
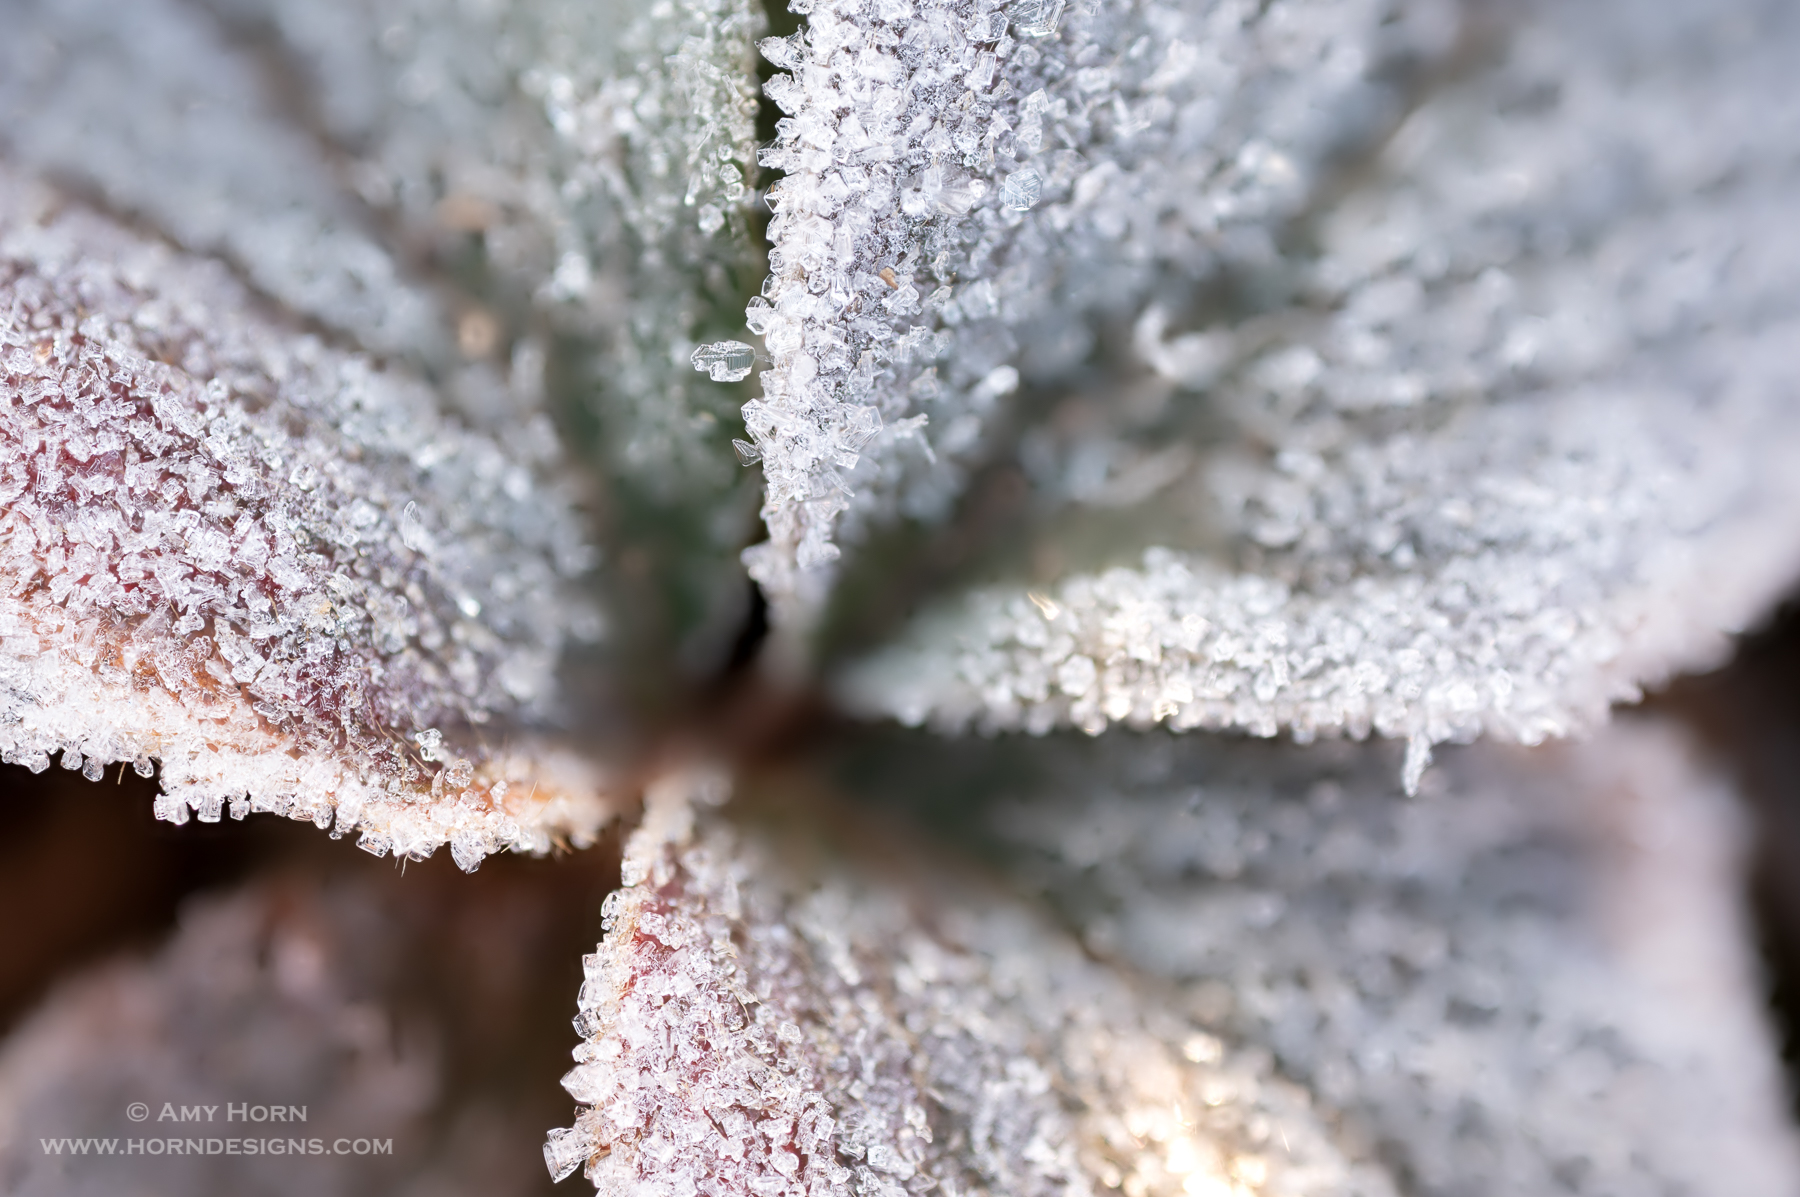
Nikon Z6ii capturing early morning frost.
Focus stack of 20 images with an interval of 5. Notice I didn’t capture enough images.
Overall, I am very happy with my new Nikon Z6ii. The full-frame sensor does offer less noise but that also means less magnification (macro and telephoto) than the Olympus system. Now with multiple systems, I can pick and choose the right tool for the job. And for now, I plan to use both tools.
The memory card survived the water! Olympus OMD 1 Mark III, 12-100mm lens, 1/200 sec, f/7.1, ISO 200.
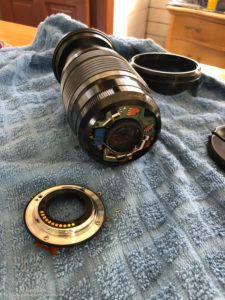
On a recent hike with my husband through Pumphouse Wash I dropped my two-month-old camera. The hike required wading through many thigh-high polls of water, and I was careful while wading. Hiking was slow through the water, so after three hours of hiking, we turned back toward the car. That meant wading through the pools of water again. The walk-able ledge on the last pool meant we would stay dry, well that was the plan anyway. Somehow, my pack was open and my camera took a swim. I watched it submerge 18” under water, so I jumped in too. As I grabbed the camera strap the lens broke off and water gushed inside the camera. After getting the camera, I spotted the lens wedged between two rocks and retrieved it. I pulled the battery and memory cards from the camera immediately, hoping to keep the images from the hike.
Broken lens with water inside.
Once on dry ground, I wrapped the gear in a towel, and we hiked the last 1/3 mile back to the trail head. At the car, I opened every compartment to dry them out and knew Monday I would call my insurance company. Almost ten years ago, I purchased a policy from State Farm Insurance to cover my gear since I own too much camera gear for a traditional homeowner’s policy. On Monday, I called in my claim. A few days later, a claims adjuster called and by the end of the phone call, he issued me a check for the full value of my gear minus the $100 deductible.
Insurance
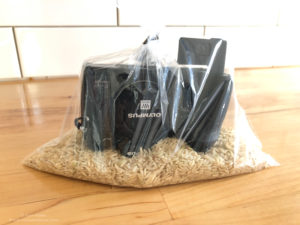
Camera in rice to dry out.
Hopefully, this event got you thinking about insuring your gear. My policy cost $20/month and with over $3000 replaced gear, insurance was a wise choice for me. Not only can you get a special policy through most homeowner’s insurance agents, but many photography organizations offer insurance as part of your membership. Here is a short list of options for insurance, but there are many more.
PPA – Professional Photographers of America
PSA – Photographic Society of America
NANPA – North American Nature Photography Association
Howard Burkholz of Allstate
I contacted Olympus to see if a repair was possible. Although they couldn’t say for sure without evaluating it, dropping the camera in water void the warranty. While I waited to hear from my insurance agent, I placed the camera in a bag of rice. I’m glad I had insurance.
Olympus OMD1 Mark II, 300mm, F/5.6, 1/80 sec, ISO 1600, tripod
Do you dislike using a tripod? After teaching photo
workshops for several years, I recognize it is not a popular piece of gear for
new photographers. Tripods can be clunky, unstable, awkward, and temperamental.
The “unstable” can be solved by purchasing a quality tripod from the start.
Many photographers start with an inexpensive tripod and then realize why it was
inexpensive…it doesn’t support their camera or is not built well. Save yourself
some time and money and buy a good tripod from the start. The clunky, awkward,
and temperamental can be overcome by using it.
I often hear participants state they only need a tripod when
photographing landscapes, low light, or macro subjects, well, that is not true.
A tripod in any shooting situation will improve the quality of your photos. Here
is an example when I used a tripod in full sun to improve my photos.
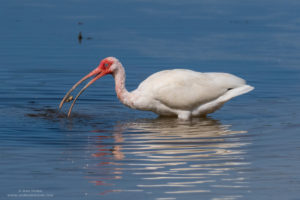
Ibis with a crab. Olympus OMD1 Mark II, 300mm, F/6.3, 1/4000 sec, ISO 400.
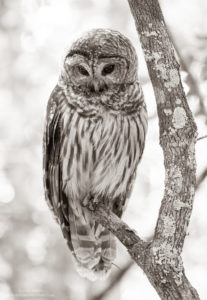
While in Florida on vacation, I photographed birds, from egrets to owls and they entertained me for hours. But holding a long lens for hours was not a solution for sharp photos, so I used my tripod. I started with my Olympus 40-150mm lens (80-300mm FF equivalent) and handheld many images, but since I use live view at 3-5x to verify sharp focus on the eyes of my subject, holding the camera still at this magnification was impossible. Even more so when I switched to my Olympus 300mm lens (600mm FF equivalent). As a result, I grabbed my tripod. Not only were my images sharper, but at the end of the day, my arm wasn’t sore from carrying the weight of the long lens.
Burrowing Owls
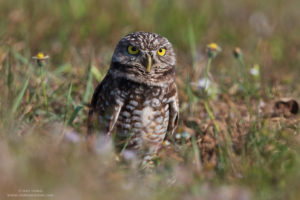
Burrowing Owl. Olympus OMD1 Mark II, 300mm with 1.4x teleconverter, F/5.6, 1/1250 sec, ISO 250.
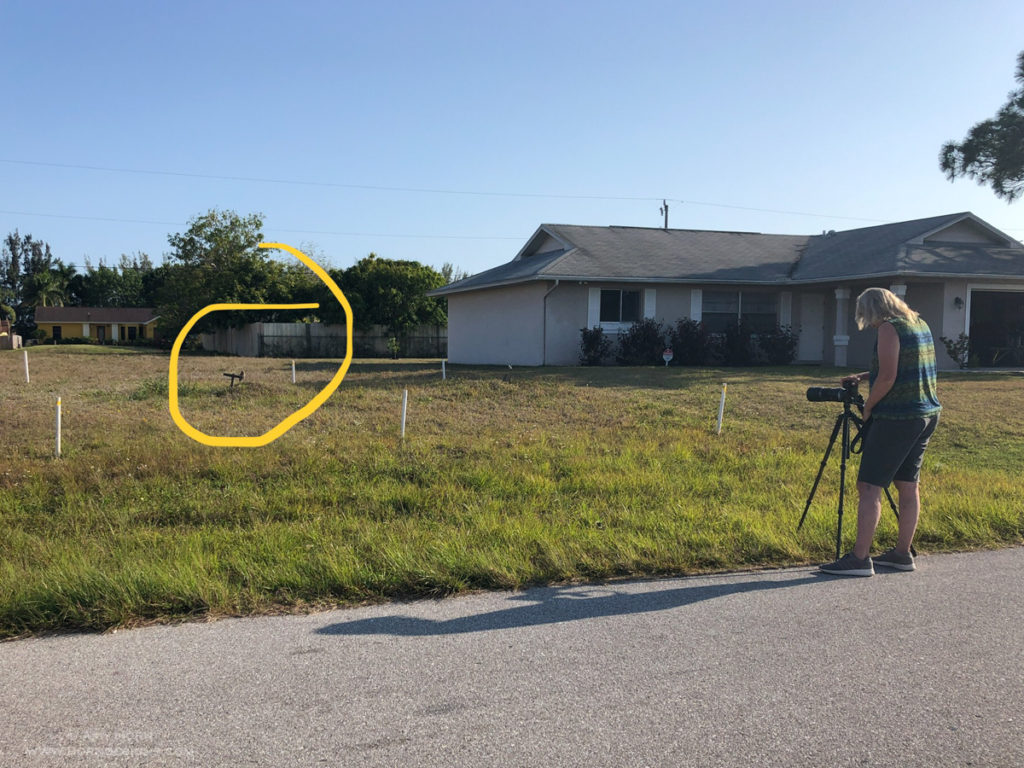
One afternoon in Cape Coral, Florida, I spent hours photographing burrowing owls. These small owls are only 7-10 inches tall and like all wildlife, a photographer should keep a good distance to not disturb them. Therefore, I chose to use my Olympus 300mm lens and 1.4x teleconverter giving me a focal length of 820mm (full frame equivalency). With such long focal lengths, a tripod was a must. We drove to several neighborhoods in Cape Coral to photograph these owls with different backgrounds.
I recently purchased a Fotopro X-Go Plus carbon fiber tripod
for airplane travel since it is smaller, lighter and fits in my suitcase. If
you purchase a tripod for travel, be sure to check the weight of your gear with
your heaviest lens and make sure that is below the max load of the tripod you
are considering. With my lightweight Olympus system, my max load is less than
most DSLR’s.
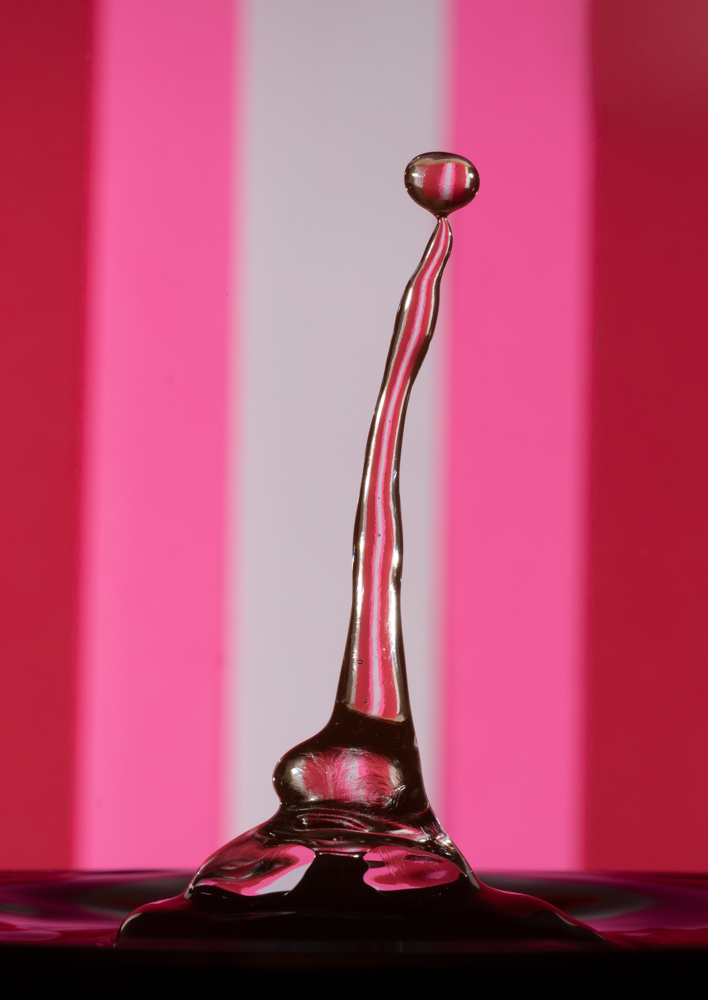
The first two images were used to create the composite on the right.
Photoshop is not for every image, but I like to use it for
compositing and making an impact. I decided to create a composite to celebrate
Valentine’s Day. Using my Cognisys StopShot Water Drip Kit, I captured several
drops and drop collisions. After reviewing the images, I noticed two that if
combined would make a fun composite. Since, viewers commented that it looks
like the character, “Tigger”.
Layers
Setting the camera on a tripod (a must with water drop collisions)
gave me several almost identical images, the only difference was in the actual
drops. To create the composite, I would need to utilized layers in Photoshop.
The “Tigger” image was my base image. Then I selected the “tail” from the second
image and brought the tail layer over to my base. Once the “tail” was in place,
I added a mask to erase the part I didn’t need to create a believable Tigger
tail. The final composite included two images and you may notice that I also
erased a few of the extra water drops. The spot healing brush is an easy tool
and blended the area nicely. This took me less than thirty minutes and I have fun
creating it.
Transform Tool
Original Water Drop
Transformed Heart Drop
On the next image, I envisioned a drop in the shape of a
heart. Well, that would never happen naturally, so I used Photoshop’s transform
Tool to create the heart. First step was to cutout the heart onto its own
layer. Then use transform (Ctrl +T, Cmd +T) to select it. With the transform
tool active, a right click will offer additional transforming options and I
chose warp. After dragging the sizing handles around, I designed a heart. The
last step was to blend this with the original drop. Again, I added a mask to
erase the top portion of the original drop and positioned the new heart shape
to blend properly.
Photoshop isn’t for everyone or every image, but it is fun
to use!
Olympus OM-D E-M1 Mark II, 60mm, ISO 200, f/3.5, 1/640 sec.
Before talking about how to keyword, I should discuss photography
workflow which is the process a photographer uses for their images from capture
to output. This includes culling, developing and posting images. Although there
are many differences from photog to photog, there are also many similarities. Many
photogs include keywording as part of their workflow, as do I. I am not always
the best at it, so I have spent the last month applying more discipline to
keywording.
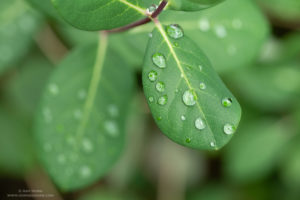
Why keyword?
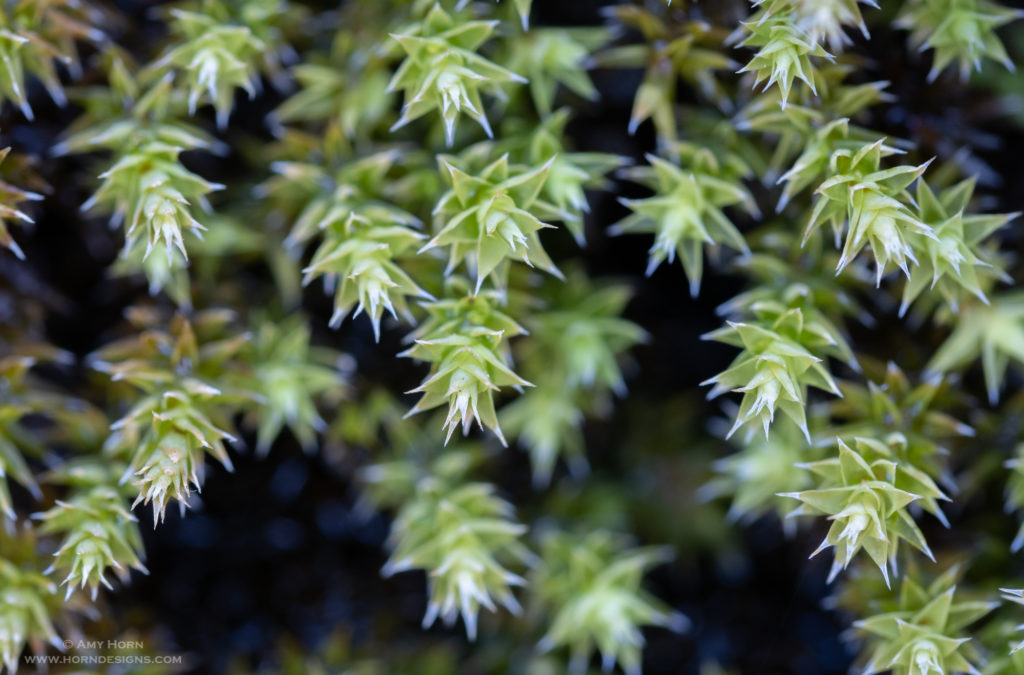
Potential keywords: leaf, raindrop, cloudy, green, etc.
When images have a keyword attached it becomes searchable.
Imagine searching your images by your child’s name, a color, location, or specific
lighting situation. If you take the time to add keywords, it is that easy. I use
Lightroom to catalog my images, so to search for a macro image, I type “macro” into
the search box and tada, all my macro photos appear. That is, if I added the keyword
to each image. If you have not been keywording, don’t fret, just start now.
Someday, you can go back and tackle past images but for now, start with today.
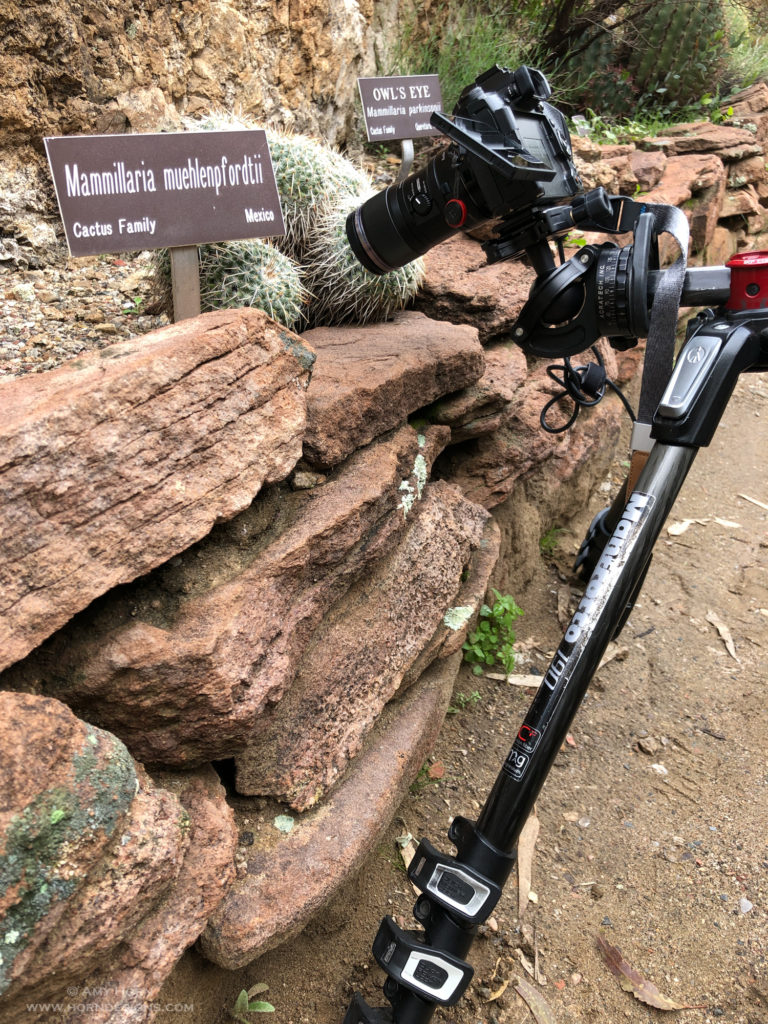
When to keyword?
A better question is “when not to keyword”! Don’t wait to
keyword! Adding keyworks when you download or very soon afterward helps you to
remember the details of the shoot. For
instance, I went to Boyce Thompson Arboretum in January after a rainstorm and
captured a few hundred images (many were focus stacked). When I downloaded, I
immediately added keywords that applied to all images such as: Arizona, Boyce
Thompson Arboretum, desert, raindrops, cloudy, etc. Then after culling my photos
and removing obvious images to delete, I added specific keywords such as: focus
stacking, cactus, specific plant varieties, etc. To remember the plant
varieties, I take a reference photo on my iPhone of my setup with the plant label
so I can add the keyword later.
iPhone capture of my setup and the cactus label.
Olympus OM-D E-M1 Mark II, 60mm, 26mm extension, ISO 400, f/3.5, 1/50 sec., Olympus in-camera focus stacking.
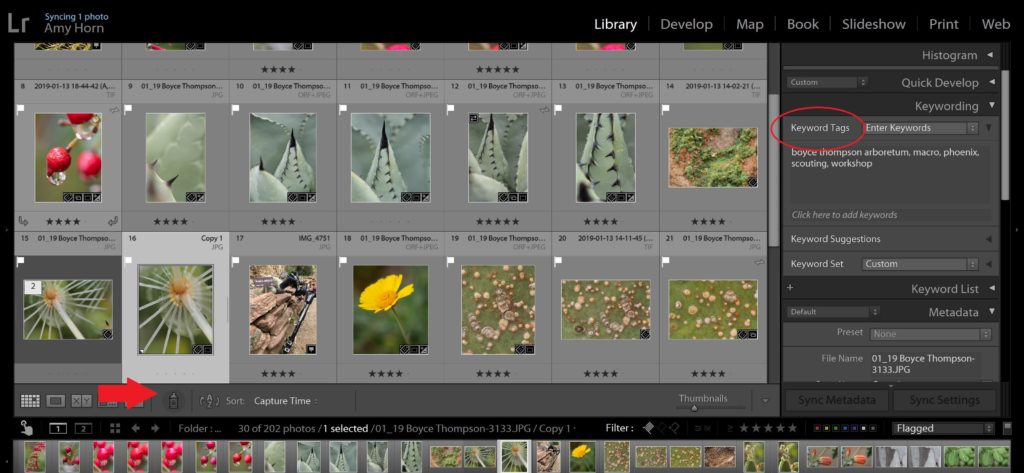
How to keyword?
Adding keywords in Lightroom is very easy. Upon import,
scroll down the righthand bar to the keyword tab and start adding words to
describe your photos (separate with commas). Remember, these keywords will
apply to all images being imported, so start generic first. Then, to add
additional keywords once the images are imported, switch to grid view (G) and
locate the spray can on the tool bar at the bottom of the page. Once the spray
can is selected a text box becomes available to add keywords. Add several
keywords with commas in between and “spray” them on to the respective photos.
Change the keywords as needed and respray. When you are done, tap the spray can
back to its spot and you are finished.
Lightroom screen capture with spray can and keyword tags highlighted.
It really is that easy. The hardest part is taking the extra
few seconds/minutes to add the keywords. But for searching after the fact it is
a blessing in my opinion.
Olympus OM-D E-M1 Mark II, 60mm, ISO 400, f/3.5, 1/40 sec., Olympus in-camera focus stacking.
After my past workshop at Watson Lake, Prescott, Arizona, a participant asked me to explain the Olympus focus stacking process in a macro setting. Since I use the focus bracketing modes almost daily in my macro photos, it made sense. So, follow along to explore capturing focus bracketed images using an Olympus OMD1 Mark II.
First, Olympus offers two different focus bracketing modes –
focus stacking and focus bracketing. Focus
stacking is a capture of eight images at different focus depths stacked
into one JPG within the camera. The original RAW images write to the memory
card as well as the finished JPG stack. Focus
Bracketing is a capture of up to 999 images at different focus depths and
all RAW images write to the memory card for the photographer to stack using
other stacking software (Helicon, PhotoShop, etc). This article discusses focus
bracketing mode specifically. However, the focus stacking mode is almost
identical.
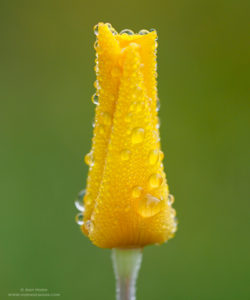
Capture
Ice and moss at Watson Lake. Olympus OM-D E-M1 Mark II, 60mm, ISO 400, f/5, 1/8 sec., 30-images focus stacked and circular polarizing filter.
With your camera on a tripod and a lens capable of focus stacking (Olympus 60mm, 12-100mm, etc) frame your shot. I prefer the 60mm and place it as close to the subject as possible. Next, toggle the 1:1 switch on the side of the macro lens and position the camera/tripod to achieve focus. Now, switch to manual focus and focus back and forth to find the part of the image that is closest to the lens. With live view and zooming, manually focus the nearest part of the image.
Olympus Menu
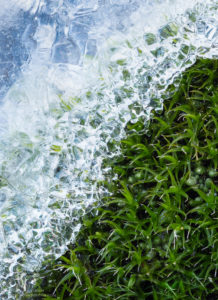
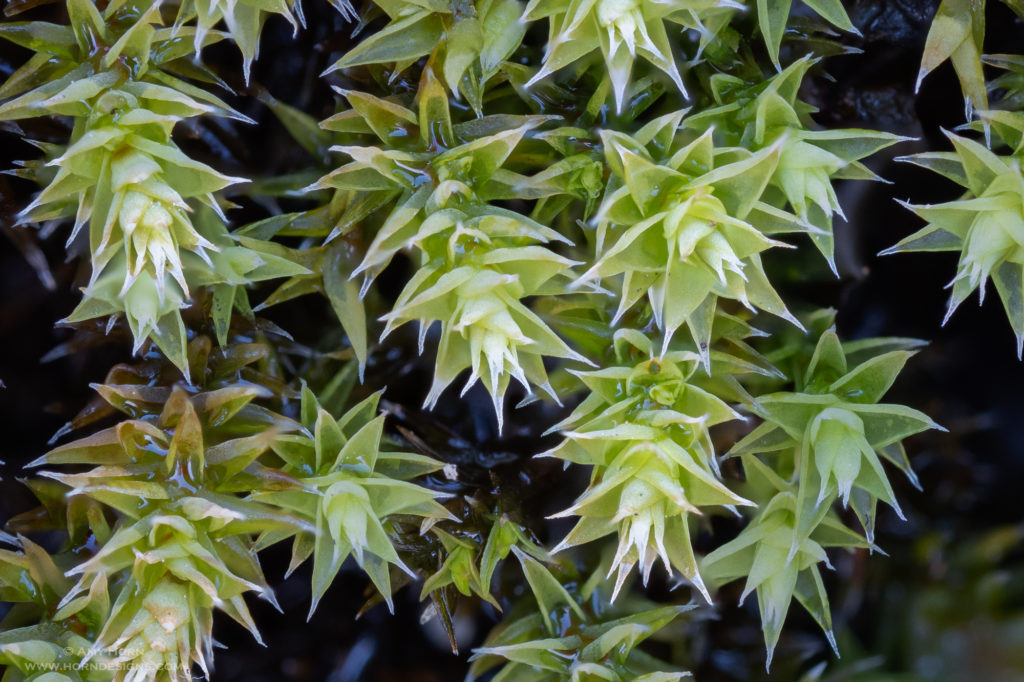
Now you are ready to activate the focus bracketing function. Using the menu, locate Camera 2> bracketing >on >focus bkt >on. At this point, you are given a choice between focus stacking or focus bracketing. With the focus stacking option set to off, set the number of shots and focus differential for focus bracketing. (With focus stacking ON, these other options are grayed out). In the images below, I demonstrate the difference of a focus stacked image (left) and a single image (right).
Olympus OM-D E-M1 Mark II, 60mm, ISO 400, f/5, 1/5 sec., focus stack of 30 images, circular polarizing filter.
Olympus OM-D E-M1 Mark II, 60mm, ISO 400, f/5, 1/5 sec., and circular polarizing filter.
Number of shots: I am often asked how to decide the number of images to capture in a stack. That is hard to describe. The more intricate and larger depth of field requires more images. Generally, I start with 50. If there are more than I need meaning some are out of focus because it went beyond my subject, I don’t use those images in post-processing.
Differential: The differential is the distance between each bracketed image and more complicated to calculate. I tend to use a small differential of 1-2 with my macro lens and extension tubes. With more practice you will see different results and learn to adjust according to your subject.
With focus bracketing activated, press the shutter using a cable release. A cable release is crucial to avoid camera movement from pressing the shutter with a finger. The camera captures the images using Silent sequential high-speed shutter and they are viewable on my LCD screen at the same time. If I watch closely, I can see the focus move from the front to the back of the frame. It really is that easy! Now, it is all up to post-processing. My preference is using Helicon Focus, but PhotoShop and other software can stack images as well.
View my camera setup in the video to the left. Notice the camera is upside down on the tripod to achieve the lowest perspective.
Tips
If you create more than one stack, you will want to capture
a random photo in between each stack. For example, I take a photo of my hand in
between each stack. Then when I download, I know where each stack starts and
stops.
To learn more about macro photography, check out our book, The Art of Macro Photography. Also available on Amazon.
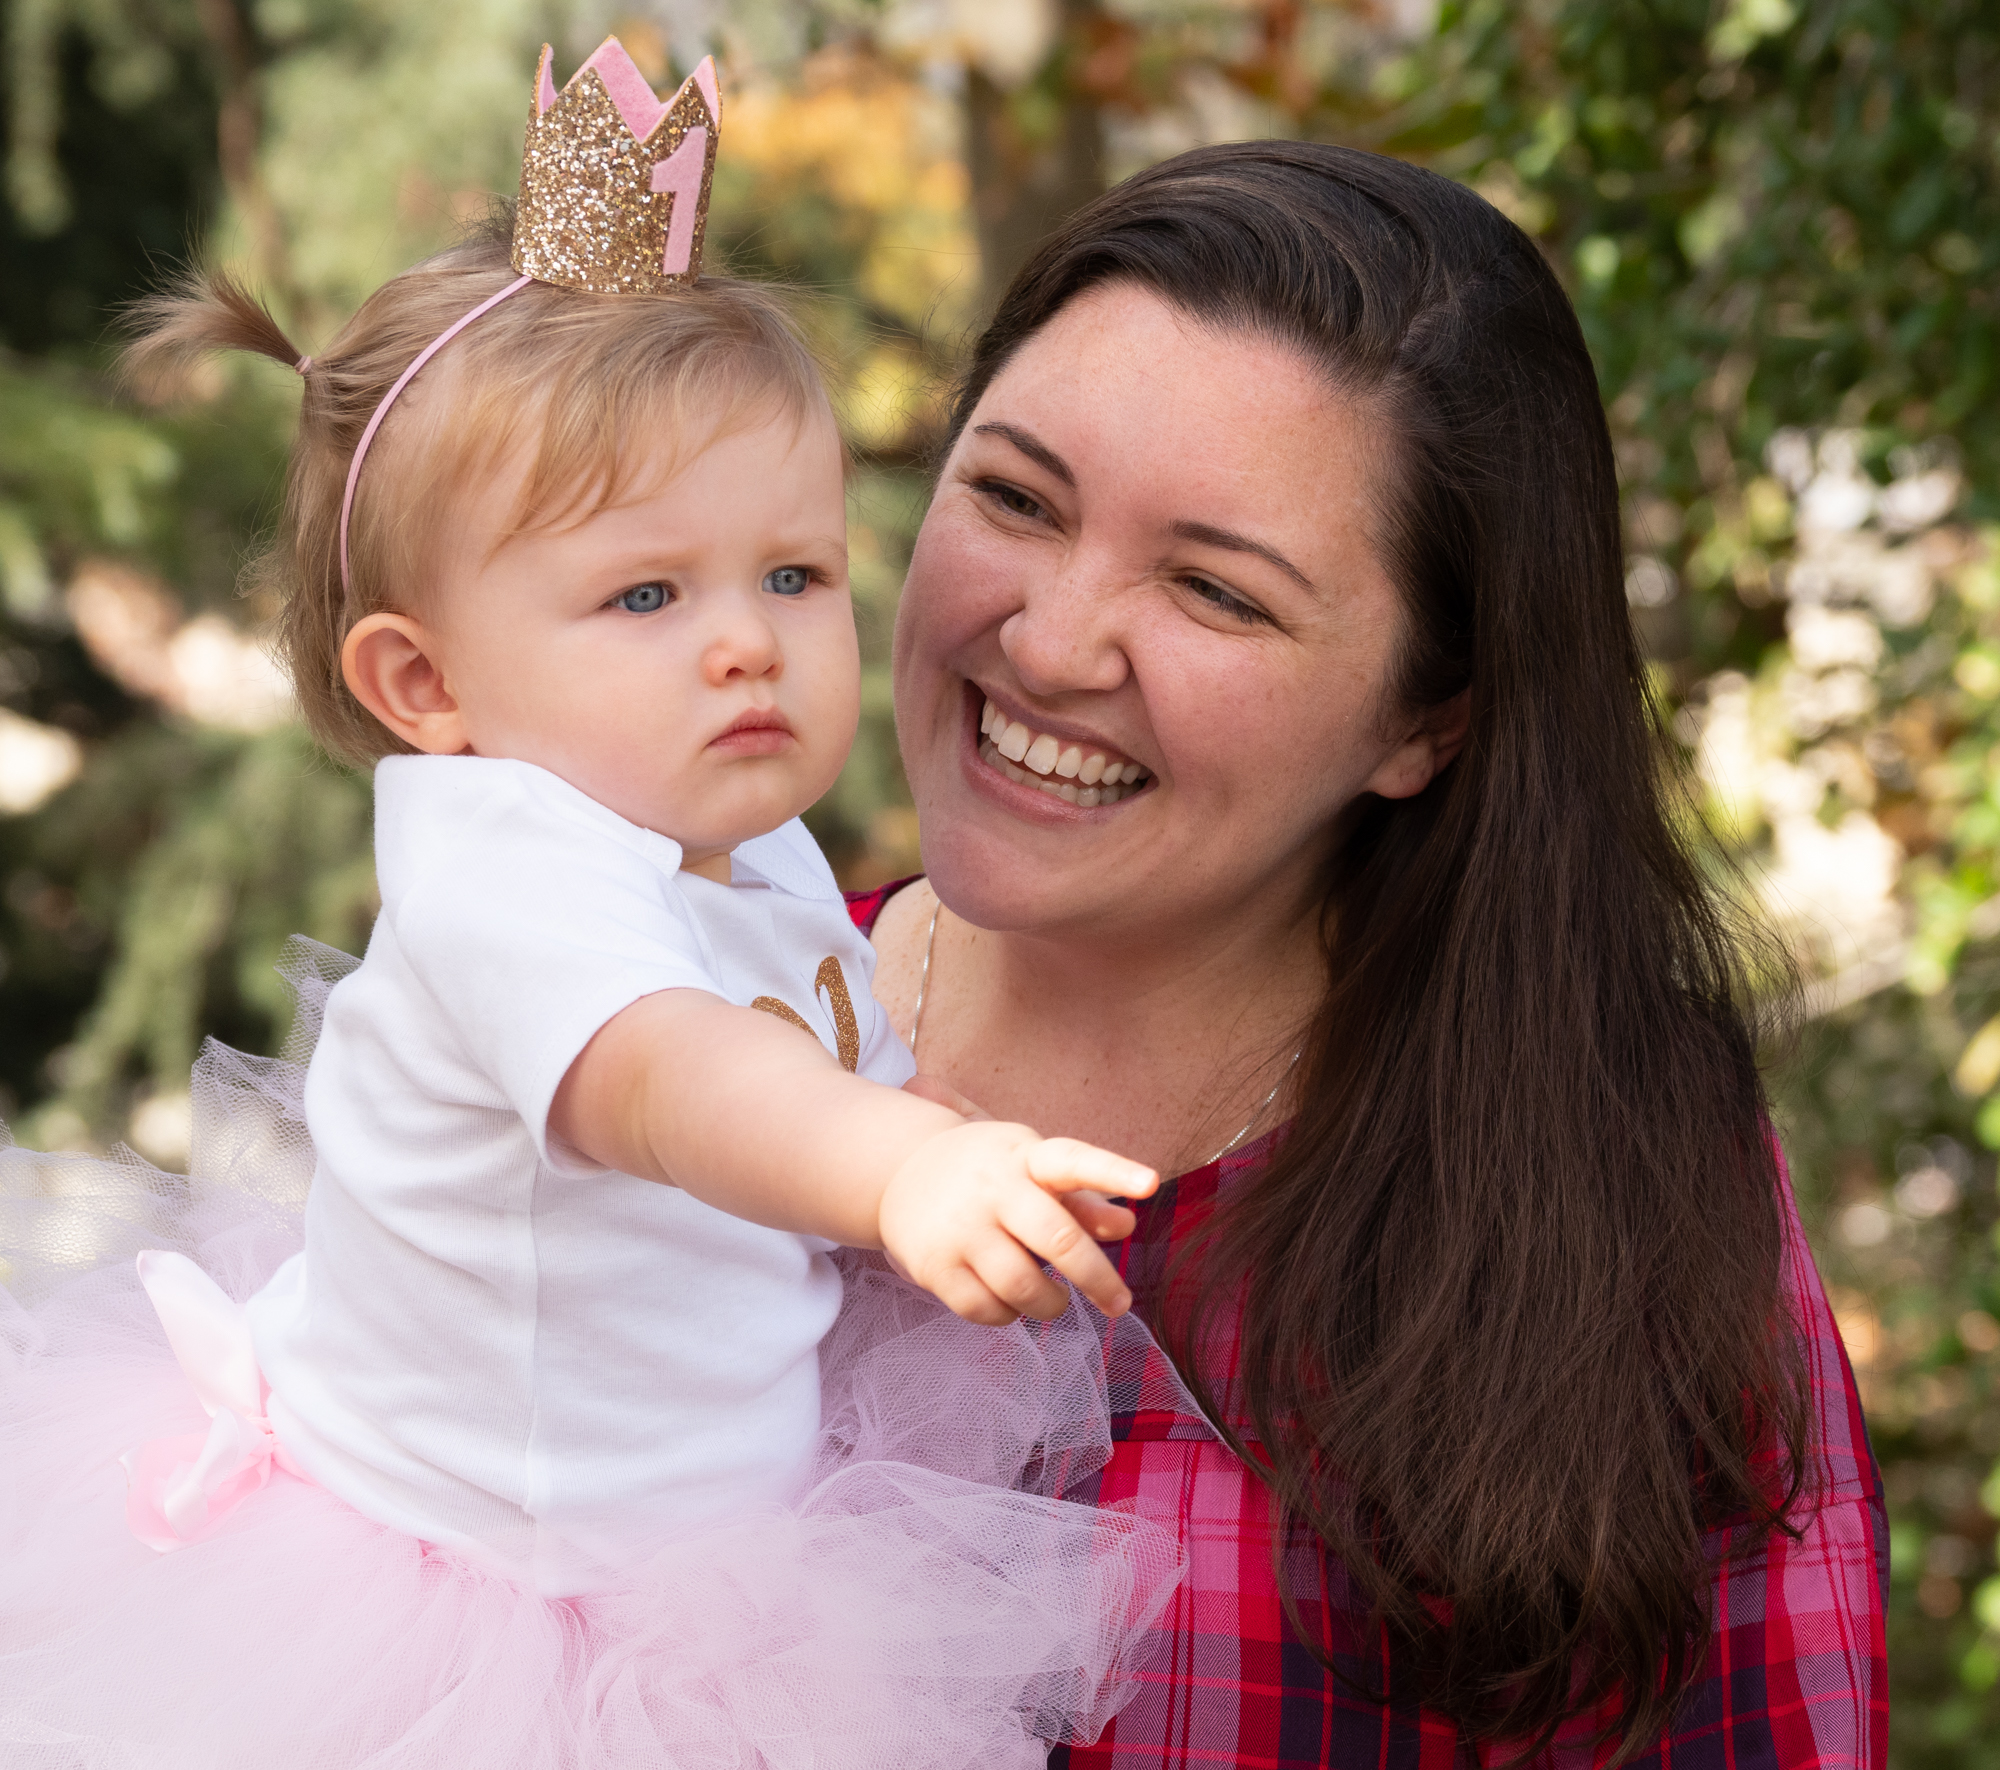
Jessica and Emma. Olympus OMD1 Mark II, 12-100mm, f/5.6, 1/320, 400 ISO.
Over Thanksgiving weekend, my husband and I drove to Los Angeles for a few days to celebrate our one-year-old granddaughters’ birthday and to sit by the beach. At the birthday party, I brought my camera and Jessica, my stepdaughter was pleased. The person designated to bring something other than an iPhone forgot so I became the photographer. Not only was I pleased to take on the task, I was given the honor to be front and center in every activity! I captured candid photos, details of the cupcakes, and a few family portraits. It was a great opportunity to give them memories from the day.
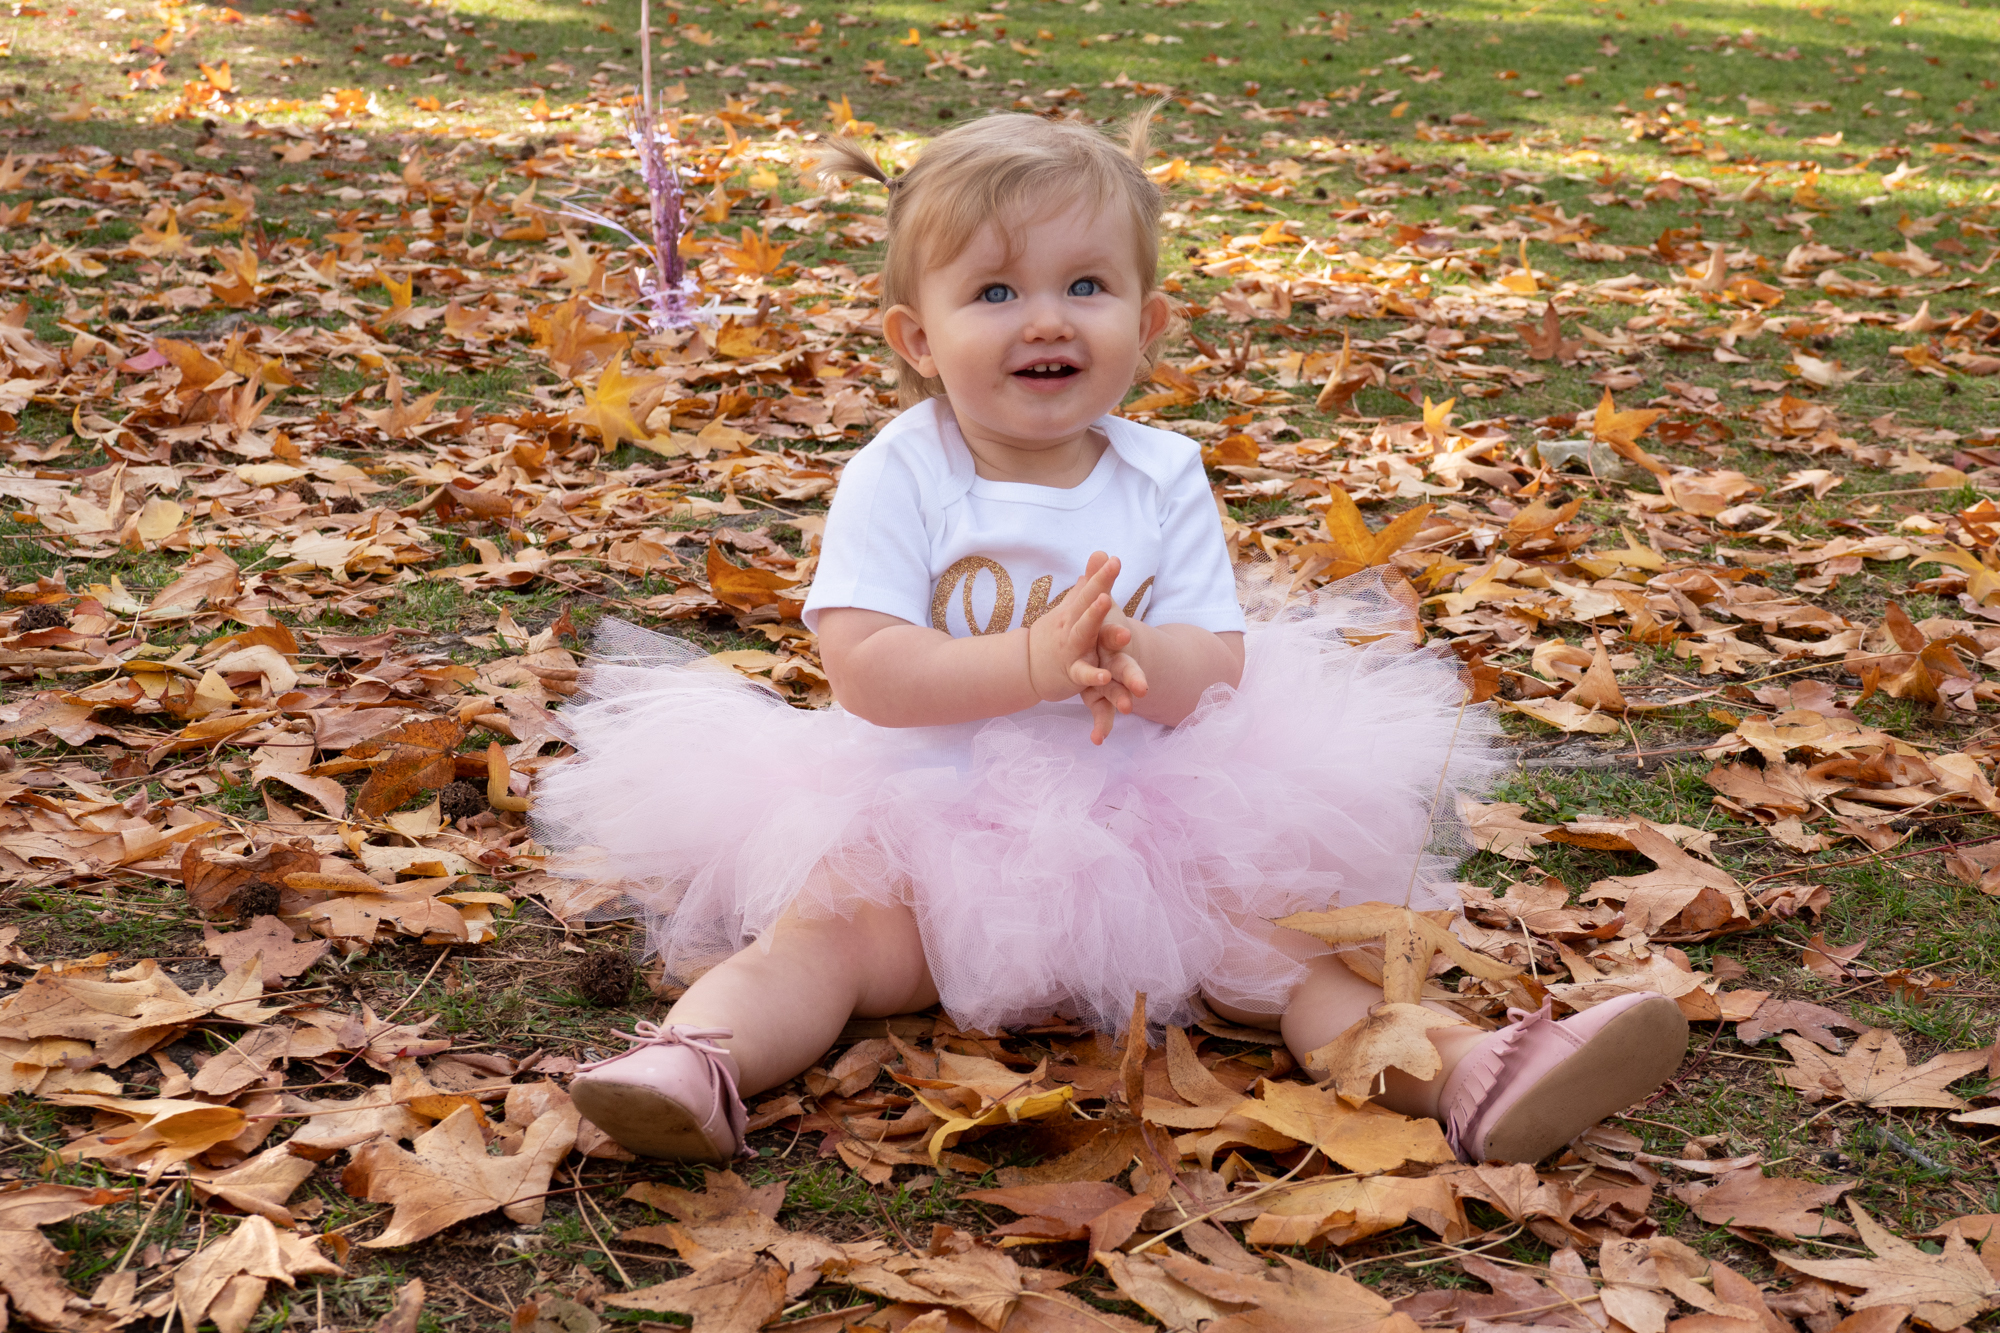
Emma’s 1st Birthday! Olympus OMD1 Mark II, 12-100mm, f/5.6, 1/320, 400 ISO.
One-year-old Emma doesn’t sit still for long so I had to be quick! Using aperture priority at f/5.6 and my 12-100mm Olympus lens, I was mobile and could zoom in and out as needed. Once the party was over, I took a few minutes to download a few of my favorite photos from my camera to my phone. Then, I airdropped them to Jessica before we left the party! When I returned home from the trip, I took a closer look at all of the photos and sent them about 40 images through Dropbox. That was the best gift giving ever.
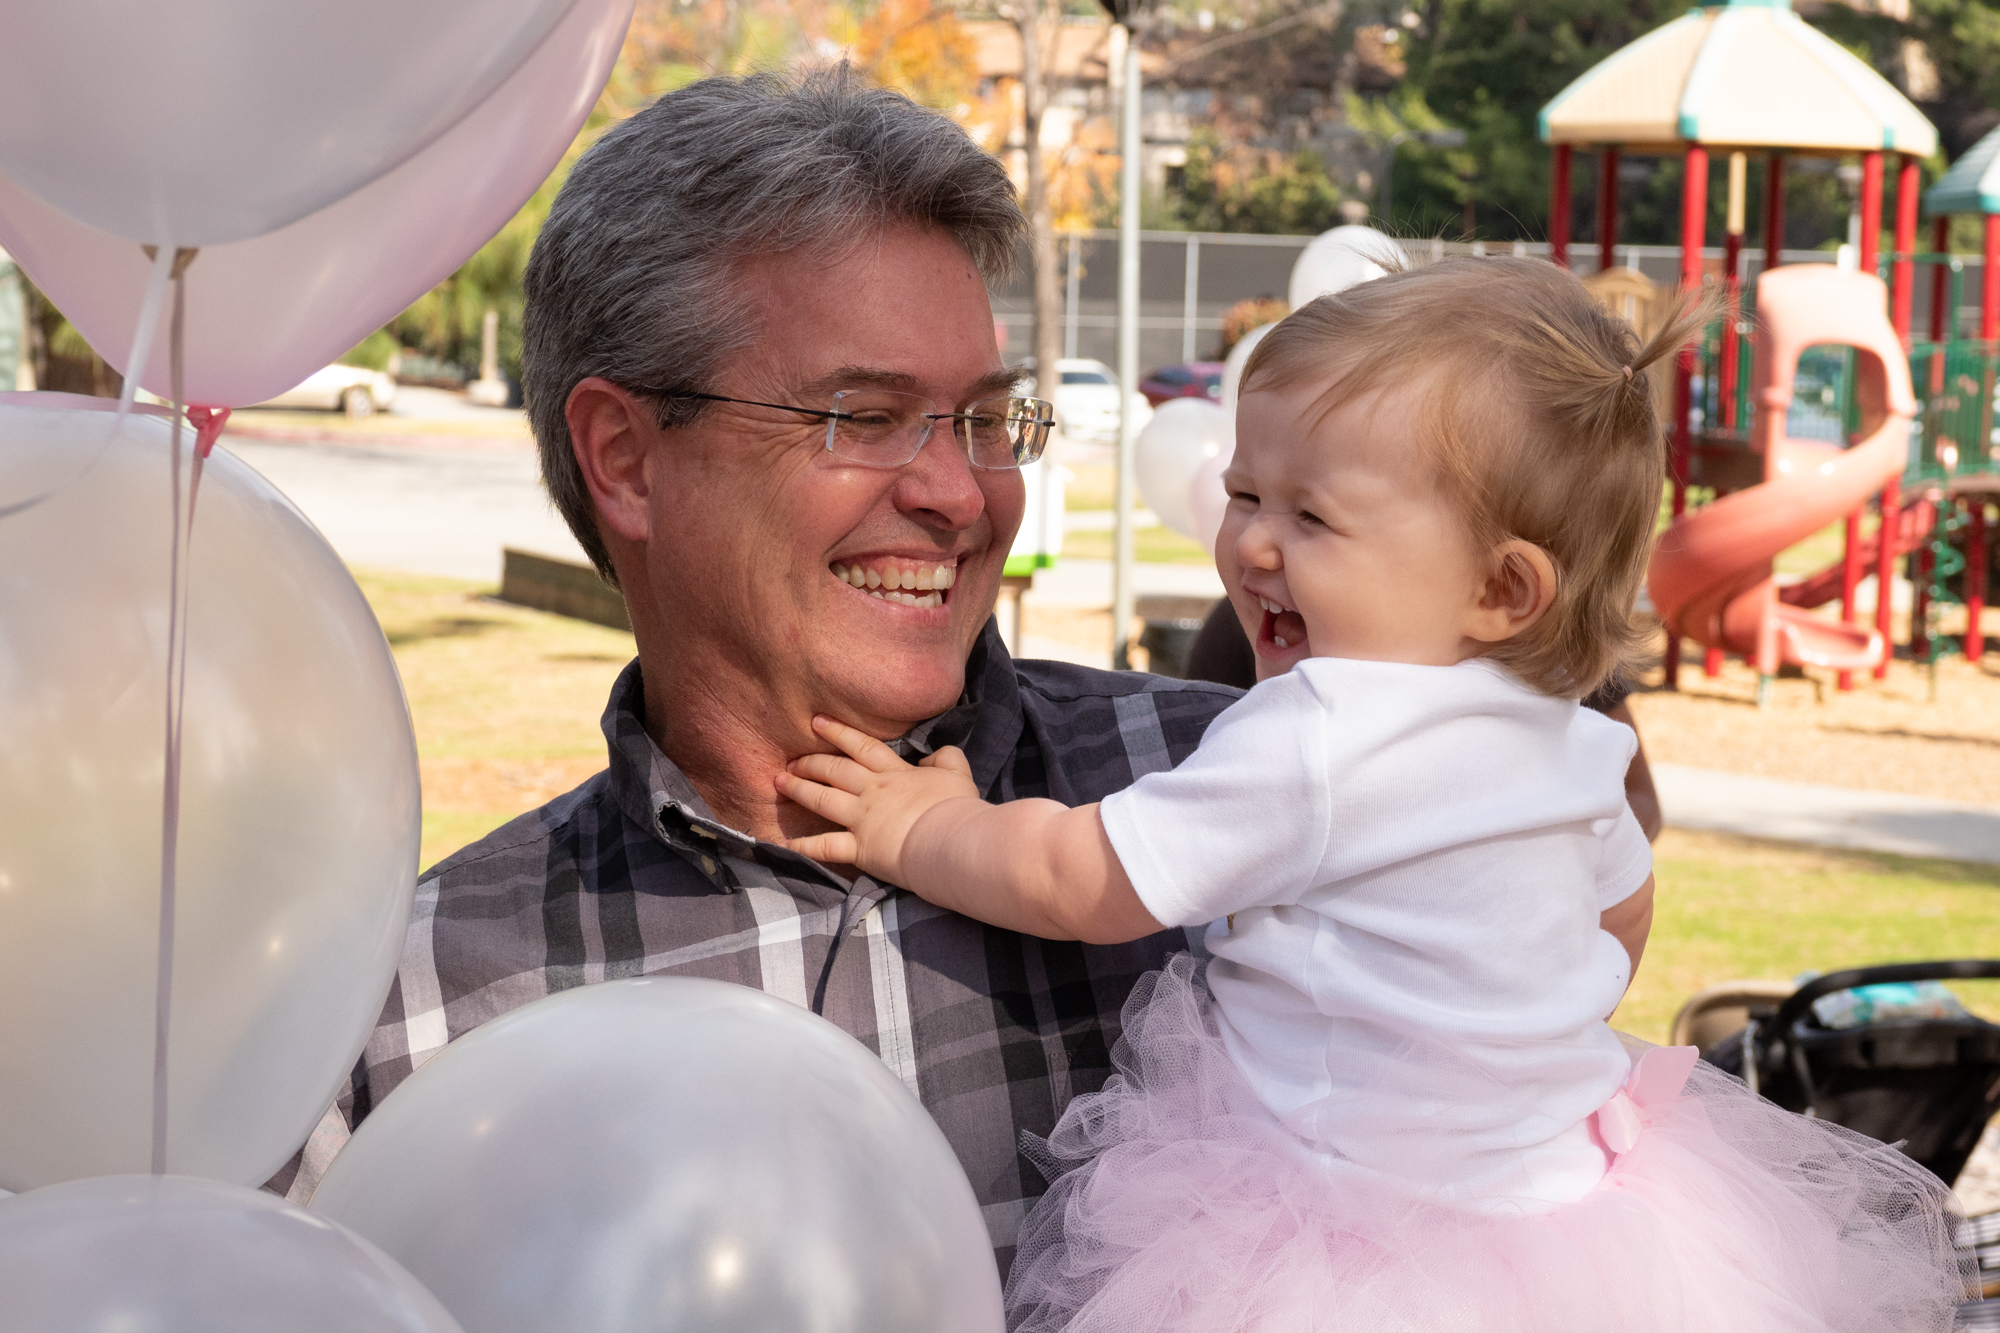
Emma and Grandpa. Olympus OMD1 Mark II, 12-100mm, f/5.6, 1/320, 400 ISO.
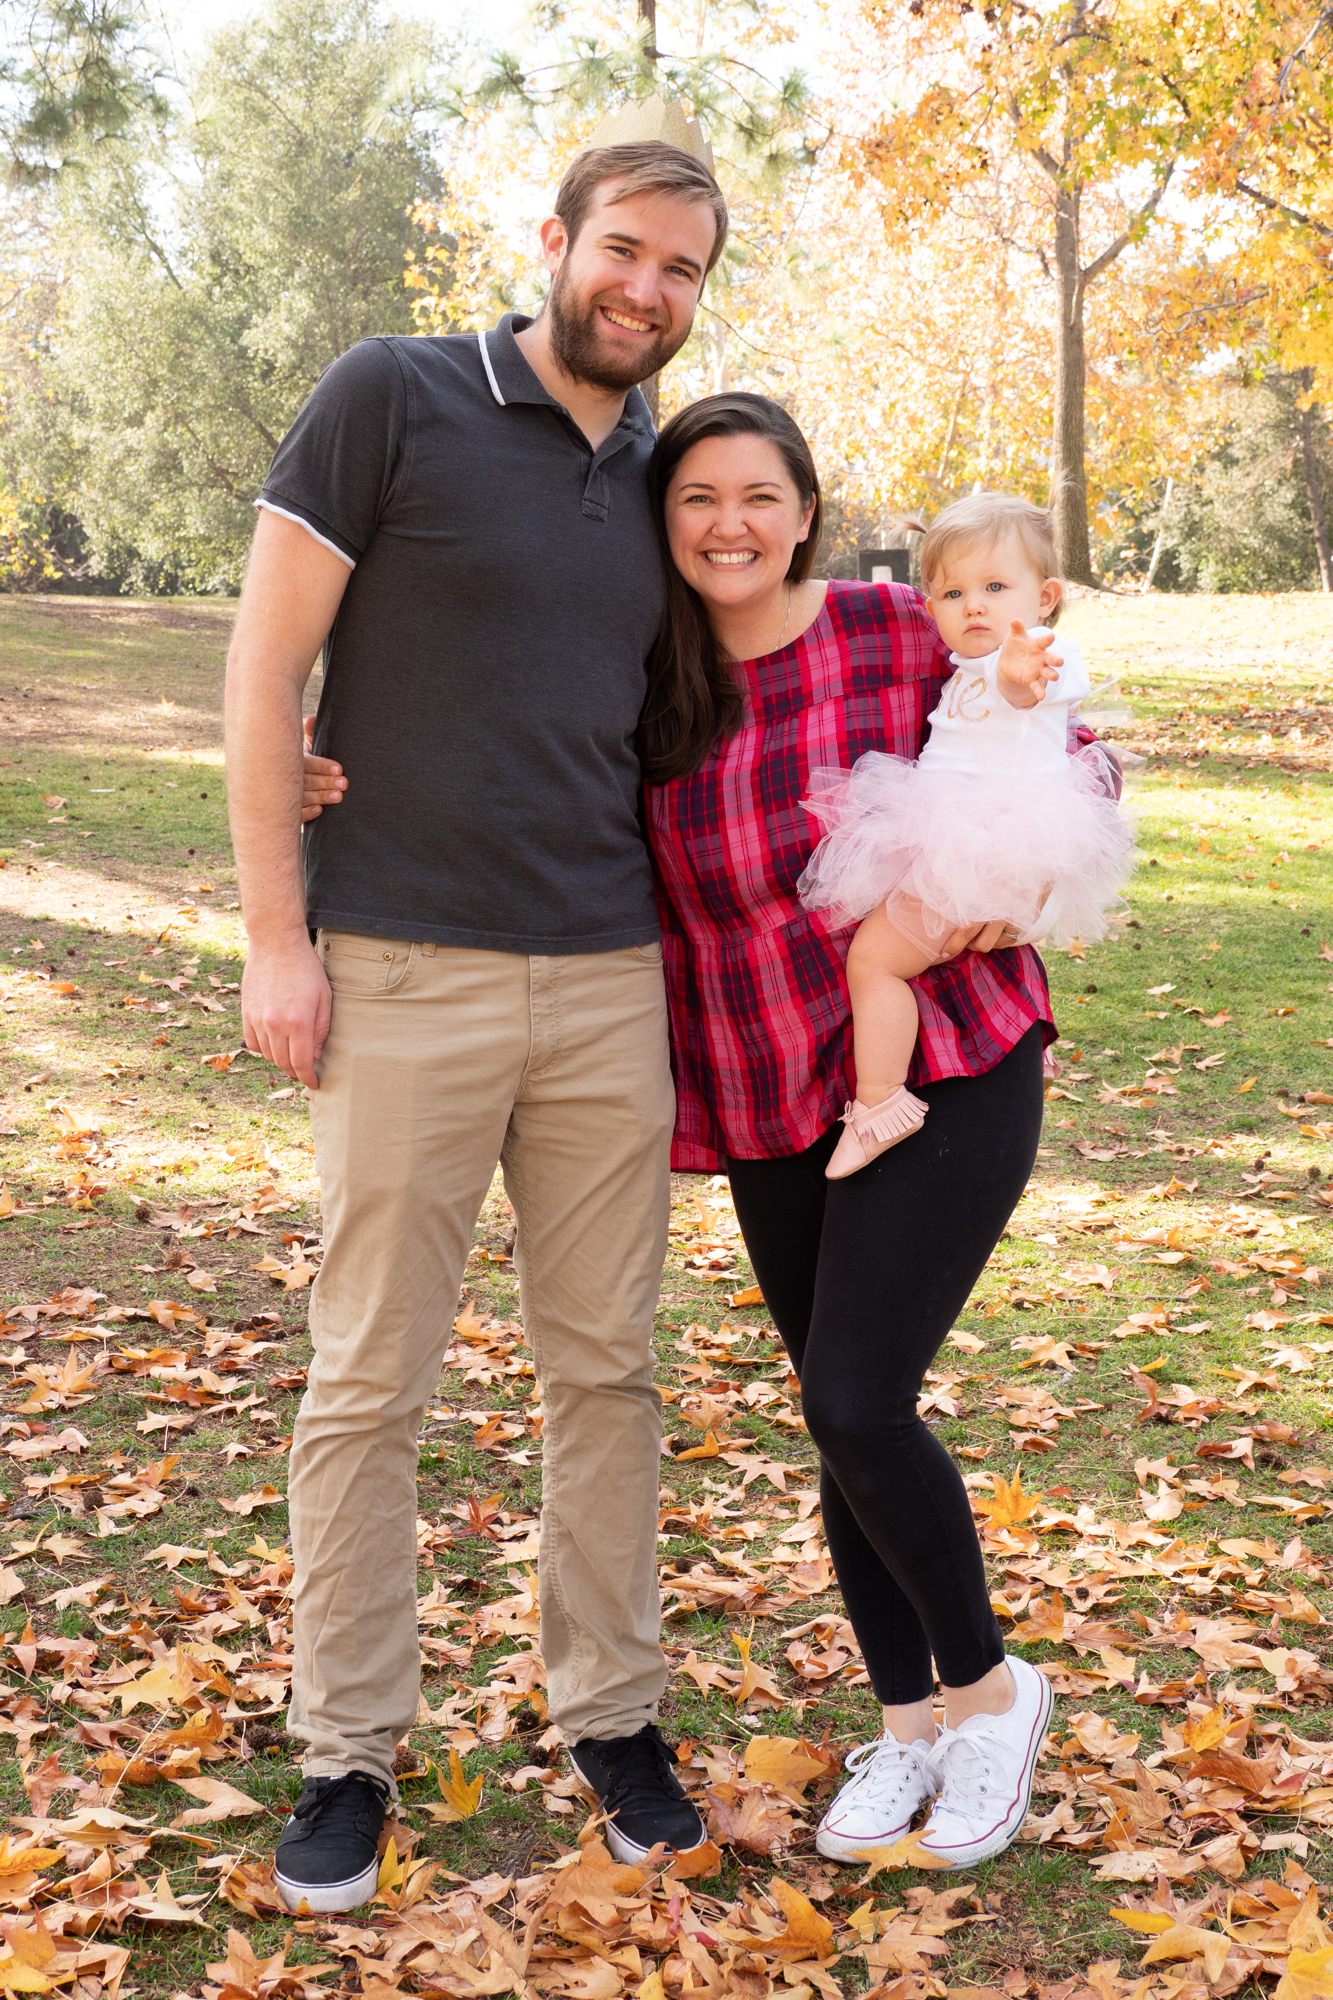
Family Photo. Olympus OMD1 Mark II, 12-100mm, f/5.6, 1/320, 400 ISO.
Cupcakes! Olympus OMD1 Mark II, 12-100mm, f/5.6, 1/320, 400 ISO.