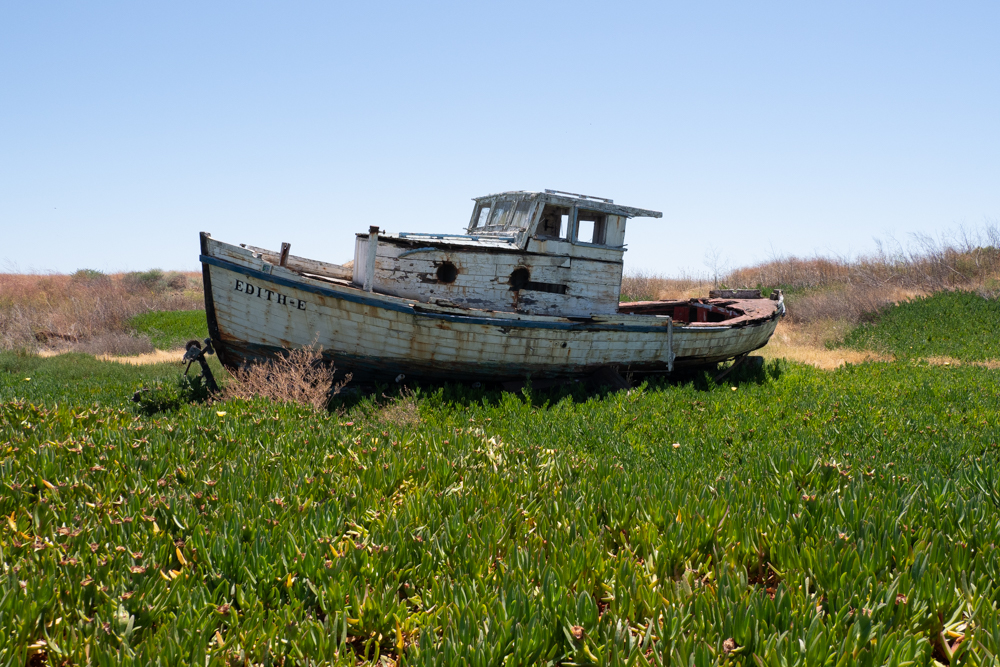
Edith-E. OMDIMII, ISO 400, f/5.6, 1/1250
After leaving the San Jose area and visiting with family, I drove over the Golden Gate Bridge heading for Bodega Bay. Outside Petaluma, there is a boat on dry land that has seen better days. We stopped by it last year, so I made this my lunch spot. The Edith-E is not any more seaworthy.
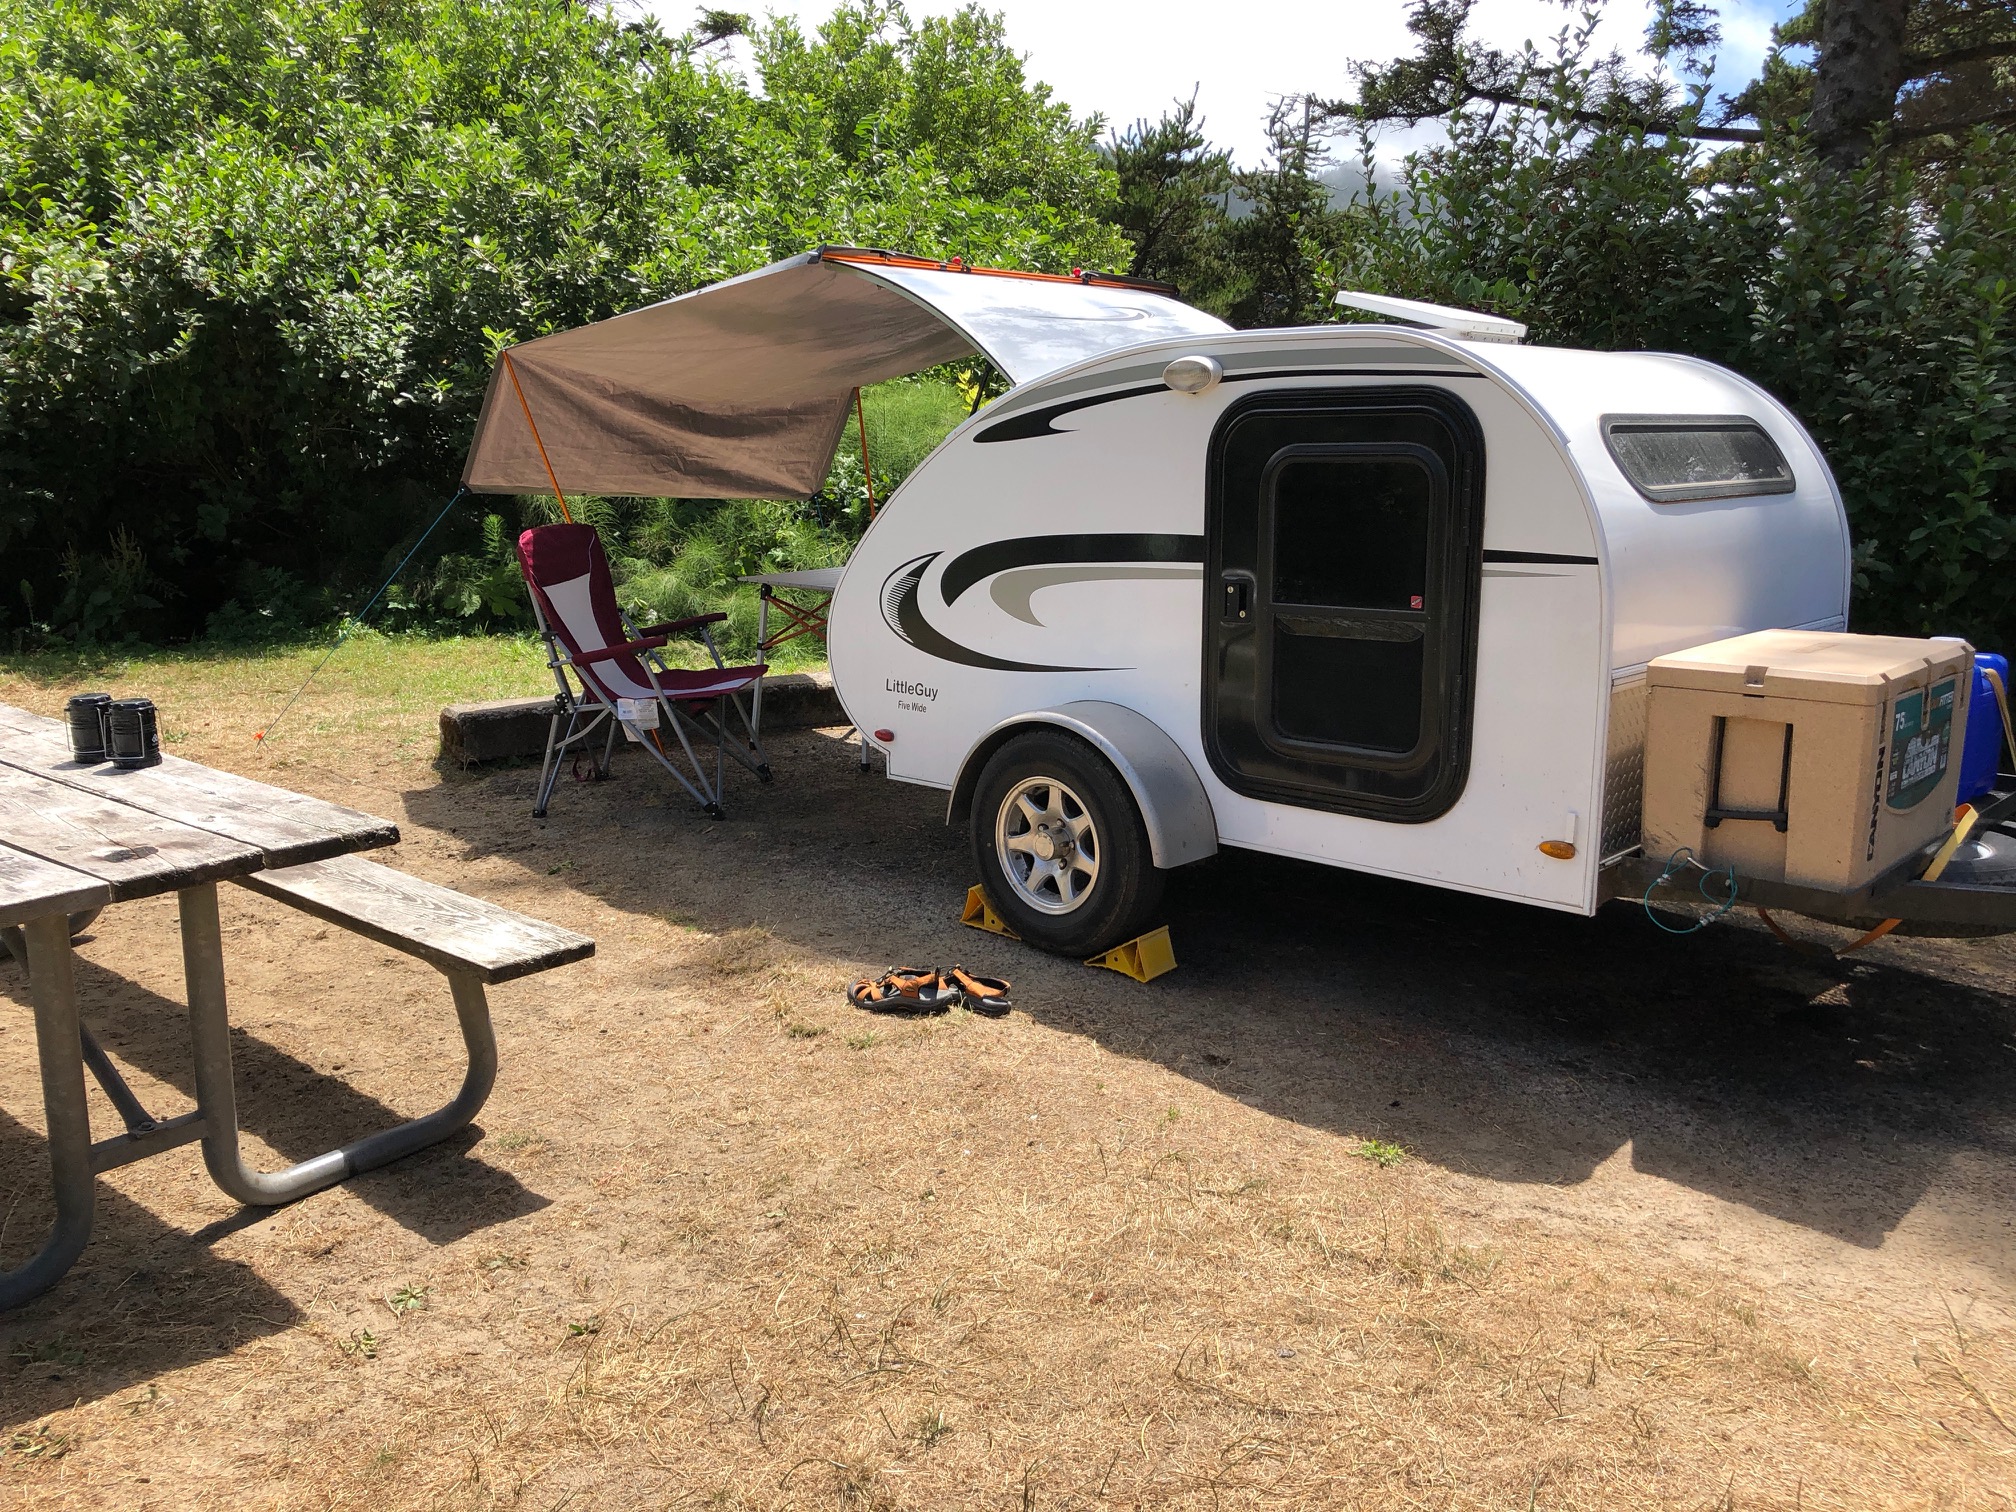
When I was young, my parents drove up Highway 1 and I remembered them talking about Bodega Bay. Those memories placed Bodega Bay on my map. Although we have traveled up to the Redwoods several times in my 26 married years, we haven’t driven this stretch of Highway 1. My campground was in Sonoma Coast State Park – Bodega Dunes. Most of the camp spots were individual alcoves. Very cozy. Except for what I am confident are ticks. I found one walking on my arm and it didn’t live another day. Backing in at this campground was successful. I think the practice with my Uncle Ron in the San Jose area did the trick, I’m ready to do it again – tomorrow.
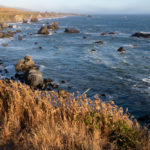
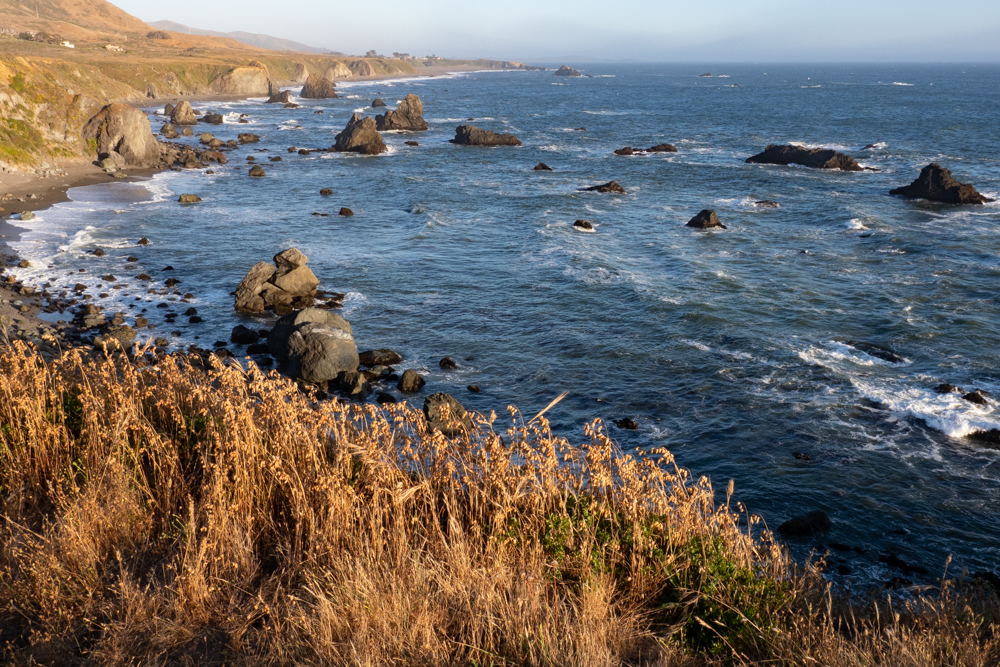
View from Kortum Trail. OMDIMII, 12-100mm, ISO 400, f/16, 1/60
I arrived early afternoon, so as I often do in new towns, I went to the tourist center. This lovely woman has lived here most of her life and was more than willing to highlight “must see” areas on a map for me. The Sonoma Coast State Park includes 16 beaches, some which are only accessible at low tide plus many hiking trails and vistas. I headed out quickly, hiking a few miles along the Kortum trail scouting for a good sunset location. This time of year, it is common for fog/marine layer to settle in morning and night, so I tend to look at shooting early
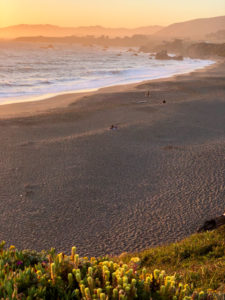
Sunset captured with iPhone
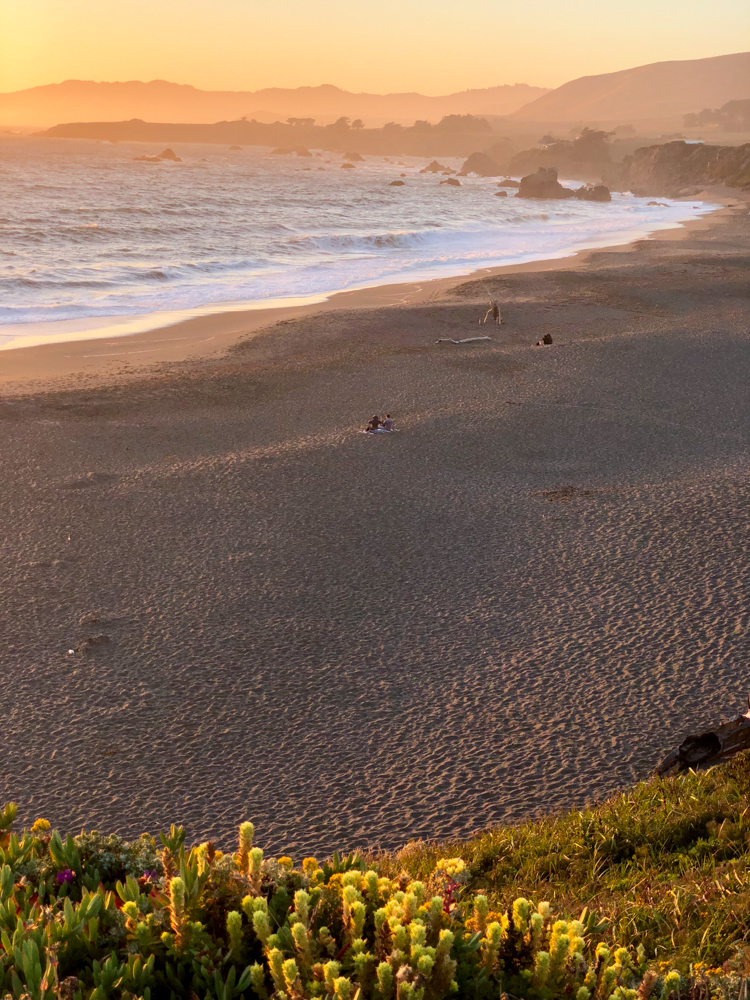
evening light as much as sunset. With the sun setting at 8:30pm, I found my spot at 7pm. When the sun finally set, I went to a different pullout to watch. Of course, when the light was spectacular, I pulled out my iPhone for a quick snap. Sometimes, I get so engrossed in capturing the image I forget to enjoy the moment. So, I enjoyed. When I got back to camp, I made a campfire and relaxed.
Shell Beach
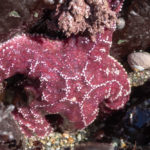
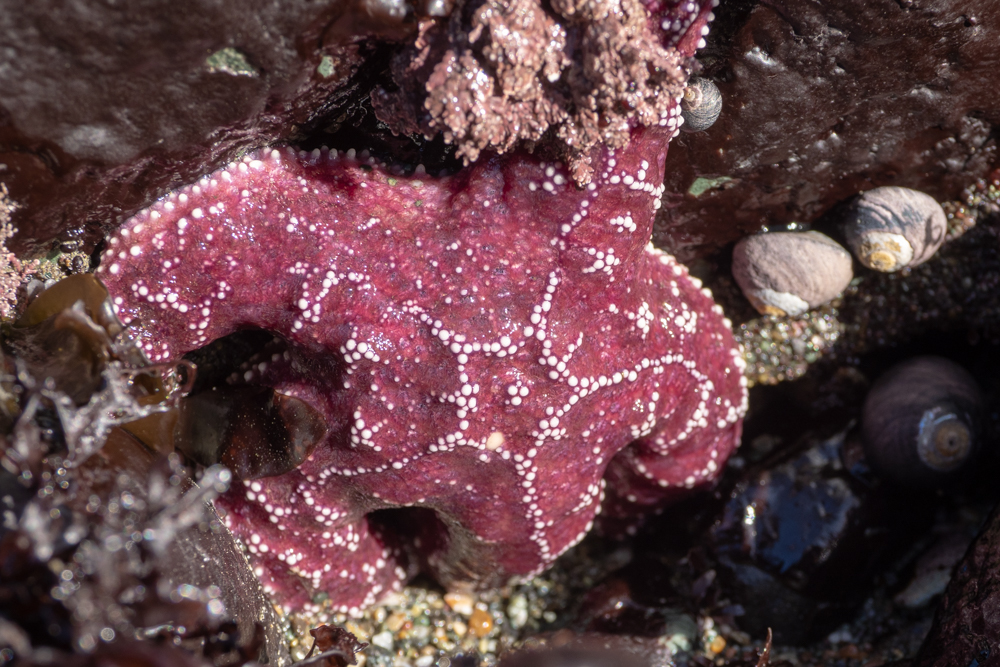
Starfish worth falling for! OMDIMII, ISO 200, f/5.6, 1/125, 12-100mm
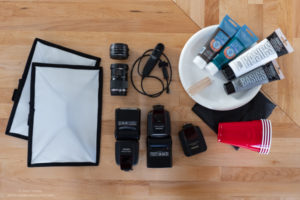
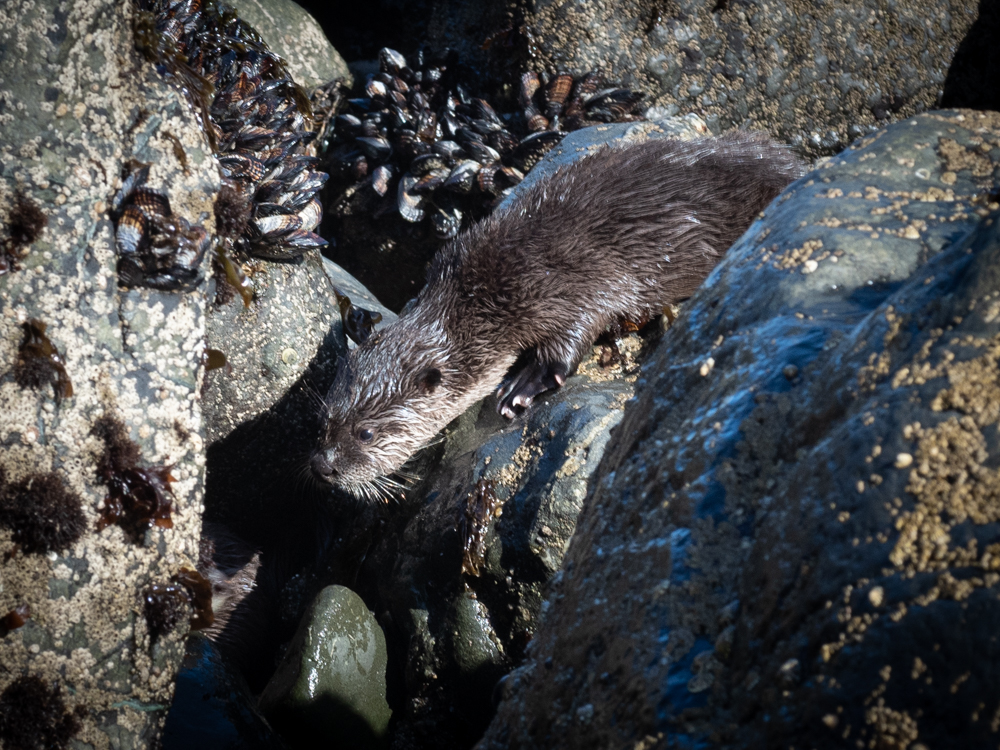
Low tide was at 7:30am at Shell Beach, a wonderful location with a short steep hike to the shoreline. My camera gear included two camera bodies (Olympus OMD1MII and OMD5MII) with my 12-100mm and 60mm macro lenses. I did have more lenses in my pack, but these are my “heavy lifters.” This time, I even took a black matboard with me in case the tide pools were too reflective. The board would be used to shade the pool. As soon as I stepped on the beach I saw a handful of people searching tidepools and heard one say, “There’s a starfish.” I got so excited, I almost ran over there. This was a negative low tide, so more slimy rocks were exposed than normal, so I am sure you are not surprised when I slipped and fell on my back like an upside down turtle. The only damage was to my pride. For the next 2 hours, I photographed starfish. At one point, I saw movement in the rocks, furry movement. It was a momma sea otter and 3 of her young. They were avoiding me, but I got one shot off without moving closer to worry them.
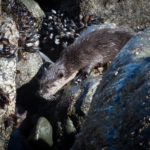
Sea Otter. OMD5MII, 60mm macro, ISO 400, f/7.1, 1/80 sec
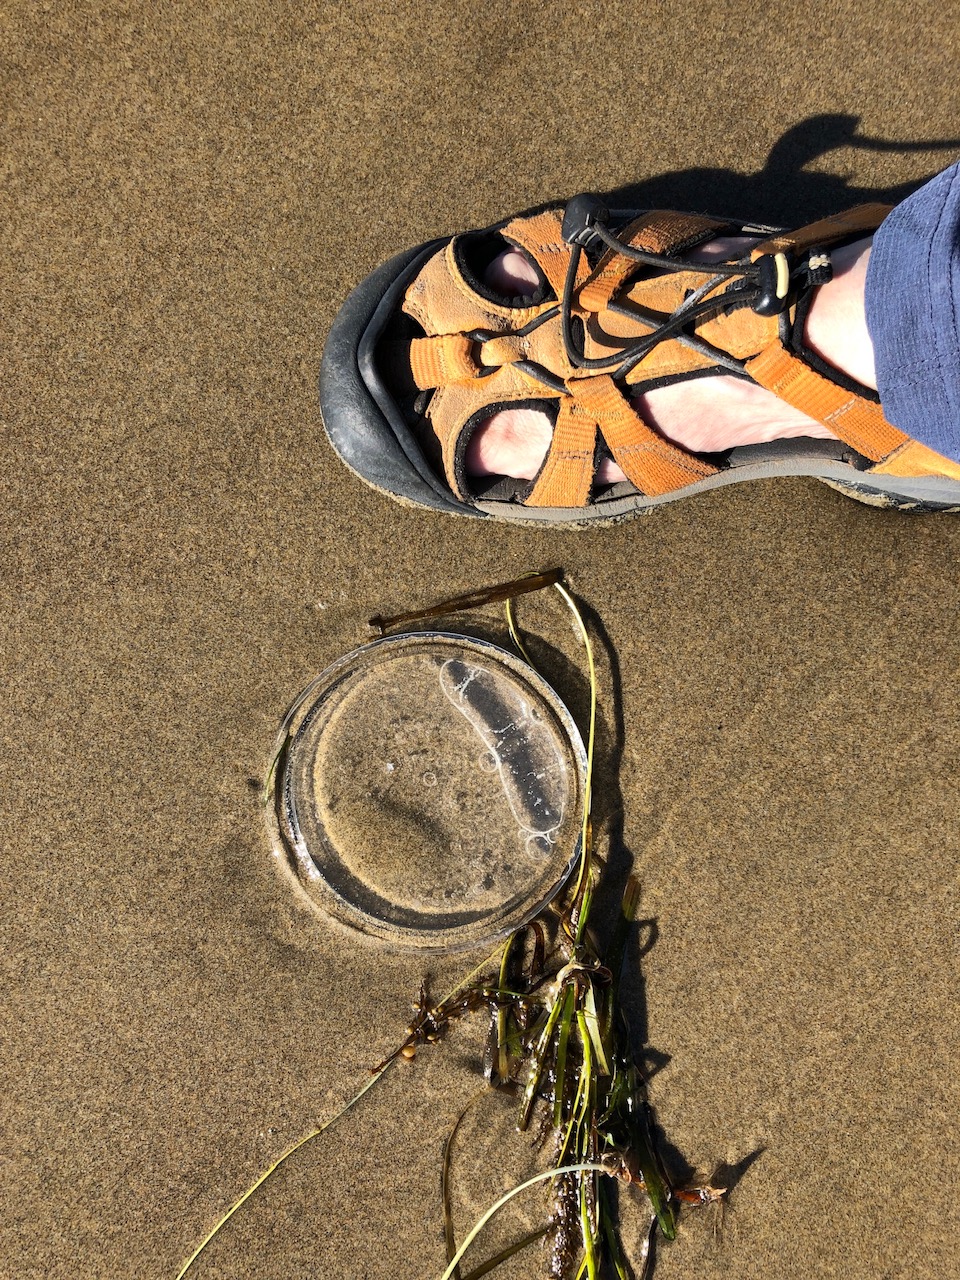
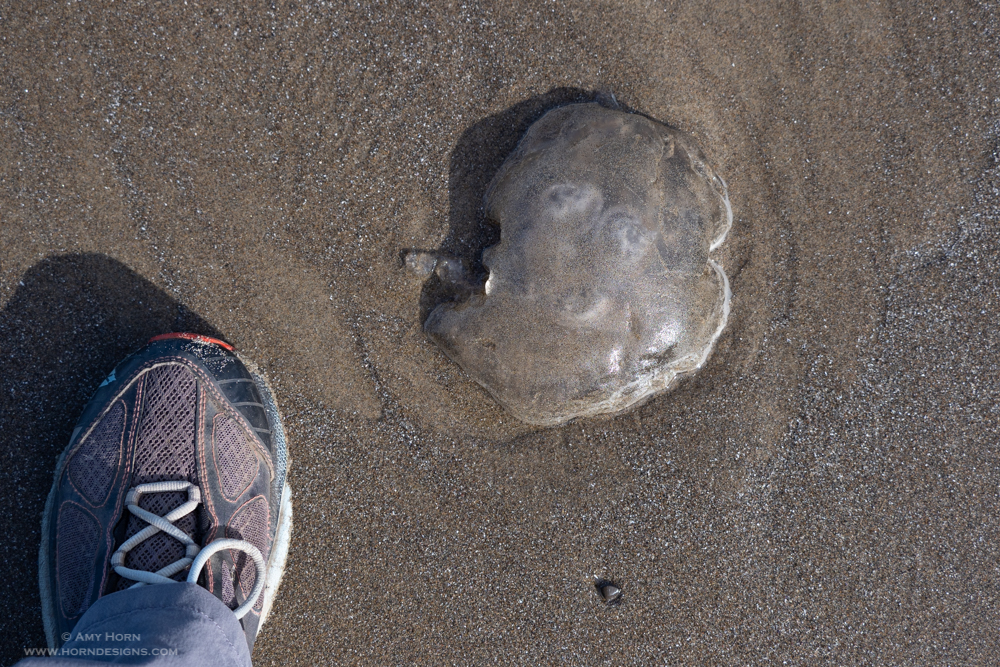
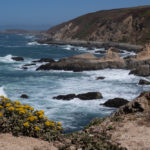
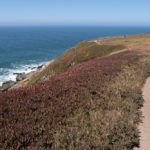
After Shell Beach, I took a short drive to Bodega Head. Again, many great trails to hike with stunning views and grabbed fresh halibut tacos from a local restaurant. They were good. The highlight of my day was walking to the beach from my campground. I saw on the map there were several beach access spots, so I went for a look. After hiking .3 miles on a deep sandy trail, seeing a road surprised me. I thought the trail would lead me to the beach. So, I walked the road. There were very few cars and only one other pedestrian on this road. I did confirm that I was heading in the right way to the beach though. Little did I know it would be another .7 miles walking the road before I would arrive at the beach! If I had known that, I might have driven. The beach was worth it and I walked awhile and got my feet wet. All in all, a great day with many hikes and a little down time too. Next blog will be from Oregon.
-
-
Bodega Head. OMD1MII, ISO 400, f/10 @ 1/1250
-
-
Bodega Head Trails. OMDIMII, ISO 400, f/5.6, 1/1600
-

-
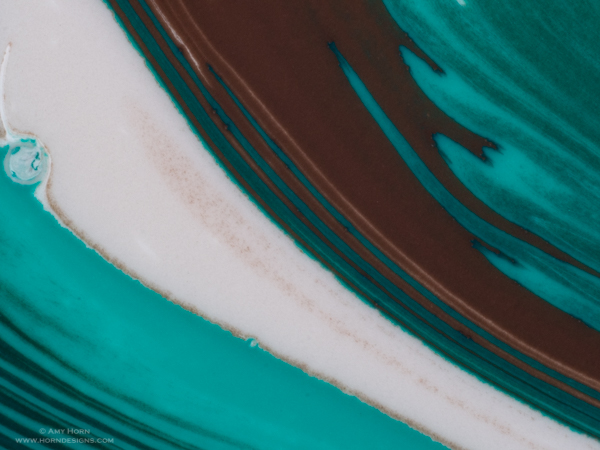
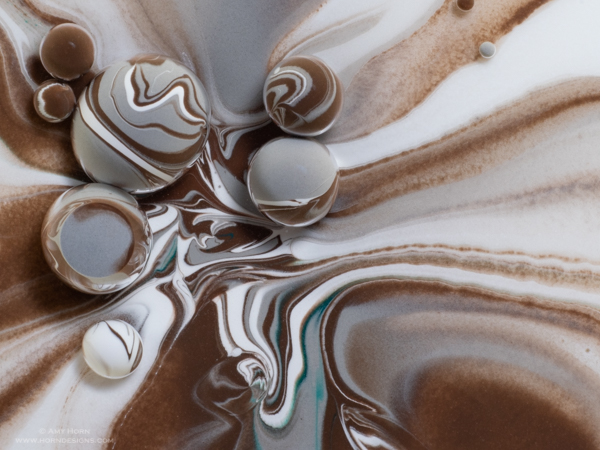
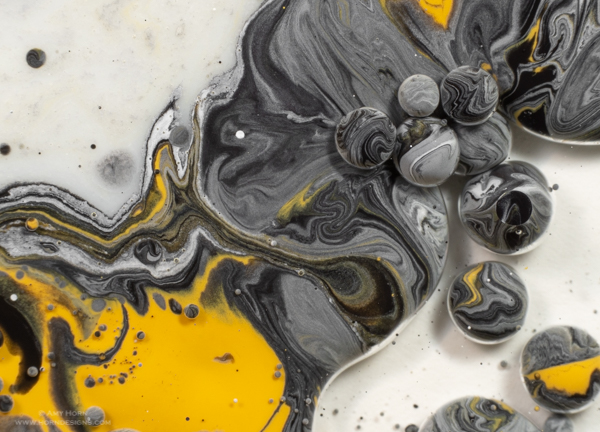
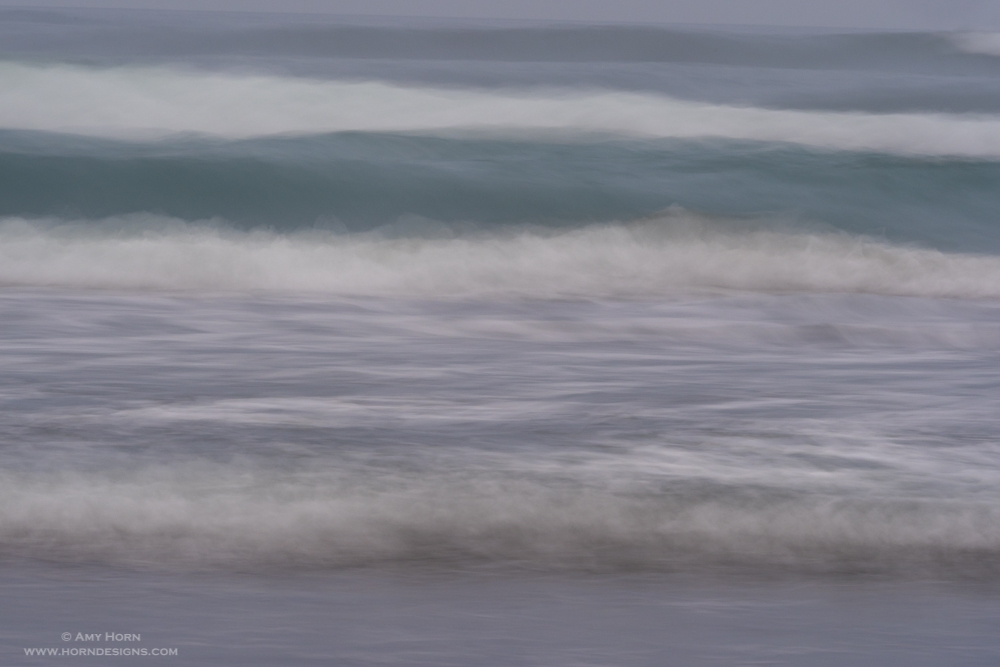
Water Abstract. OMDIMII, 12-100mm, ISO 400, f/7.1, 1/1600