Before talking about how to keyword, I should discuss photography workflow which is the process a photographer uses for their images from capture to output. This includes culling, developing and posting images. Although there are many differences from photog to photog, there are also many similarities. Many photogs include keywording as part of their workflow, as do I. I am not always the best at it, so I have spent the last month applying more discipline to keywording.
Why keyword?
When images have a keyword attached it becomes searchable. Imagine searching your images by your child’s name, a color, location, or specific lighting situation. If you take the time to add keywords, it is that easy. I use Lightroom to catalog my images, so to search for a macro image, I type “macro” into the search box and tada, all my macro photos appear. That is, if I added the keyword to each image. If you have not been keywording, don’t fret, just start now. Someday, you can go back and tackle past images but for now, start with today.
When to keyword?
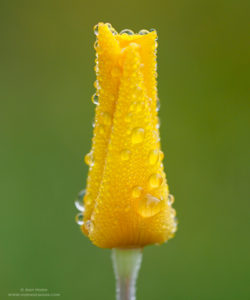
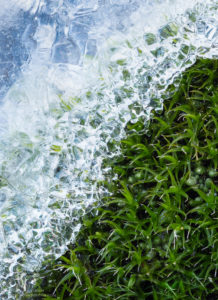
A better question is “when not to keyword”! Don’t wait to keyword! Adding keyworks when you download or very soon afterward helps you to remember the details of the shoot. For instance, I went to Boyce Thompson Arboretum in January after a rainstorm and captured a few hundred images (many were focus stacked). When I downloaded, I immediately added keywords that applied to all images such as: Arizona, Boyce Thompson Arboretum, desert, raindrops, cloudy, etc. Then after culling my photos and removing obvious images to delete, I added specific keywords such as: focus stacking, cactus, specific plant varieties, etc. To remember the plant varieties, I take a reference photo on my iPhone of my setup with the plant label so I can add the keyword later.
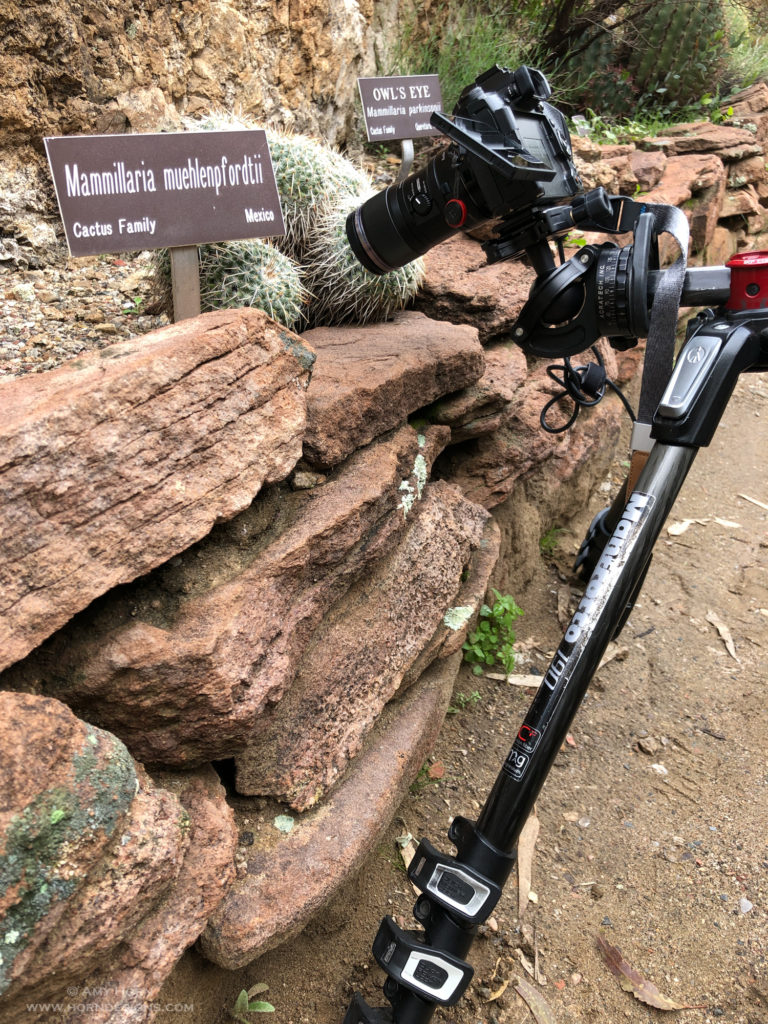
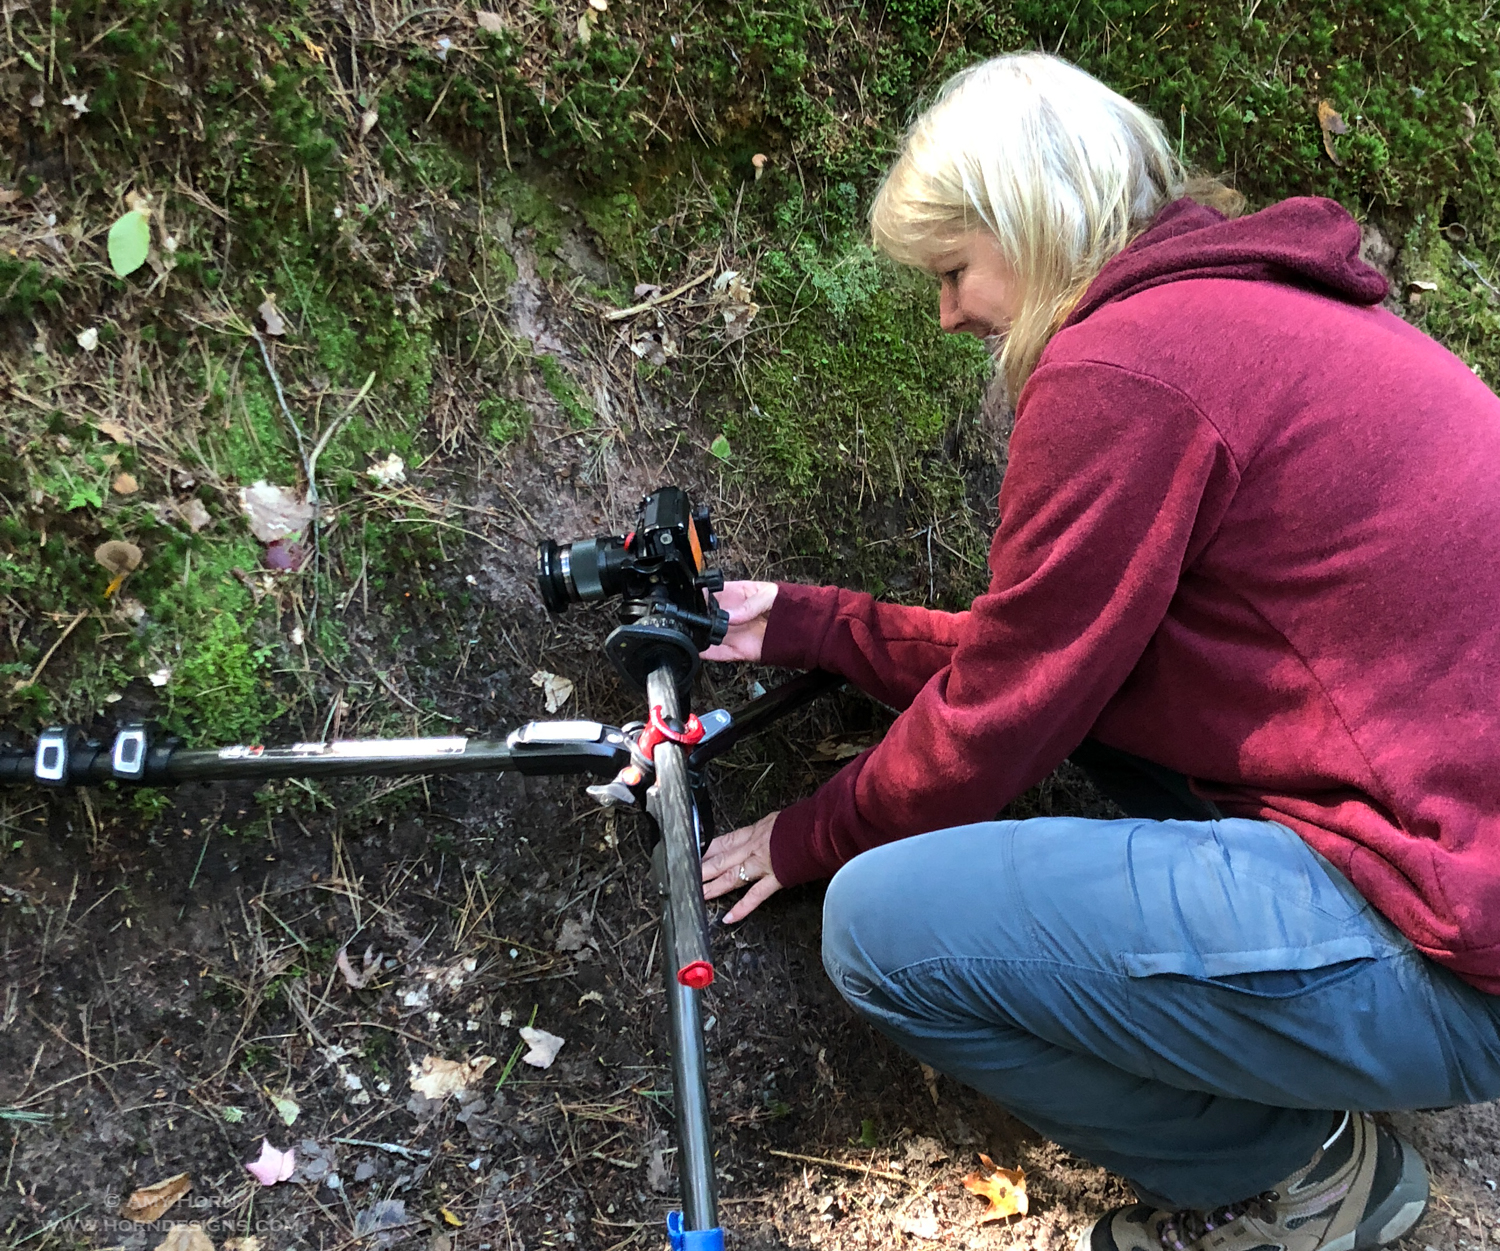
iPhone capture of my setup and the cactus label. 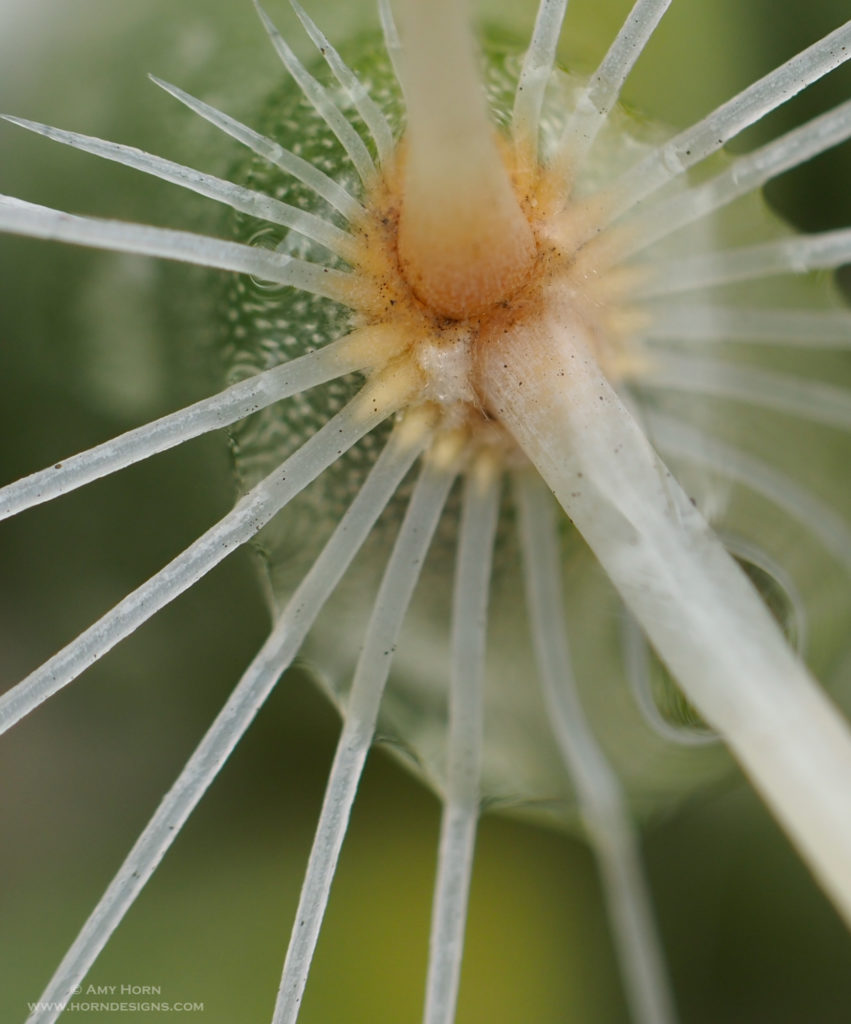
Olympus OM-D E-M1 Mark II, 60mm, 26mm extension, ISO 400, f/3.5, 1/50 sec., Olympus in-camera focus stacking.
How to keyword?
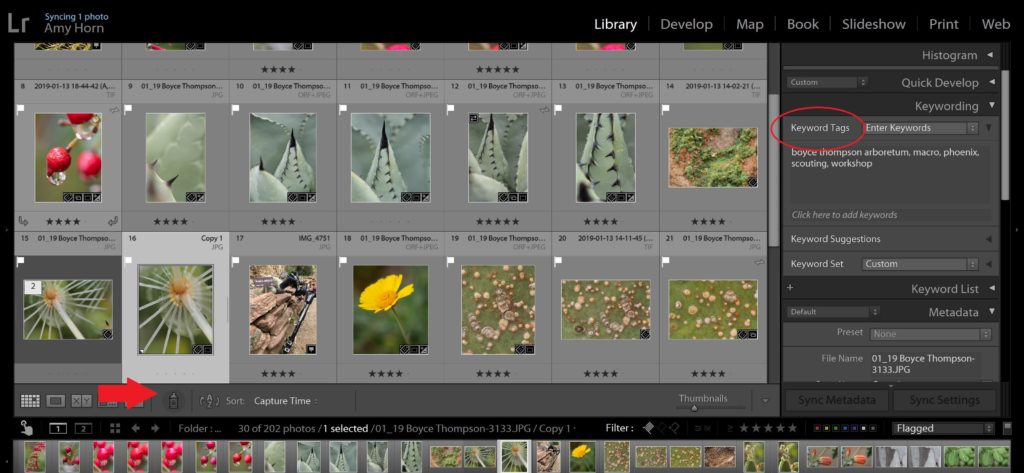
Adding keywords in Lightroom is very easy. Upon import, scroll down the righthand bar to the keyword tab and start adding words to describe your photos (separate with commas). Remember, these keywords will apply to all images being imported, so start generic first. Then, to add additional keywords once the images are imported, switch to grid view (G) and locate the spray can on the tool bar at the bottom of the page. Once the spray can is selected a text box becomes available to add keywords. Add several keywords with commas in between and “spray” them on to the respective photos. Change the keywords as needed and respray. When you are done, tap the spray can back to its spot and you are finished.
It really is that easy. The hardest part is taking the extra few seconds/minutes to add the keywords. But for searching after the fact it is a blessing in my opinion.