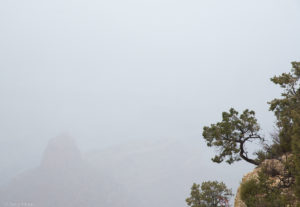
The Grand Canyon is one of the most majestic places on earth, but what do you photograph if fog and rain envelopes the canyon and all that is visible is a big, white cloud? On a recent visit to the Grand Canyon, I struggled with this challenge. No vibrant colors, no depth of field, just white fog. While standing at the south rim, I wondered how long I would have to wait for the fog and rain to clear. The storm was at its beginning stages, so it could have been hours or days before the canyon would be visible again under these weather conditions.
Cheops Pyramid
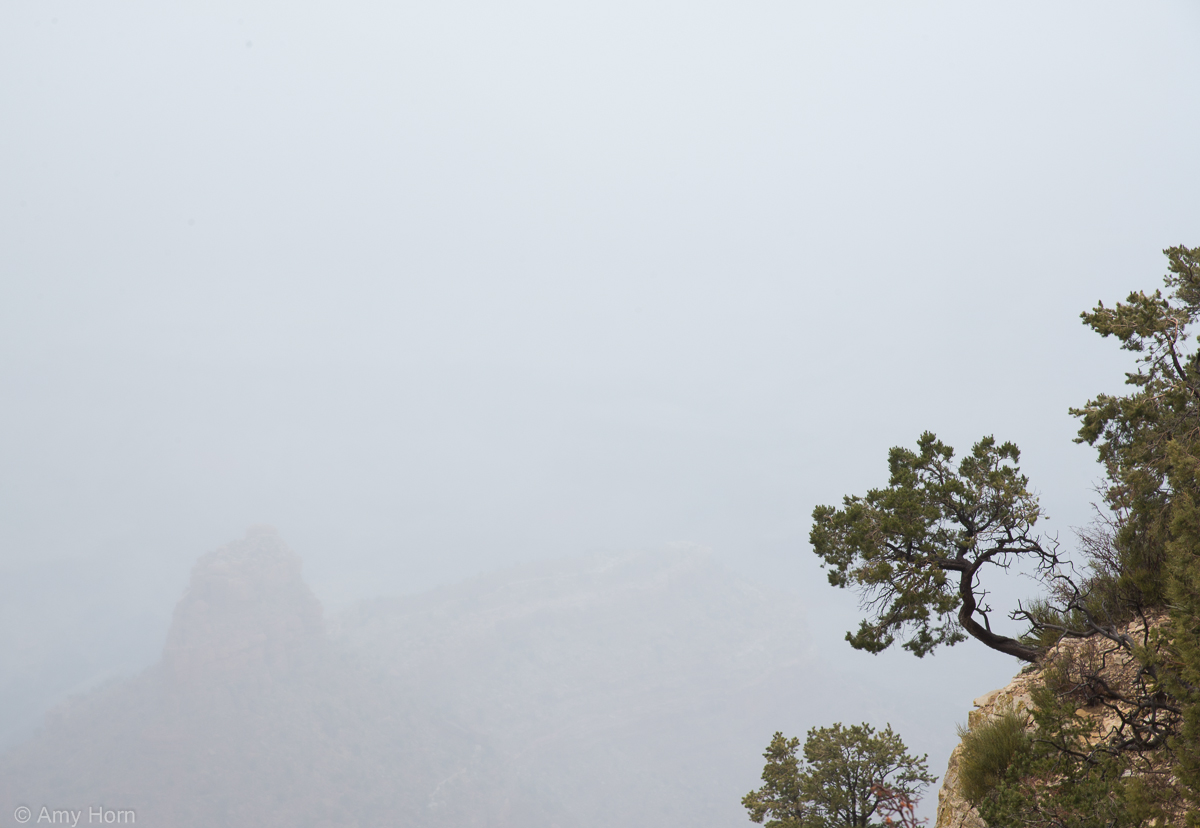
I noticed that the gray skies and soft drizzle created strong saturated colors in the foreground foliage, so I framed a shot with a tree precariously hanging from the rim in the foreground. I hoped the obstructed view of the Cheops Pyramid would be visible in the photo. Through the clouds the pyramid was faintly decipherable but not with enough clarity to be a strong composition, so I moved on.
Underexposed image
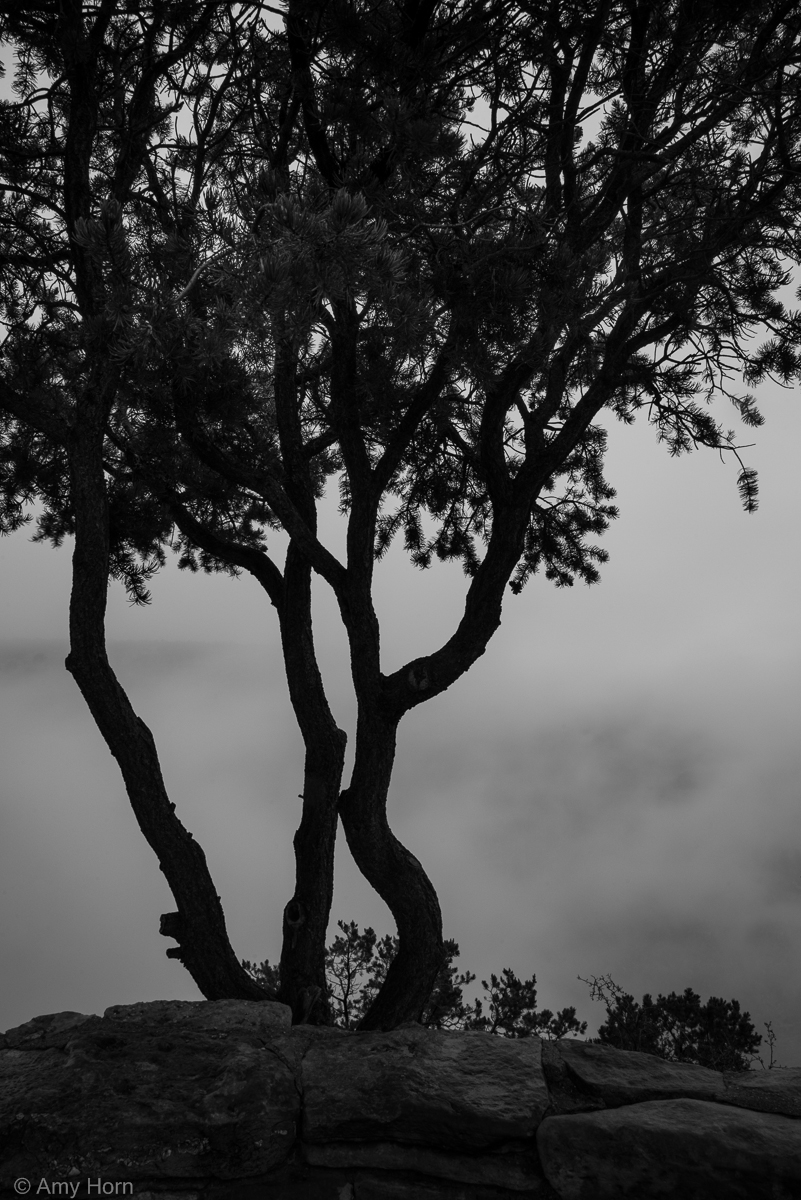
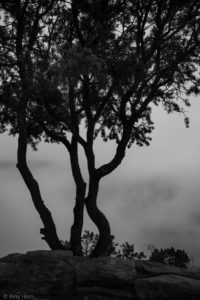
Further along the cloudy rim, I found myself staring at a tree with strong artistic lines and a unique little clump of growth that I thought was whimsical. I set up my tripod, camera, and shutter release; I carefully adjusted the rain cover to protect the lens from water drops. After framing several shots, I found the composition I wanted and starting experimenting. I find experimenting with photography to be very relaxing. My first thought was to accentuate the lines of the tree so I underexposed the image forcing the shape of the tree to be a strong silhouette; I liked this. Looking past the tree, the canyon was still invisible, so I continued experimenting. This time, I changed my white balance setting on the camera to tungsten mode. Applying a tungsten white balance in this cloud cover allowed me to create a strong blue image. This was different, but I wanted more.
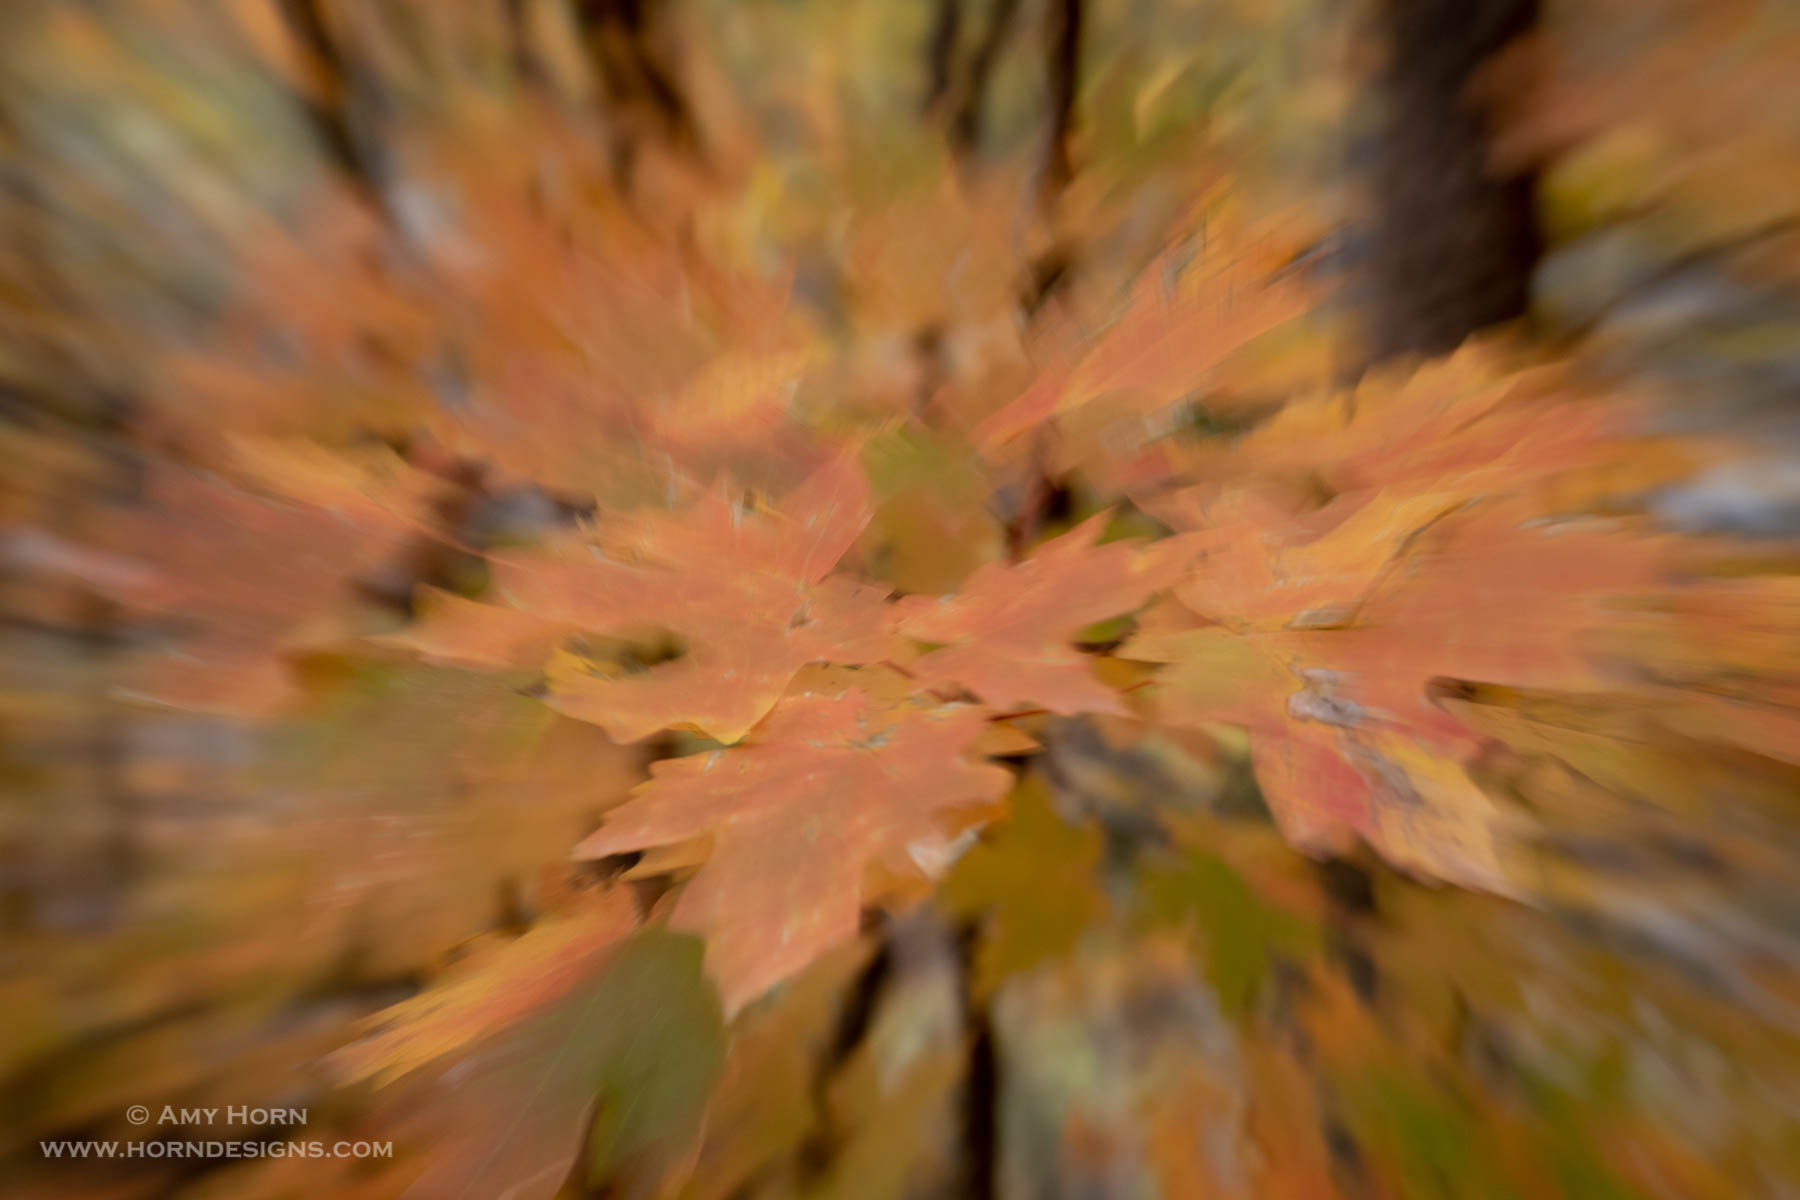
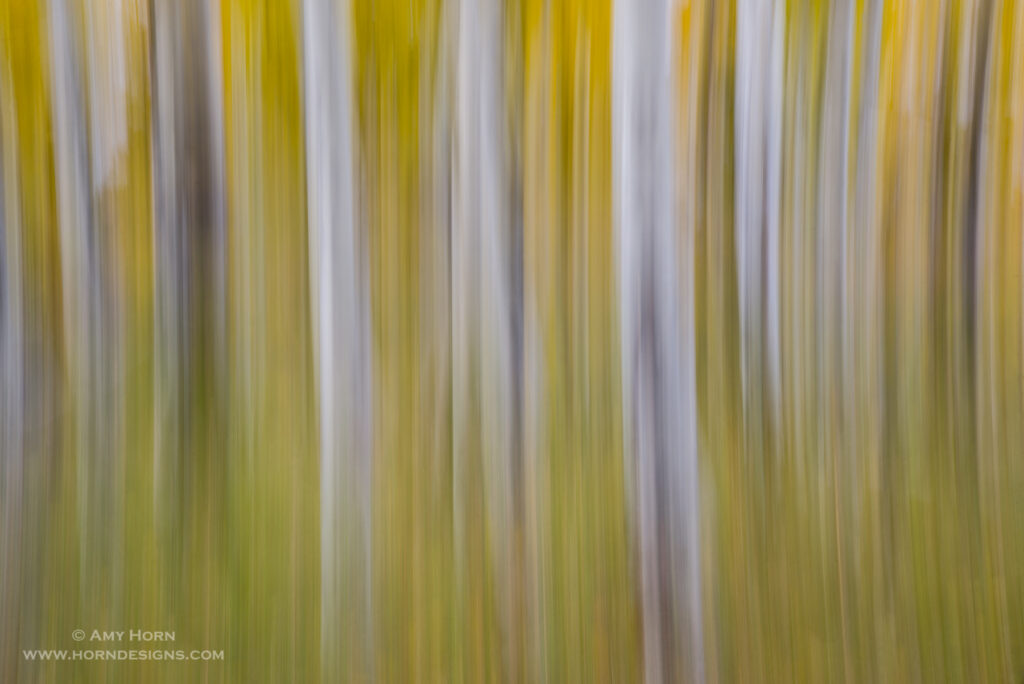
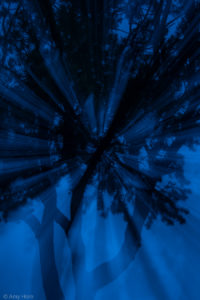 Still seeking a truly unique image, I used a technique called “zoom pull.” “Zoom pull” is exactly what it sounds like: while using a slow shutter speed zoom your lens for the duration that the shutter is open. To make this effective, I had to really slow down my shutter speed. I was shooting at .5 second f/8, but I needed a much longer exposure to allow more time to zoom, so I changed the exposure to 2.5 sec at f/16. Evening was approaching and the loss of light worked to my advantage in slowing down the shutter. With a shutter release in one hand and the lens zoom ring in the other I started the exposure. When using the “zoom pull” technique, I like to pre-focus on the subject and hesitate momentarily before zooming. This hesitation allows the subject to record on the sensor so I don’t just have an image of movement. See the faint tree silhouette? Zooming in and out during an image creates a different look, so I make sure to zoom both directions. One thing is certain – every image is unique! My camera was in manual mode and I kept adjusting the shutter speed to increase or decrease the amount of time I had to zoom. I finally switched my shutter to bulb mode and then held down the shutter manually with my shutter release to have a little more control on the timing with zooming the lens. This worked well. After each shot, I would view my histogram and if it appeared underexposed, I would zoom slower and hold down the shutter longer. There wasn’t much light with all the clouds and rain so the final image was captured at f/16, 3.5 sec and the shot began at 44mm and then zoomed in. I was happy that I fought through the bad weather and got some good images.
When I got home and downloaded the images to the computer I took my favorite image and applied some post processing effects. First, I converted it to black and white (Photo 5) trying for a more traditional abstract image. I liked this treatment, but I also like to experiment with Adobe Lightroom presets. Photo 6 is a result of applying a purchased preset called Fallout Split Toned. This preset added back the cool blue tones I liked from the original image but also applied a creamy warm light in the highlight areas. Whether my photography is traditional or experimental, in the camera or in software it is fun for me. So, if you find yourself at the Grand Canyon in a drizzly rain (or anywhere for that matter) don’t walk away…weather or not, get the shot!

Black and white conversion
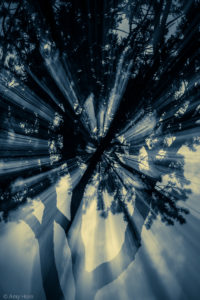
Final image with Lightroom Preset