Water = Camera Insurance

Pumphouse Wash water pool.
The memory card survived the water!
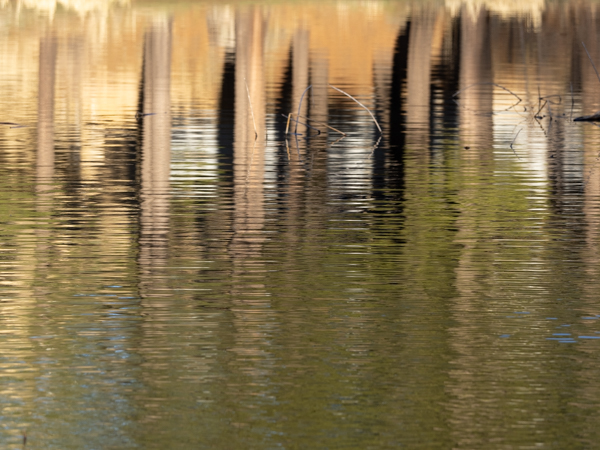
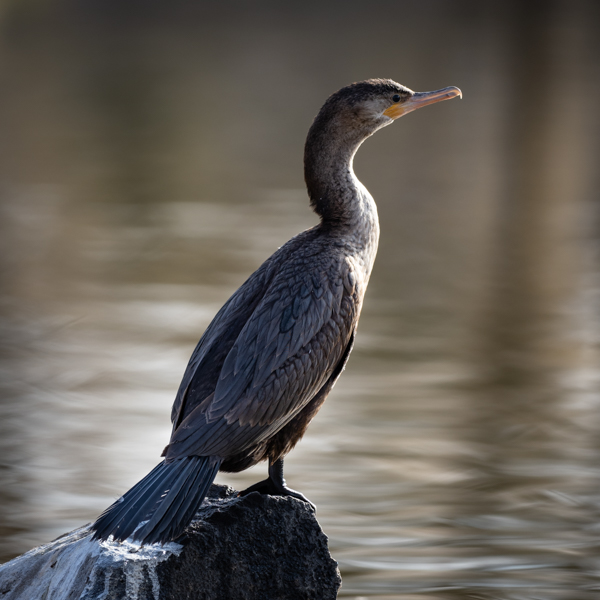
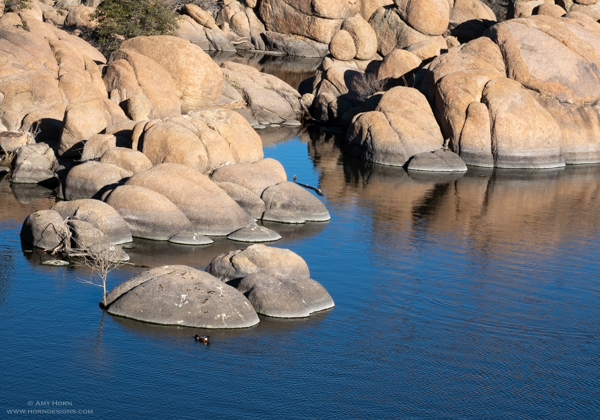
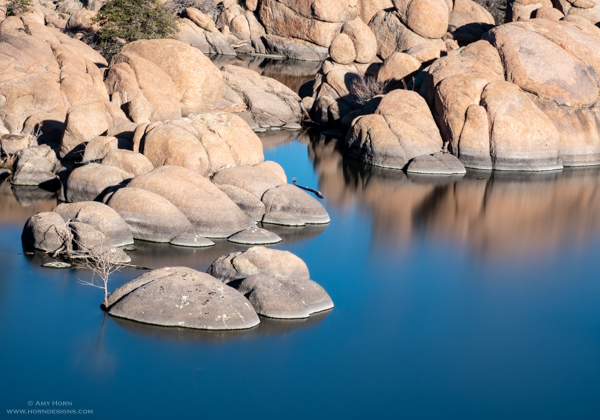
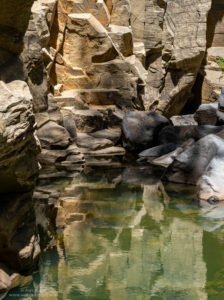
Olympus OMD 1 Mark III, 12-100mm lens,
1/200 sec, f/7.1, ISO 200.

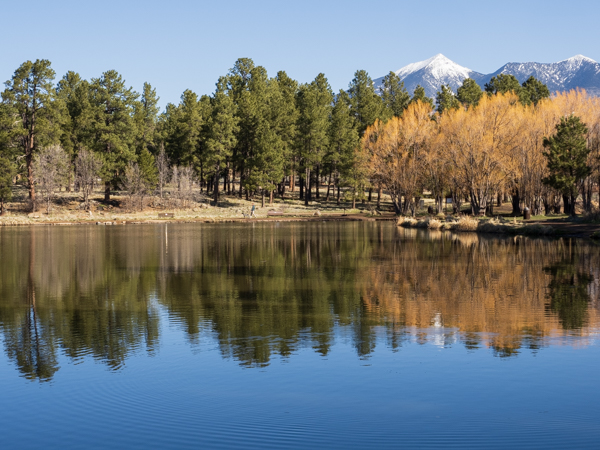
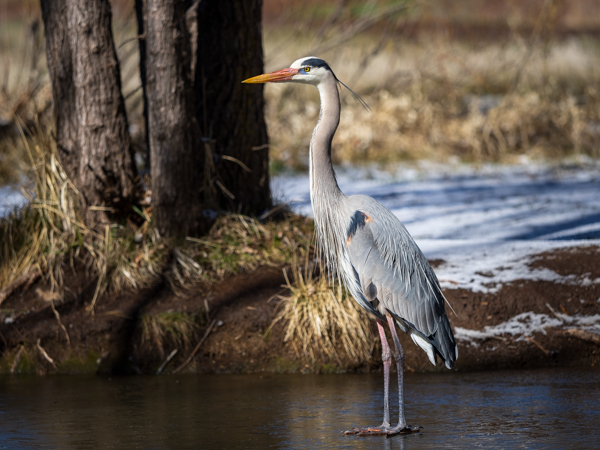
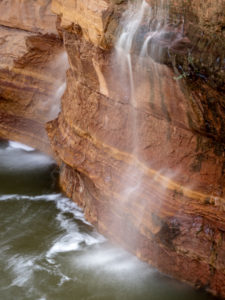
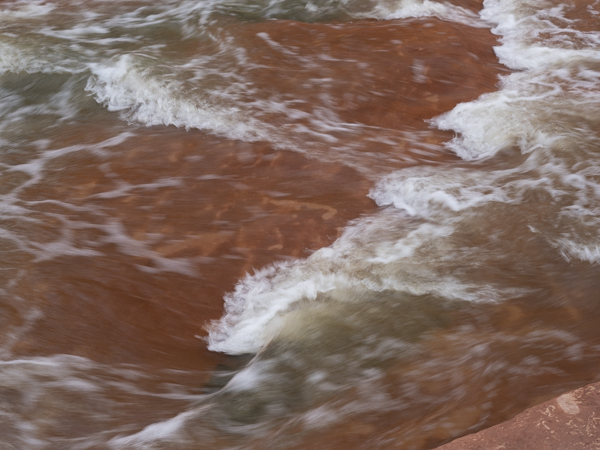
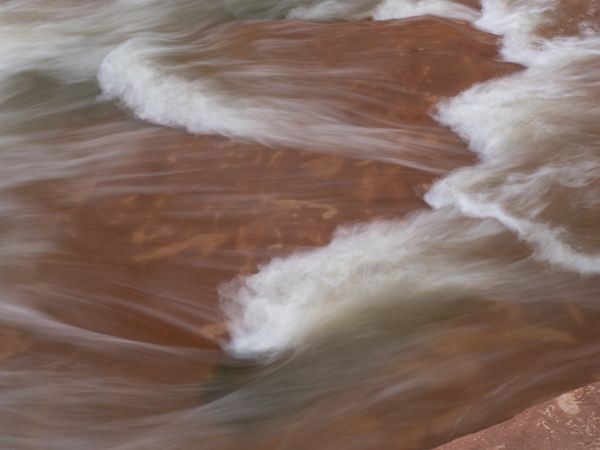
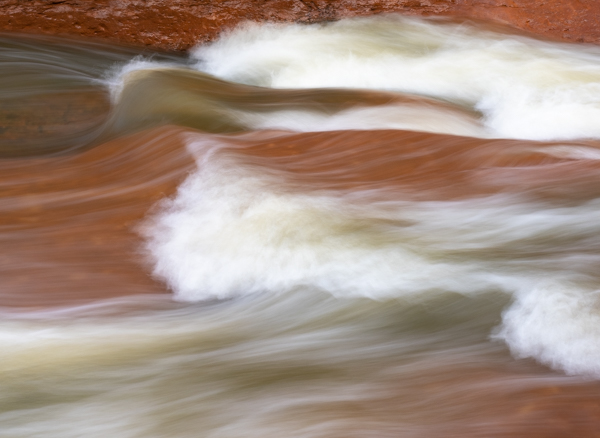
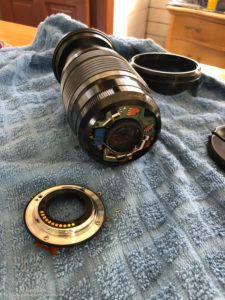
On a recent hike with my husband through Pumphouse Wash I dropped my two-month-old camera. The hike required wading through many thigh-high polls of water, and I was careful while wading. Hiking was slow through the water, so after three hours of hiking, we turned back toward the car. That meant wading through the pools of water again. The walk-able ledge on the last pool meant we would stay dry, well that was the plan anyway. Somehow, my pack was open and my camera took a swim. I watched it submerge 18” under water, so I jumped in too. As I grabbed the camera strap the lens broke off and water gushed inside the camera. After getting the camera, I spotted the lens wedged between two rocks and retrieved it. I pulled the battery and memory cards from the camera immediately, hoping to keep the images from the hike.

Broken camera lens
Broken lens with water inside.

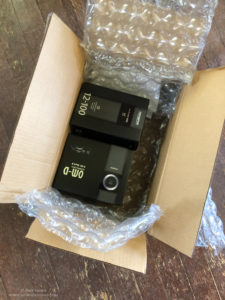
Once on dry ground, I wrapped the gear in a towel, and we hiked the last 1/3 mile back to the trail head. At the car, I opened every compartment to dry them out and knew Monday I would call my insurance company. Almost ten years ago, I purchased a policy from State Farm Insurance to cover my gear since I own too much camera gear for a traditional homeowner’s policy. On Monday, I called in my claim. A few days later, a claims adjuster called and by the end of the phone call, he issued me a check for the full value of my gear minus the $100 deductible.

Insurance

Camera in bag of rice
Camera in rice to dry out.

Hopefully, this event got you thinking about insuring your gear. My policy cost $20/month and with over $3000 replaced gear, insurance was a wise choice for me. Not only can you get a special policy through most homeowner’s insurance agents, but many photography organizations offer insurance as part of your membership. Here is a short list of options for insurance, but there are many more.

  • PPA – Professional Photographers of America
  • PSA – Photographic Society of America
  • NANPA – North American Nature Photography Association
  • Howard Burkholz of Allstate
New Olympus camera gear

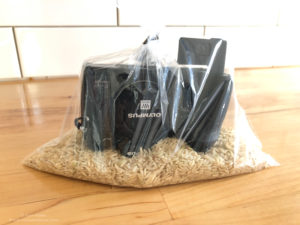
I contacted Olympus to see if a repair was possible. Although they couldn’t say for sure without evaluating it, dropping the camera in water void the warranty. While I waited to hear from my insurance agent, I placed the camera in a bag of rice. I’m glad I had insurance.

Twirling

Several photographers I follow post “twirling” images. It is a different look, but since I love abstract photography it was worth an afternoon of watching YouTube videos and playing in Photoshop. I won’t say I am a pro at this effect, but I will say it was fun. Below you will see several images, before and after applying the twirl effect. If you are interested in this, I recommend following the tutorial I followed: https://www.youtube.com/watch?v=pwsjgqI4eaY&list=LLUutBD_IesM1vaEiZiWQmgw&index=8&t=0s

Walking with Ryder

Francis Short Pond with the San Francisco Peaks in the background. Olympus OMD1 MIII, 31mm, 1/160 sec, F/10, ISO 200

Our son, Austin adopted a dog last month. Ryder (dog) is a great addition to our home and we walked him day and night for the first few weeks. Most of these walks were to Francis Short Pond, a ½ mile from our house and easy to maintain social distancing. Here are several photos from these walks.  

Photographing Water in Oak Creek

Oak Creek at Slide Rock State Park, water
Oak Creek at Slide Rock State Park

Spring Break started with the announcement of a pandemic and the cancellation of, well, everything. What was a week of photography, workshops, and relaxation became stressful, instantly. My husband saw my stress and suggested a road trip through Oak Creek Canyon to Slide Rock State Park. Water in nature always calms me and the brisk March afternoon meant we had the place to ourselves.

waterfall at Slide Rock State Park
Olympus OMD1 MIII, 57mm, 2 sec, F/18, ISO 200, Bryan Hansel Waterfall Polarizer.

We hiked down to the creek noticing a waterfall we didn’t remember on our last visit in October. Since it was a cloudy afternoon, I used the Singh-Ray Bryan Hansel Waterfall Polarizer to blur the water. Next, we found moss under the bridge too. The contrasting textures from the exposed tree root and bright green moss drew me in. Therefore, it was time for the macro lens. After several different compositions, I used the 60 mm macro lens for a close-up image instead of capturing a 1:1 macro image.

Green moss and tree root
Olympus OMD1 MII, 60mm, .6 sec, F/10, ISO 200

Next, we walked down the west side of the creek and I noticed the ripples in the water. When photographing patterns like these, it takes me a few attempts to find the right shutter speed. Let me take you through my process. In the images below, number one is with a shutter speed of 1/30 sec., just slow enough to look blurry. Image number two used a shutter speed of 1/3 sec. creating an abstract image about the ripples. That was what I wanted: the right shutter speed to tell my story. Lastly, I adjusted the composition. Image number three used a shutter speed of .4 sec. and the blurred water ripples lead the eye through the frame.

Our short trip to Slide Rock State Park was a success. I walked away with a two photos I loved and two more that I really enjoy. That’s a successful shoot to me and to think the day started out stressful.

Why an ND Filter?

After my sabbatical studying water, I spent many days using my variable ND filter. ND filters, otherwise known as “neutral density” filters attach to the front of your lens and darken the exposure. So, on bright days, slowing the shutter to capture “milky” water is possible. My first ND filter was a variable ND filter, allowing 1-5 stops darkening. Recently, I purchased the Singh-Ray Mor-Slo ND filter with 15-stop darkening and love it. These filters do require a little practice since focusing is done before you screw on the filter. Otherwise, the learning curve is short and here are a few examples from my recent Watson Lake workshop.

Image Left: In mid-day light without any filters with exposure f/16, 1/125 sec and ISO 200.  
Image Right: With the same light, I put on my Singh-Ray Mor-Slo 15-stop filter with exposure  f/16, 8 minutes and ISO 200.  

Something to try: capture images in black and white to add drama to an image. Check out these two images shooting straight into the sun.

Image Left: In morning light without any filters with exposure  f/16, 1/8000 sec and ISO 200.  
Image Right: With the same light, I put on my Singh-Ray Mor-Slo 15-stop filter with exposure f/16, 8 seconds and ISO 200.  

If you are looking for a change with your water photography, consider a neutral density filter, but most importantly, have fun. And, if you are interested in a Singh-Ray ND filter (or any filters), use code Amy10 for 10% off their filters at https://singh-ray.com/.

Backgrounds

A clean background can make or break an image. While walking near a waterfall outside of Ouray, CO, I spotted a Richardson’s Geranium with buds just beginning to open. So, I set up my tripod and grabbed my macro lens. After capturing the image on the left with the natural green background, I placed my diffuser behind the bud to block the wind. Then I noticed I could capture an image with a white background as well. Both backgrounds are clean and simple, but express the buds differently.

The image on the left has noticeable backlight on the buds but the image on the right highlights the red balls on the hair of the stem. Which do you prefer? The Olympus OM-D EM-1 Mark II, 60mm macro lens and settings: Left image: f/4.5, 1/180 sec, ISO 1600. Right image: f/4.5, 1/60 sec, ISO 1600 (notice the faster shutter speed due to the white background.)

Seek App

On more than one occasion, I have taken photos of a fantastic macro subject only to realize I didn’t know it’s identity. Then I discovered the Seek App by iNaturalist (available on Google Play and the App store). As long as I have my phone with me, I snap a photo of the subject and load it into the app. In a few seconds the app gives me the identity. If I’m without cell service, I still take the photo and load it into the app later.

The below screen shots demonstrate how easily the app works. The image on the left is after loading a photo from my camera roll. The image on the right is the result. This is a very powerful free app. I use it wherever I go to quiz myself of plant species. Give it a try.

Recycled Photo Frame

recycled photo frame
An old 6-panel window repurposed to display my photos.
photo frame with images
Notice the magnets on one side of the glass with the clips and images on the other.

Finding recycled or repurposed items is my kind of fun, whether I am traveling or searching on online for creative ideas. We repurpose many antiques for modern uses, so finding a use for the old windows left in our 1892 Carriage House felt natural. The windows in our Carriage House aren’t from this house, but from another old building in Flagstaff. For several months, I searched for a creative way to use these windows for my photos and found it on Pinterest. Here is the completed project.

Using a 6-panel window, I spent several hours cleaning the glass and the frame from years of gunk. I purchased strong magnetic clips (Staples) and Neodymium magnets (Home Depot) that would hold magnetically with the glass in between. Since my window panels are square I printed (Walgreens) 8”x8” images to hang in the panels. I liked the empty space around each image as opposed to printing 10”x 10” images. My last task was to add wire to the back of the frame and hang it. Now, above my computer workstation, I have a photo display that is easy to change. I enjoy looking at printed photos to assess if I still like them. So, I’m sure in a few weeks, I will try a few new photos. I also have another window project in process…come back here for an update.

Photo of office area
My new photo frame above my computer work station.